
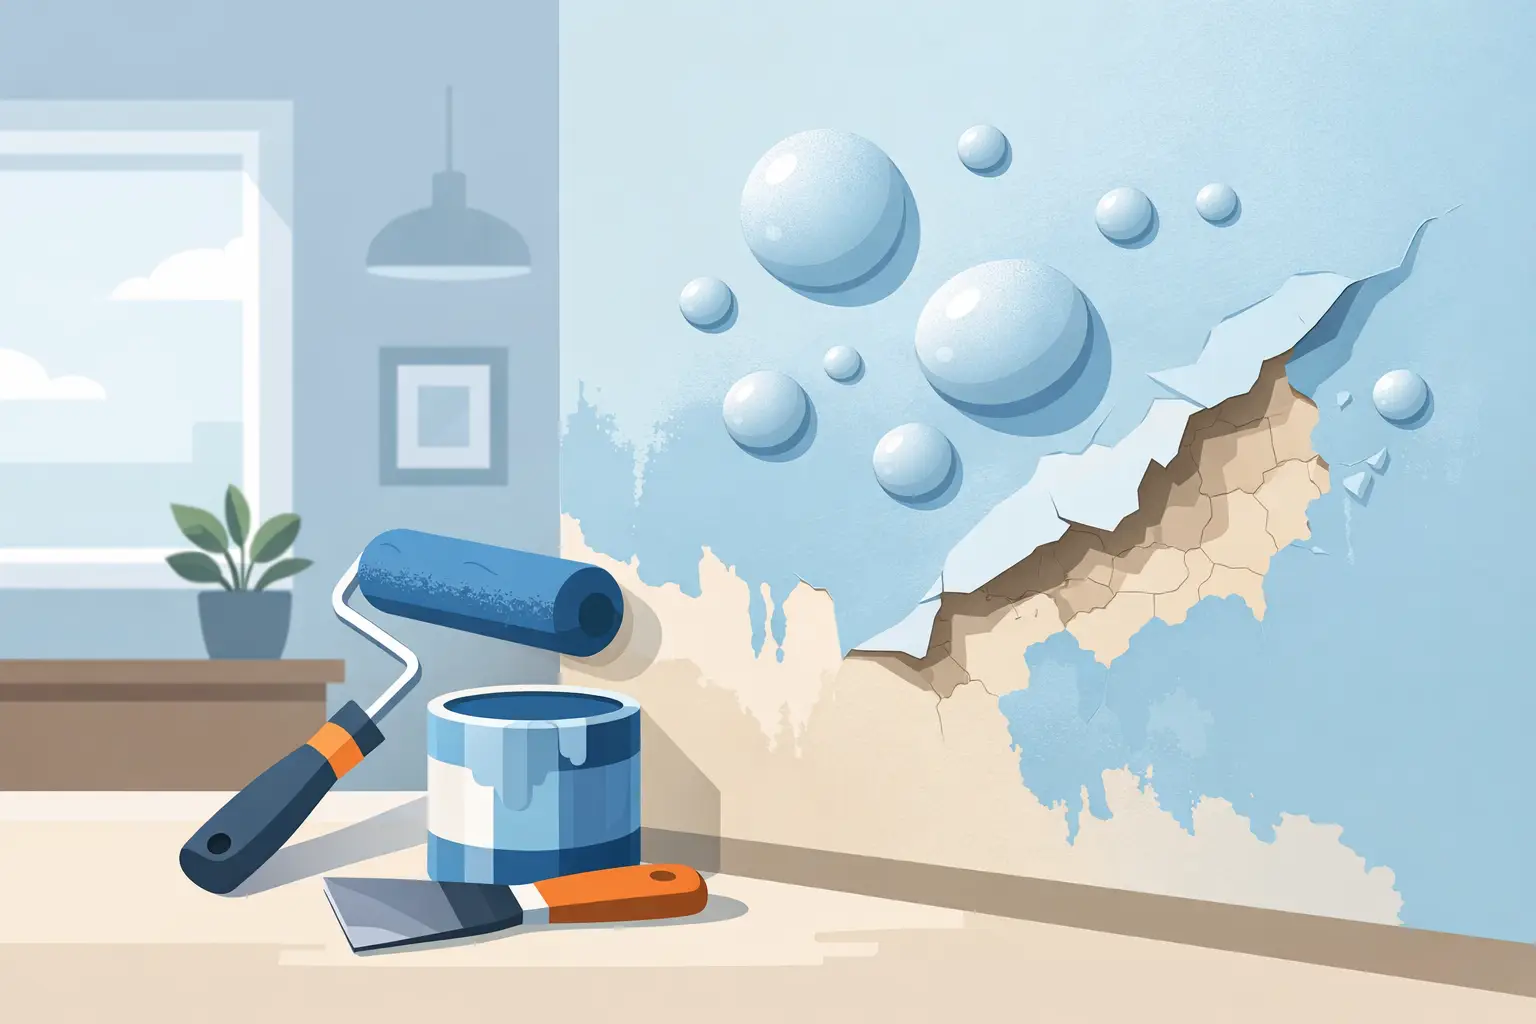
You paint a wall expecting a smooth, clean finish, and then small blisters start showing up a few hours later or even weeks after the job is done. If you have been asking, why does paint bubble wall surfaces in the first place, the short answer is that the paint is losing proper adhesion. Something underneath, or something during application, is pushing that paint film away from the surface.
In homes, offices, shops, and rental units, bubbling paint is usually a sign that the wall was not fully ready for coating, the environment was too damp, or the wrong product and process were used. The good news is that bubbling can often be fixed well. The more important part is identifying the real cause before repainting, otherwise the same problem usually comes back.
Why does paint bubble wall surfaces after painting?
Paint bubbles form when a section of paint lifts from the surface and creates a raised pocket. Sometimes the bubble contains air. In many cases, it contains moisture or vapor pressure trying to escape through the paint layer.
This matters because bubbling is not only a cosmetic issue. It can point to hidden dampness, poor surface preparation, old flaky paint, or contaminants that prevent new paint from bonding. In some properties, especially bathrooms, kitchens, exterior walls, or older buildings, bubbling can be the first visible warning that the wall needs more than just another coat of paint.
The timing helps narrow down the cause. If the paint bubbles while it is drying, the issue is often related to heat, moisture, or application technique. If bubbling appears much later, you may be dealing with trapped dampness, water seepage, or failing underlying paint layers.
The most common reasons paint bubbles on walls
The most frequent cause is moisture. When water gets into the wall from leaks, condensation, rising damp, or humid air, it can become trapped beneath the paint film. As that moisture tries to escape, it pushes the paint outward and creates bubbles or peeling sections.
This is especially common in bathrooms with weak ventilation, kitchens with heavy steam, and exterior-facing walls exposed to rain. It can also happen around window frames, ceiling lines, plumbing points, and air-conditioning areas where moisture tends to collect.
Another common cause is painting over a dirty or glossy surface. If the wall has grease, dust, chalky residue, soap film, or old unstable paint, the new coating cannot grip properly. It may look acceptable at first, but adhesion problems often show up as bubbling, flaking, or patchy lifting.
Poor surface preparation is a close second. If loose paint was not scraped off, cracks were not repaired, or filler and plaster were not fully cured, the fresh coat sits on an unstable base. The finish may fail even if the paint itself is high quality.
Application conditions also matter. Paint applied on a hot wall, under direct sun, or in a room with poor airflow can dry too quickly on the surface while remaining soft underneath. That imbalance can create blistering. The same thing can happen if coats are applied too thickly or if the second coat goes on before the first one has dried properly.
Using the wrong type of paint or skipping primer can also lead to bubbling. Porous repaired areas, freshly plastered walls, and surfaces with previous stains usually need the right sealer or primer to create an even bond. Without that step, paint absorption becomes uneven and adhesion suffers.
Moisture is the issue most people underestimate
When clients see paint bubbles, many assume the painter simply used the wrong product. Sometimes that is true, but very often the bigger issue is hidden moisture inside the wall.
A wall can feel dry to the touch and still contain enough moisture to disrupt paint adhesion. This is why repainting over bubbles without inspection rarely works for long. If the source is a plumbing leak, exterior seepage, condensation, or water intrusion through cracks, the paint is reacting to a building problem, not just a finishing problem.
In Singapore-style high-humidity environments, this is even more relevant, but the principle applies anywhere. Rooms with weak ventilation, enclosed corners behind furniture, and areas near wet zones often hold more moisture than people realize. If bubbling keeps returning in the same area, the wall usually needs proper diagnosis before cosmetic repair.
How to tell what kind of bubbling you have
Small isolated bubbles that appear soon after painting often point to application or drying issues. The wall may have been painted when it was too hot, too damp, or not fully clean.
Larger bubbles, soft spots, or areas that peel when pressed are more likely to involve moisture or failing old paint underneath. If the surface stains, smells musty, or feels damp, that is a strong sign the problem goes deeper than the topcoat.
Location matters too. Bubbling near ceilings may indicate roof or upper-floor leakage. Bubbling near skirting boards can suggest moisture traveling from below. Bubbling around windows may relate to seal failure or rain penetration. In bathrooms and kitchens, steam and condensation are common culprits.
What to do before fixing bubbling paint
The first step is not repainting. The first step is finding out why the paint bubbled.
Start by checking for obvious water sources. Look for leaking pipes, cracked sealant, roof issues, wall cracks, poorly sealed windows, or condensation around air-conditioning units. If the wall has had repeated bubbling, stains, or mildew, it is worth treating the moisture issue as the priority.
Next, test the damaged area. If the bubble breaks easily and the paint peels off in sheets, the substrate or previous coating may be unstable. If the wall underneath is powdery, soft, or damp, it needs surface correction before any new paint goes on.
This is where a professional assessment can save time and cost. A proper inspection helps determine whether the job needs simple scraping and repainting, wall plaster repair, stain blocking, or a deeper fix such as addressing seepage or concrete defects first.
How professionals fix paint bubbles properly
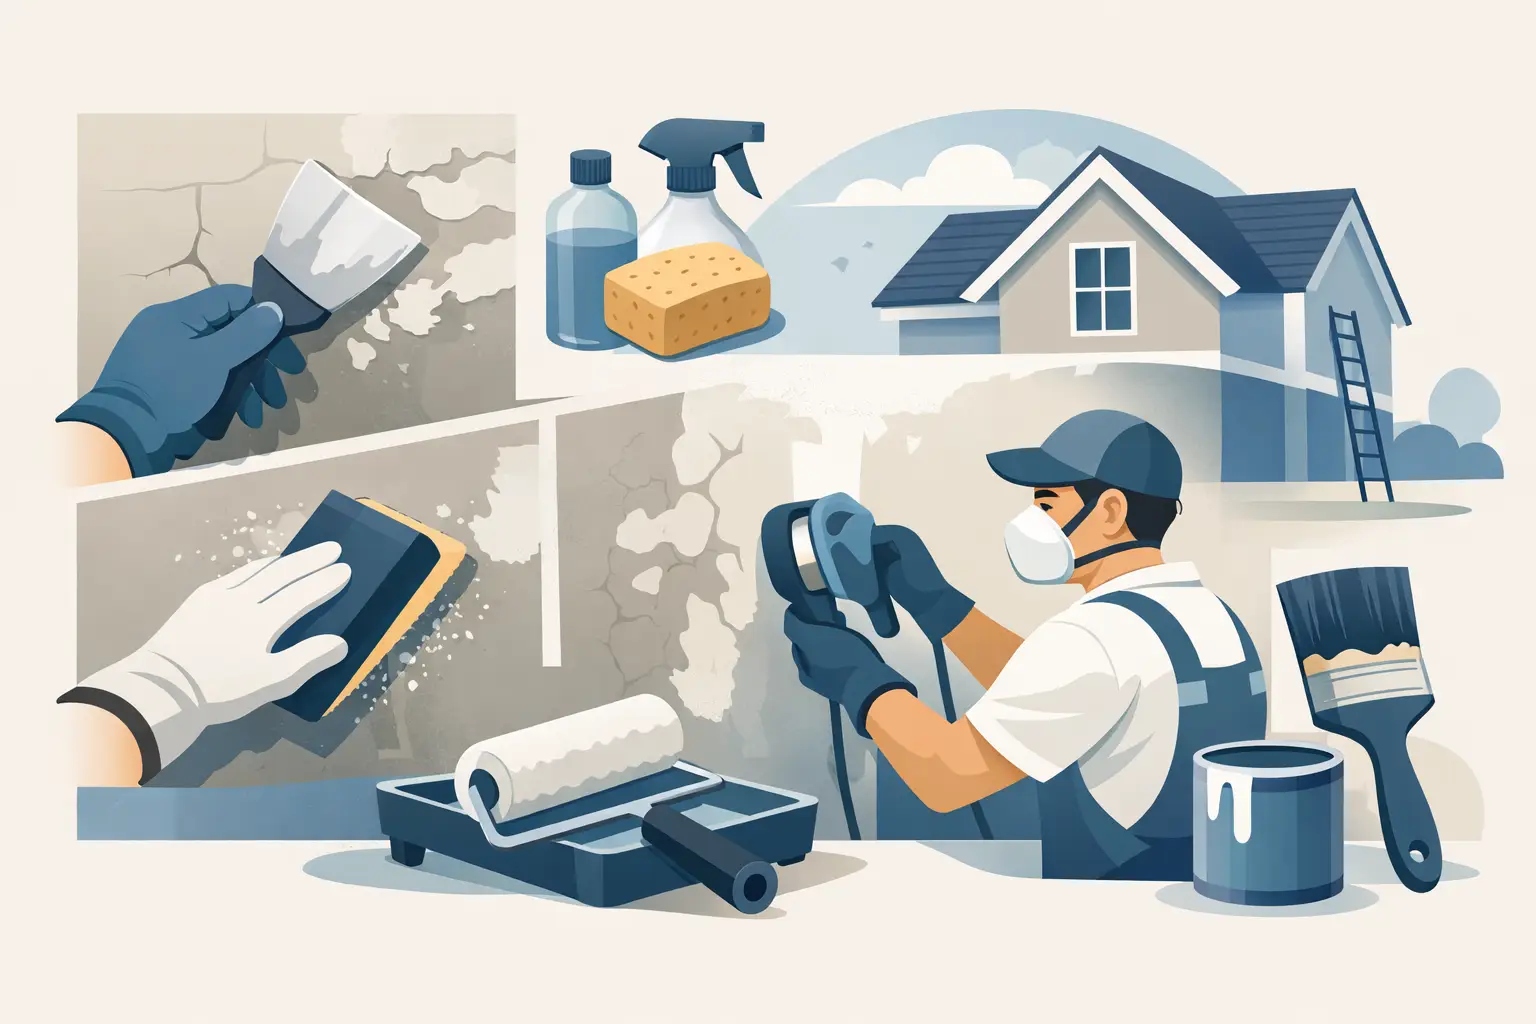
A lasting repair usually starts with removing all failed paint, not just the visible bubble. Any loose, lifted, or weak coating has to be scraped back to a sound edge. If that step is rushed, the repaired patch may fail again around the perimeter.
Once the damaged material is removed, the wall should be cleaned and allowed to dry thoroughly. If moisture caused the issue, the underlying source must be addressed before anything else. Depending on the condition, the area may also need patching, skim coating, or plaster repair to restore a level surface.
After that, the correct primer or sealer is applied. This is a step many quick fixes skip, but it makes a major difference in adhesion and consistency. Only then should the wall be repainted with compatible products and proper drying time between coats.
For severe cases, especially where there is repeated seepage, spalling concrete, or widespread peeling, the repair process may involve more than painting alone. Surface restoration and moisture management need to be handled together to get a durable finish.
How to prevent bubbling the next time
Prevention comes down to preparation, product choice, and application conditions. Walls need to be clean, dry, stable, and properly primed where necessary. Repairs must be fully cured before painting starts.
It also helps to use paint suited to the room. High-moisture areas need coatings that can handle humidity better, and spaces with limited airflow should not be painted in a rush. Thicker coats are not better. Controlled, even application usually performs much better over time.
For homeowners, tenants preparing a handover, or businesses that cannot afford repeat touch-ups, this is where professional workmanship pays off. A careful crew does more than apply paint. They check the wall condition, protect the surrounding space, use the right system for the substrate, and manage the job from prep to cleanup with less disruption.
If you are seeing recurring bubbles, peeling patches, or walls that never seem to stay smooth for long, the issue is usually trying to tell you something. A well-finished wall starts long before the first coat goes on, and fixing the cause is what protects the result.


Pingback: Wall Plastering for Smooth, Paint-Ready Walls - My Paint Job Singapore
Pingback: Tenant Handover Repainting Checklist for a Clean Exit - My Paint Job Singapore