
A fresh coat of paint can make the difference between a smooth key return and a dispute over the condition of your rental. This tenant handover repainting checklist helps you identify what needs attention, prioritize genuine repairs, and present the property in a clean, well-maintained condition. Whether you are leaving an HDB apartment, condominium, landed home, office, or retail unit, a planned repainting job protects your time, your deposit, and your peace of mind.
The goal is not to make every wall look brand new at any cost. It is to restore areas affected by tenant use while avoiding rushed touch-ups that look patchy under inspection lighting. Start early, document the condition carefully, and use a professional painter when the scope is more than a small, invisible correction.
Start With Your Lease and Move-In Records
Before choosing colors or buying paint, review your tenancy agreement. Some leases require tenants to return the premises in its original paint color, while others allow normal wear and tear or specify a repainting schedule. The wording matters, particularly if your walls were freshly painted when you moved in or if you received written approval for feature walls.
Compare the property with your move-in photos, inventory list, and condition report. Focus on differences that are clearly attributable to occupancy: stains, scuffs, holes, unauthorized color changes, peeling paint caused by damage, or marks left after removing fixtures. Keep current photos as well. They provide a useful record of the work completed before handover.
Normal aging can be harder to judge. A slightly dull wall after several years of occupancy may be ordinary wear, while deep grease buildup, crayon marks, or large wall anchors usually call for repair. If there is uncertainty, ask the landlord or managing agent what standard they expect before work begins. Clear agreement upfront is far more affordable than repainting twice.
Tenant Handover Repainting Checklist: Inspect Room by Room
Walk through the property in daylight if possible, then switch on the lights to reveal uneven patches and surface flaws. Stand back from each wall and inspect it from an angle. Paint defects that are not obvious head-on often become visible during a final inspection.
Use this practical checklist as you go:
- Check living areas and bedrooms for scuff marks, furniture rubs, nail holes, tape residue, sticker marks, and mismatched touch-ups.
- Inspect kitchens for grease stains, discoloration near the stove, moisture damage under cabinets, and marks around switches or countertops.
- Examine bathrooms for peeling or blistering paint, mildew staining, cracks, and soft or damp wall areas.
- Look at ceilings for water marks, especially near air-conditioning units, pipes, windows, and bathrooms above or beside the unit.
- Review doors, frames, baseboards, grills, gates, and built-in woodwork for chips, scratches, faded varnish, or flaking coatings.
- Check patched drill holes, wall anchors, mounted television brackets, shelving points, and removed hooks for uneven surfaces.
Mark each issue as either cleaning, minor repair, repainting, or further investigation. This keeps a small project from becoming an unnecessary full-home repaint. At the same time, it prevents the common mistake of painting over a defect that will show again once the paint dries.
Treat Water Damage and Mold as Repair Issues First
Paint is a finish, not a cure for moisture. If you find a fresh ceiling stain, persistent dampness, bubbling paint, or mold, identify and resolve the source before repainting. It may be a leaking pipe, failed waterproofing, condensation, or air-conditioning drainage problem.
Painting over moisture damage can trap the issue behind a new surface and cause early peeling. It can also leave the next occupant and the property owner with a larger repair. A professional inspection is the sensible choice where spalling concrete, cracks, damp walls, or recurring mold are involved.
Repair the Surface Before Applying Paint
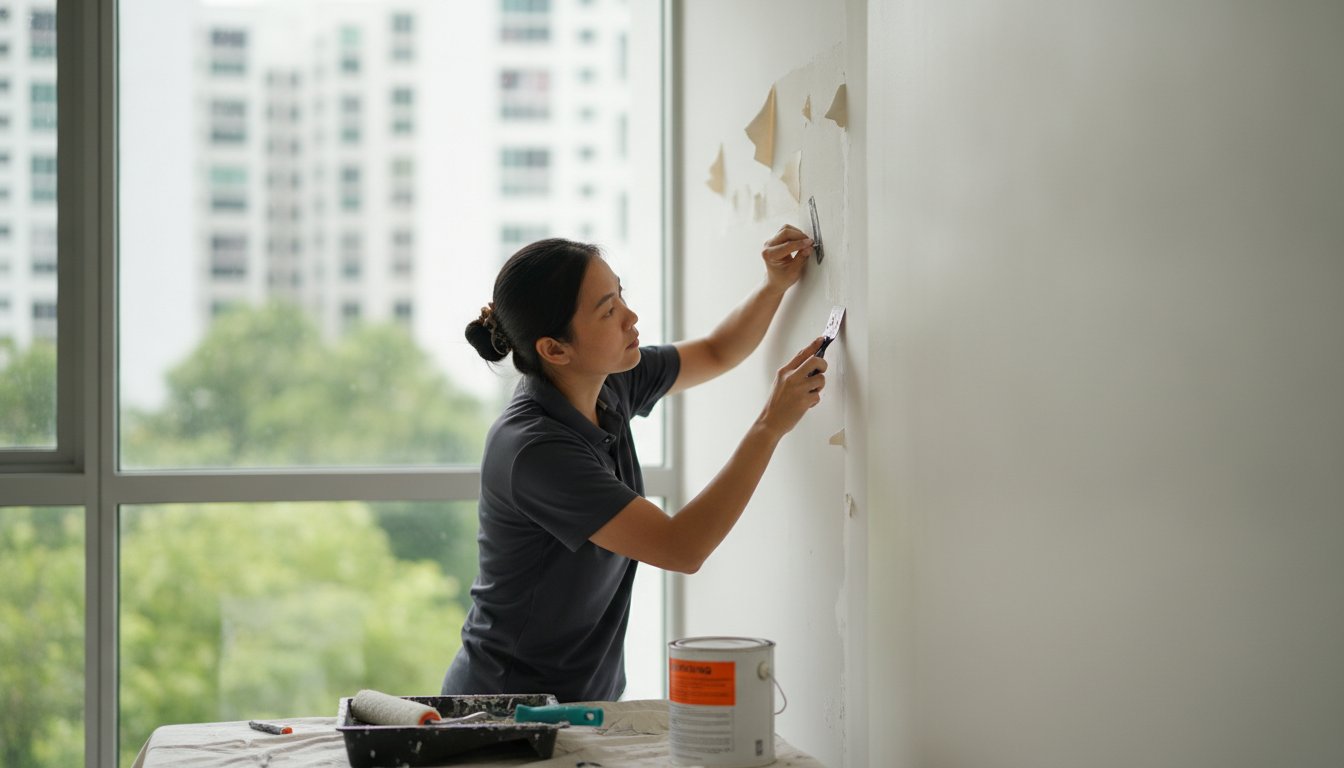
A clean finish depends on preparation. Walls should be washed or wiped down to remove dust, grease, and residue. Loose paint must be scraped away, while cracks, holes, and dents should be filled with an appropriate patching compound. Once dry, the repaired area needs sanding until it sits flush with the surrounding wall.
Do not skip primer where it is needed. Primer improves adhesion on repaired patches, bare plaster, stained areas, and walls changing from a dark shade to a light one. Without it, repaired spots can absorb paint differently and create a dull, uneven patch known as flashing.
For larger areas of damage, poor previous patchwork, or worn walls with multiple layers of paint, wall plastering may be necessary before repainting. This adds time and cost, but it is often the difference between a passable cover-up and a polished handover result.
Match the Color and Sheen Carefully
The nearest white is not always the right white. Rental properties may use warm white, cool white, cream, or a custom neutral that changes appearance under different lighting. If you do not have the original paint information, bring a small paint sample or consult a painting professional on color matching.
Sheen is equally noticeable. Flat or matte paint is common on ceilings and some interior walls because it minimizes the visibility of minor imperfections. Eggshell or satin finishes are easier to wipe and are often used in high-traffic areas. A glossy patch on a matte wall will stand out even when the color is close.
Spot painting works best when the original paint is recent, the color is known, and the affected area is very small. It becomes risky when the wall has faded from sunlight, cleaning, smoke, or general age. In those cases, repainting the full wall from corner to corner produces a more consistent result. Repainting the whole room may be worthwhile if several walls are marked or the landlord requires a uniform finish.
Protect the Property During the Work
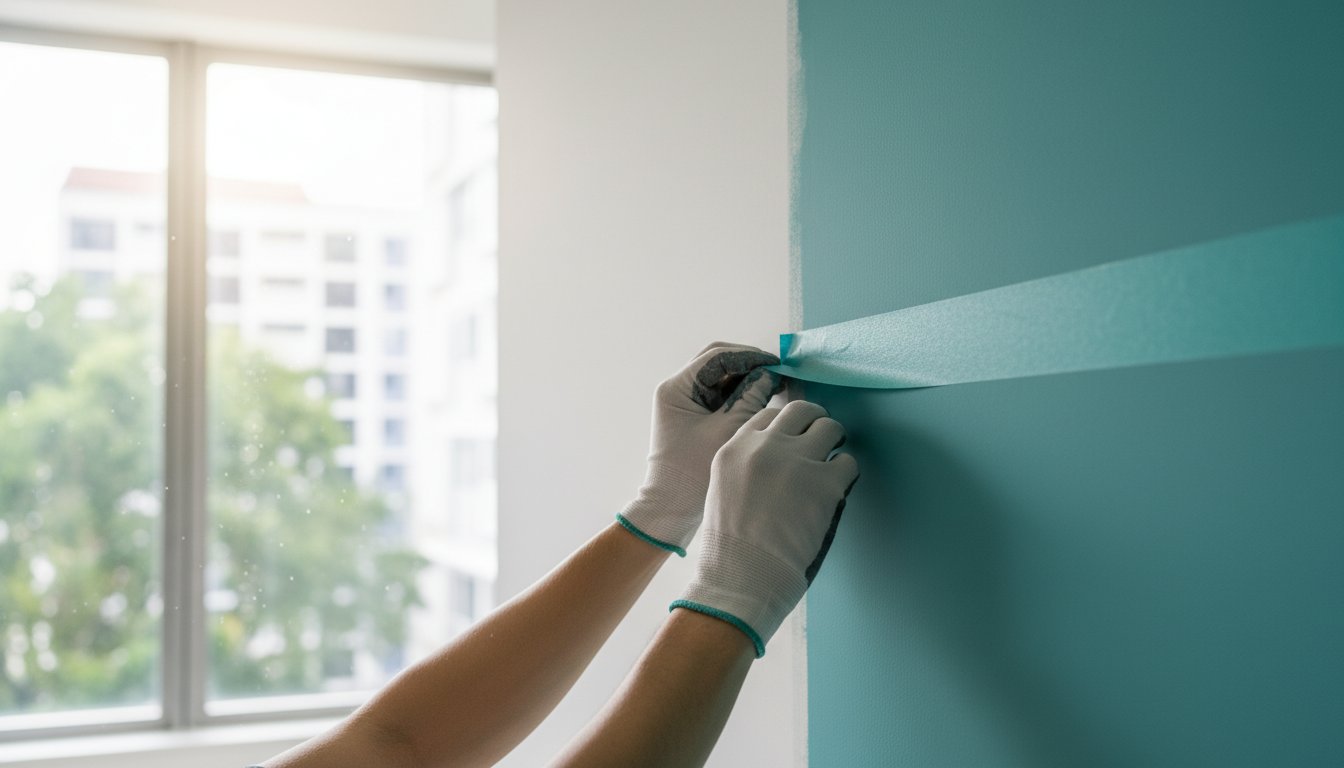
A handover repaint should improve the property, not create new cleaning work. Move furniture away from walls where possible, cover remaining items, and protect floors, counters, outlets, glass, and fixtures with proper masking materials. Remove outlet covers only if you can do so safely and reinstall them neatly afterward.
Ventilate the space during and after painting, especially in smaller bedrooms, enclosed offices, and units with limited airflow. Low-odor and eco-friendly paint options can be a practical choice for occupied homes, households with children or pets, and commercial spaces that need a quick return to use.
Allow enough drying time before replacing furniture, hanging items, or scheduling the final walkthrough. Paint may feel dry to the touch before it has cured sufficiently to resist scuffs. Rushing this stage can undo careful work in a single afternoon.
Complete a Final Handover Walkthrough
Once the painting is dry, remove all masking tape carefully and inspect the edges around ceilings, frames, switches, and corners. Look for drips, roller marks, missed spots, and paint on hardware or flooring. Wipe down dust from sanding and remove every can, cover, and piece of debris.
Open cabinets and check areas behind doors. These are frequently missed during a quick repaint. Take final photos of each room, including repaired areas, and retain any invoices or written work scope. If the landlord or agent is attending an inspection, a clear record shows that the property was handled responsibly.
For commercial premises, coordinate the walkthrough around the reinstatement requirements in the lease. Offices and shops may have additional expectations for partition walls, branding removal, ceilings, electrical points, or after-hours access. A contractor experienced in low-disruption commercial painting can organize preparation, painting, cleanup, and scheduling around your operating needs.
When Hiring a Professional Painter Makes Sense
DIY touch-ups can be reasonable for one small mark and a known paint match. But an entire apartment, visible damage, high ceilings, water stains, wallpaper removal, or a tight move-out deadline requires more control. A professional team can assess surface condition, recommend the right paint system, protect furniture, complete repairs, and leave the property clean for inspection.
At My Paint Job, the focus is on handling the details that make handover work less stressful, from surface preparation and color guidance to careful cleanup. A clear quotation and site assessment help you choose the right scope instead of paying for repainting that the property does not need.
Plan the work before the movers arrive, rather than treating repainting as the final task on move-out day. A well-prepared home or business unit tells the next owner, tenant, or inspector that the space has been cared for – and gives you the best chance of closing this chapter without avoidable back-and-forth.