Fresh paint usually gets the credit, but the finish only lasts when the surface underneath is properly treated. Surface preparation for durable painting is what separates a job that still looks clean and even years later from one that starts peeling, bubbling, or staining far too soon. For homeowners, landlords, and business owners, that difference matters because repainting early costs more, causes more disruption, and rarely fixes the root problem if the surface was not prepared correctly the first time.
Why surface preparation matters so much
Paint is not designed to hide every flaw or compensate for an unstable wall. It needs a sound, dry, and clean base to bond well. If dust, grease, chalky residue, hairline cracks, dampness, or loose old paint are left in place, even premium products can fail earlier than expected.
This is where many painting problems begin. A wall may look acceptable from a distance, but if there is hidden moisture, uneven patching, or powdery residue from old coatings, the final finish will not perform as it should. Good preparation improves adhesion, creates a more even appearance, and helps the paint achieve its intended durability.
In practical terms, proper prep protects your investment. It helps interior walls resist scuffs and stains, keeps exterior coatings more stable in heat and rain, and reduces the likelihood of callbacks, touch-ups, and premature repainting.
Surface preparation for durable painting starts with inspection
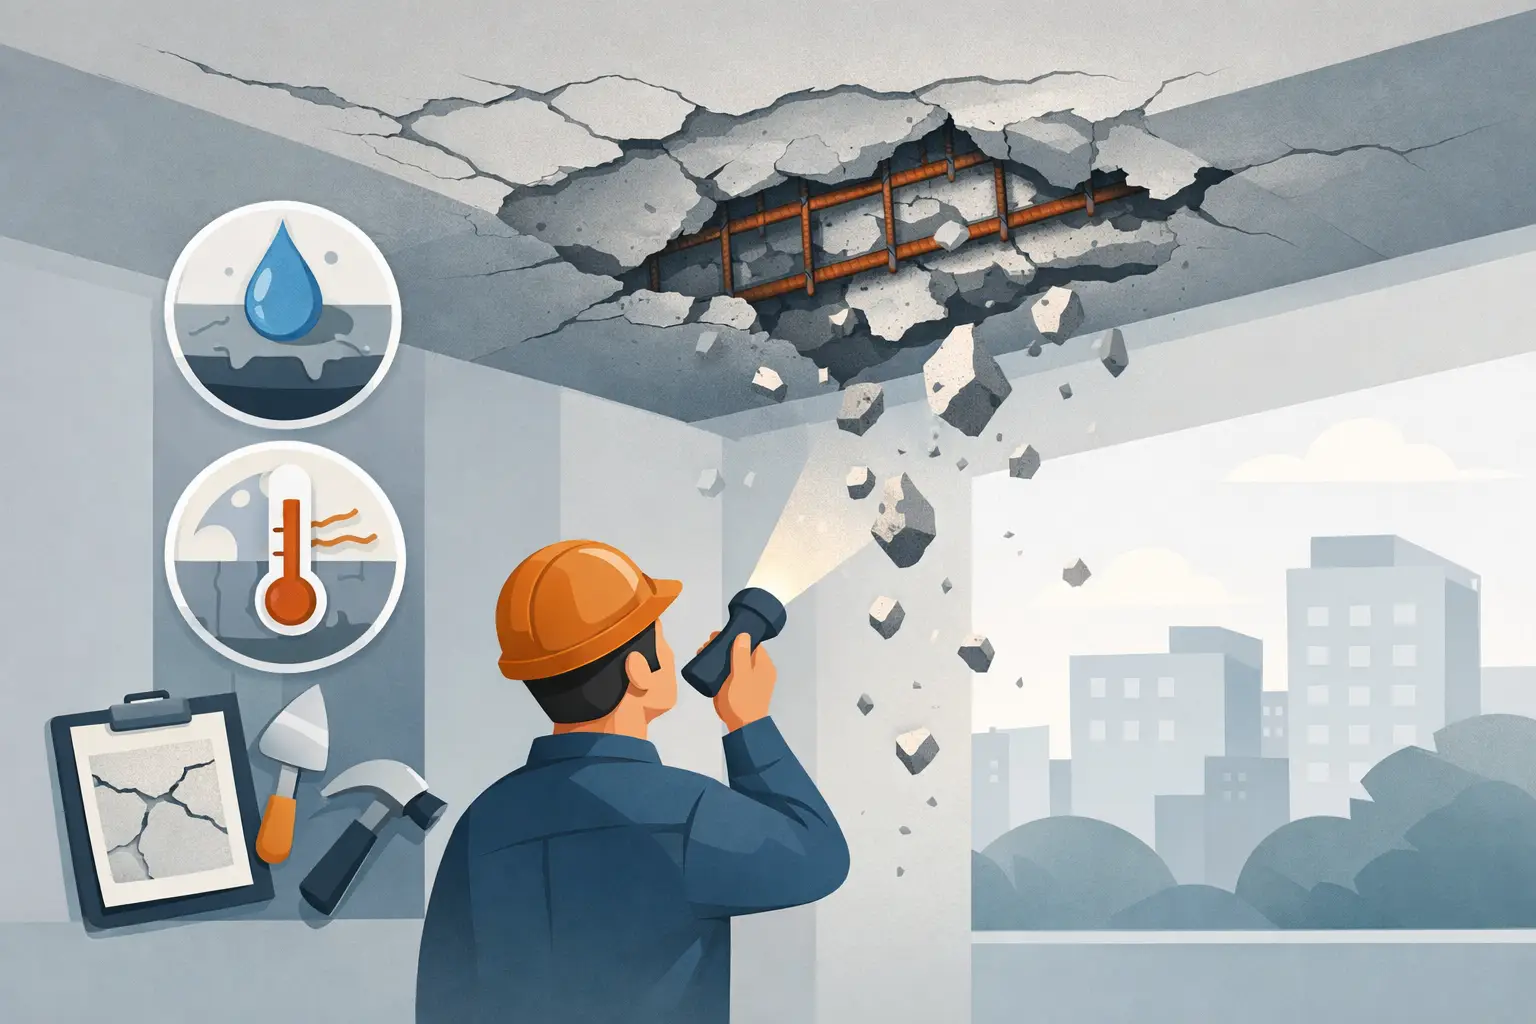
Before any sanding, patching, or priming begins, the surface needs to be assessed carefully. This step often gets rushed, but it determines the right method for the rest of the job. A bedroom wall with minor nail holes needs a very different approach from a ceiling with water staining or an exterior facade with spalling concrete.
A proper inspection looks for peeling paint, hollow plaster, mildew, grease buildup, water damage, rust stains, and structural cracks. It also checks whether the surface is previously painted, newly plastered, or patched in multiple areas. Each condition affects product choice and prep time.
For residential spaces, common issues include hairline cracks near door frames, patchy repairs from old fixtures, and stains from air-conditioning leaks. In commercial settings, walls may have adhesive residue, repeated repainting layers, or wear from heavy traffic. The surface condition always decides the process. There is no single prep method that works for every property.
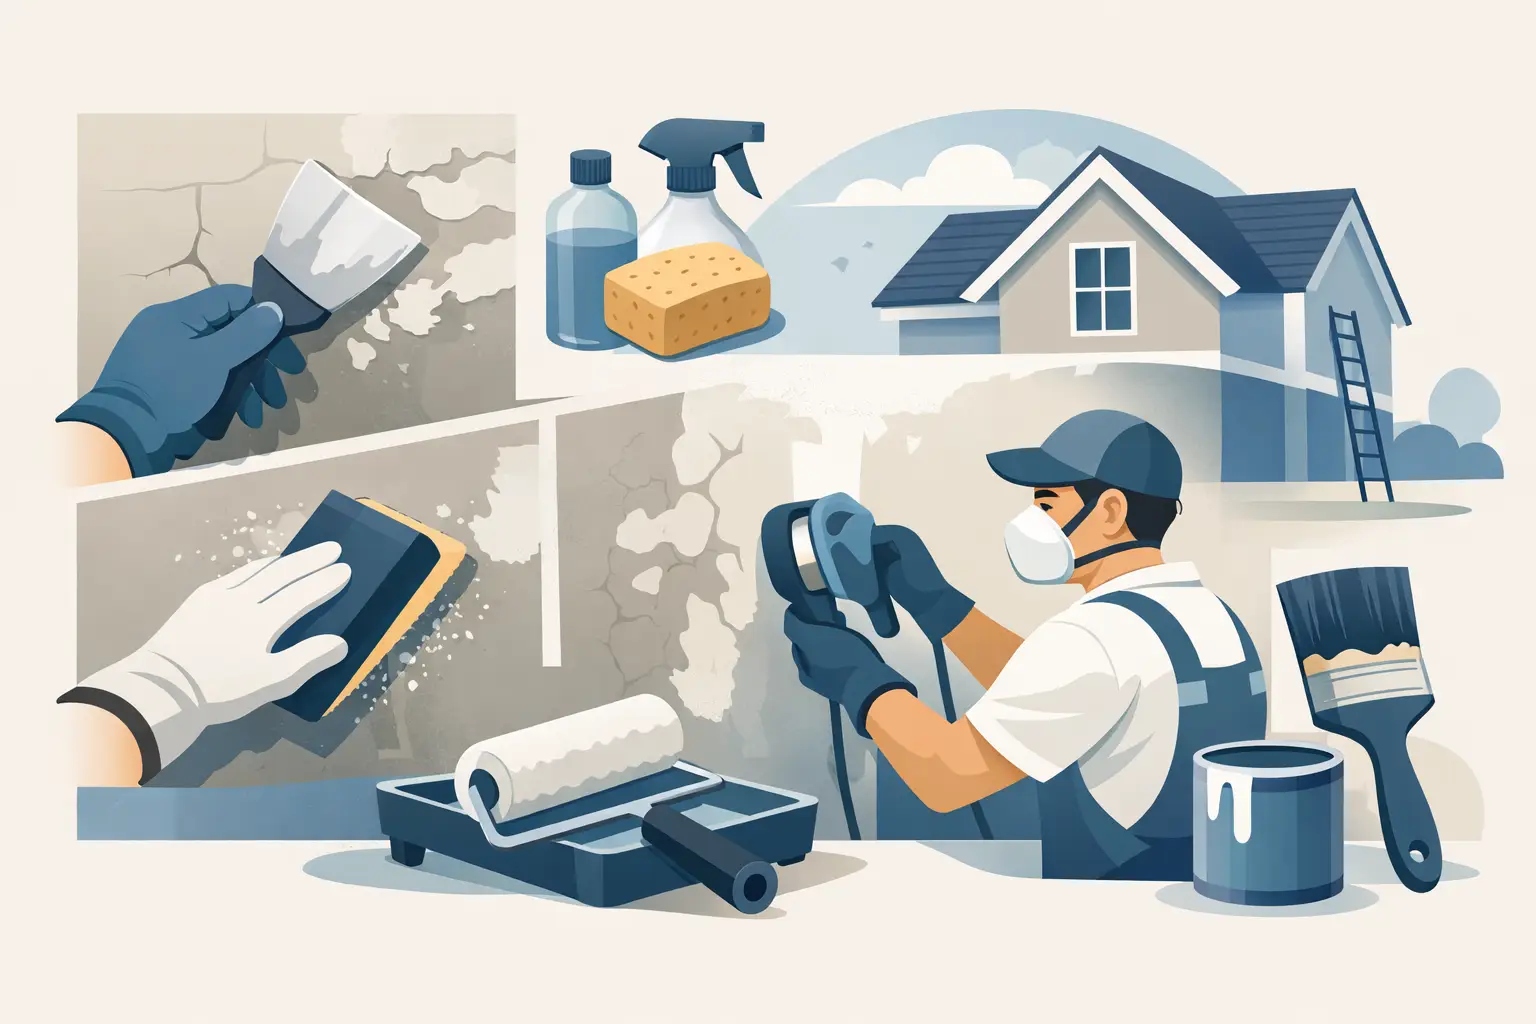
Cleaning is not optional
One of the most overlooked parts of surface preparation for durable painting is cleaning. Paint does not bond well to dirt, oil, soap film, dust, or loose particles. Even in spaces that seem clean, walls often hold fine residue from daily use, renovation dust, food oils, or humidity.
Interior walls may need washing or spot cleaning, especially in kitchens, bathrooms, hallways, and commercial units. Exterior surfaces often require more aggressive cleaning because they collect grime, algae, pollution residue, and chalking from older paint systems. If that contamination stays on the wall, the new coat can fail from underneath.
The method depends on the material and condition. Some walls can be wiped and lightly sanded. Others need a more thorough wash and full drying time before repairs begin. This is one of those areas where rushing creates hidden problems. A wall that feels dry on the surface may still hold trapped moisture if the cleaning process was too heavy or drying time was cut short.
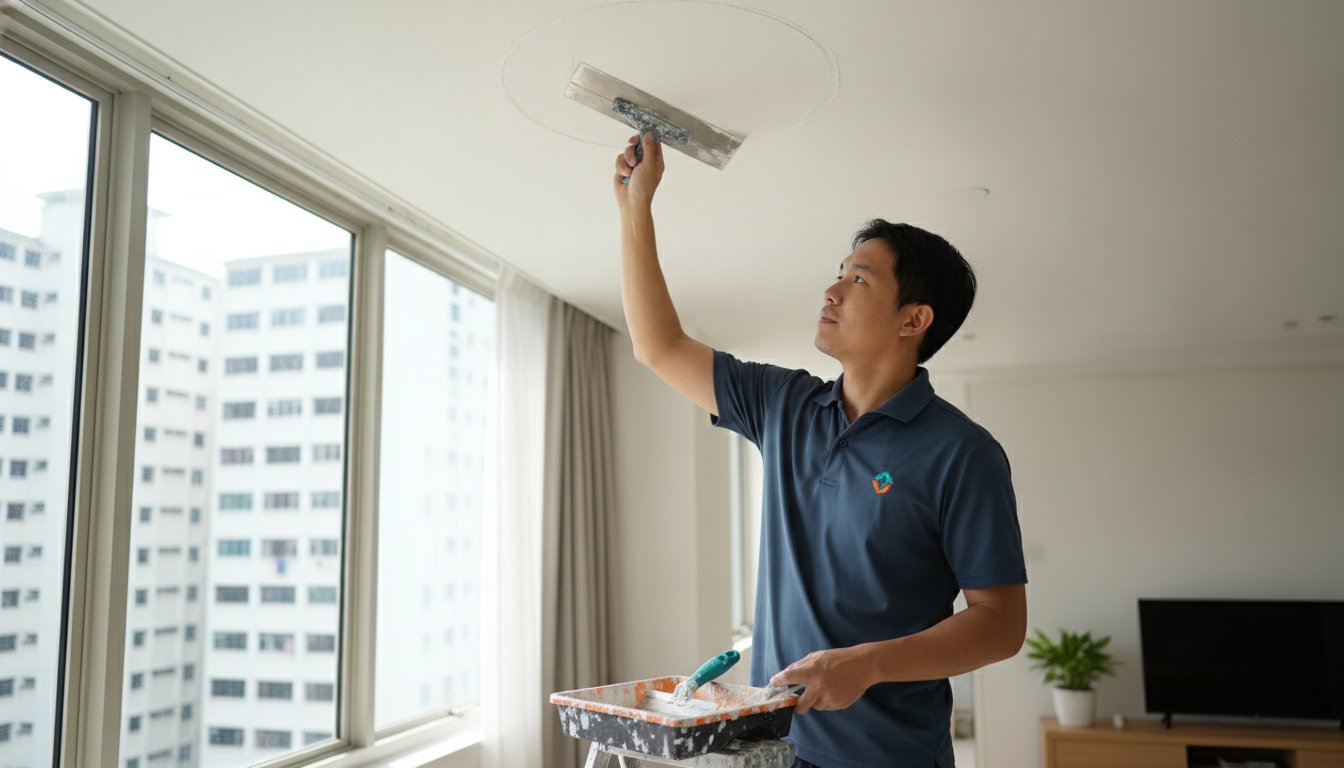
Repairs create the foundation for a smooth finish
Paint can improve the appearance of a space, but it cannot correct damaged substrate on its own. Cracks, dents, popped areas, flaking plaster, and concrete defects need to be repaired before coating starts. Otherwise, the new paint simply highlights them.
Hairline cracks may only need filling and sanding, while larger movement cracks may need a more flexible repair approach. Uneven plaster patches often require skimming to level the surface before primer and paint are applied. Spalling concrete needs even more attention because the issue may involve corrosion, loose concrete, and moisture pathways rather than just cosmetic damage.
This is where workmanship matters. A patch that is not feathered properly will show through the finish, especially under daylight or bright office lighting. A repair that is still damp or not fully cured can affect the paint above it. Durable painting depends on giving these repairs enough time and using the right materials for the surface condition.
Sanding, scraping, and leveling make paint look better
Preparation is not only about preventing failure. It is also what gives paint a clean, polished appearance. Scraping loose paint removes weak layers that could lift later. Sanding smooths repaired areas, dulls glossy surfaces, and helps create a more uniform base.
This step is especially important when repainting older properties. Multiple previous coats can leave ridges, drips, and texture inconsistencies. Without leveling those areas, the final result may look uneven even if the paint itself is applied correctly.
There is a trade-off here. Not every surface needs aggressive sanding, and overworking certain areas can damage the substrate or create unnecessary dust. The goal is not to strip everything back by default. It is to remove what is unstable and smooth what would interfere with adhesion and appearance.
Primer is part of preparation, not an extra
Many property owners ask whether primer is really necessary. The answer depends on the surface, but in many cases, yes. Primer helps seal porous patches, improve adhesion, block stains, and create a more consistent base for the topcoat.
New plaster, repaired sections, bare concrete, stained ceilings, and surfaces with strong color changes often benefit from primer. Without it, paint absorption can become uneven, causing flashing, dull spots, or patchiness. On problem areas, skipping primer may save time initially but increase the chance of callbacks and touch-ups later.
The key is using the right primer for the condition. A stain-blocking primer handles old water marks differently from a bonding primer used on difficult surfaces. This is another reason professional preparation pays off. Product selection should match the wall, not just the paint brand.
Interior and exterior surfaces need different prep standards
Not all painting environments create the same demands. Interior walls generally face wear from touch, furniture movement, cleaning, and occasional moisture. Exterior walls deal with sun, rain, wind-driven dirt, and temperature changes. That means surface preparation for durable painting must be adjusted accordingly.
For interiors, the focus is often on smoothness, stain control, and minimizing dust and disruption during prep. In occupied homes and offices, furniture protection and careful containment are part of doing the job properly. A durable result is not only about the wall itself. It is also about managing the space responsibly while work is in progress.
For exteriors, the emphasis shifts toward weather resistance and substrate stability. Any loose coating, algae growth, or moisture issue becomes more serious outside. If the base is compromised, even a high-performance exterior paint may break down faster than expected.
Why rushed prep leads to costly repainting
Fast turnarounds are sometimes necessary, especially in rental units, offices, or retail spaces. But speed should not mean skipping prep. Most paint failures that appear within months can be traced back to poor cleaning, incomplete repairs, inadequate drying time, or painting over unstable surfaces.
The frustrating part is that these issues often show up after the job appears finished. Bubbling, peeling edges, crack shadows, and uneven sheen may not be obvious on day one. Once they appear, the fix is rarely a simple touch-up. The affected area usually needs to be reopened, repaired, and recoated properly.
That is why a dependable contractor treats preparation as part of the finished result, not a background task. At My Paint Job, that means evaluating the condition carefully, addressing defects before painting starts, and managing the work from protection to cleanup so clients get a finish that looks right and lasts.
What property owners should expect before painting begins
If you are hiring a painting contractor, surface prep should be clearly discussed before work starts. You should know whether the walls need crack repair, skim coating, stain treatment, mold or mildew cleaning, sanding, primer, or more extensive substrate work. If the proposal only talks about the number of coats and paint brand, it may be missing the part that most affects durability.
It is also worth asking how the team handles furniture, floors, dust control, drying time, and problem areas such as damp patches or peeling ceilings. A professional process should feel organized from the beginning. Good preparation is visible not only on the wall but in how the worksite is handled.
Affordable painting should still include the steps that protect the outcome. The goal is not to add unnecessary extras. It is to do the necessary work that keeps the finish looking clean, even, and reliable over time.
A lasting paint job begins long before the first topcoat goes on. When the surface is inspected, cleaned, repaired, leveled, and primed with care, the final result has the best chance to perform the way it should. If you want paint that holds up instead of just looking good for a few weeks, preparation is where the real value begins.