A wall that looks ready for a fresh coat of paint can hide a difficult surprise beneath its wallpaper: weak drywall paper, old adhesive, previous patchwork, or moisture damage. Knowing how to remove wallpaper safely is less about pulling harder and more about controlling water, using the right tools, and recognizing when the wall needs professional attention. A careful approach protects the surface now and prevents costly repairs before painting later.
Start by Identifying What Is on the Wall
Not all wallpaper comes off the same way. Some modern wallpapers are strippable, meaning the decorative top layer may peel away dry while the paper backing remains. Others are traditional paper-backed products held with strong adhesive. Vinyl wallpaper often resists moisture until it has been scored, while older installations may have several layers applied over one another.
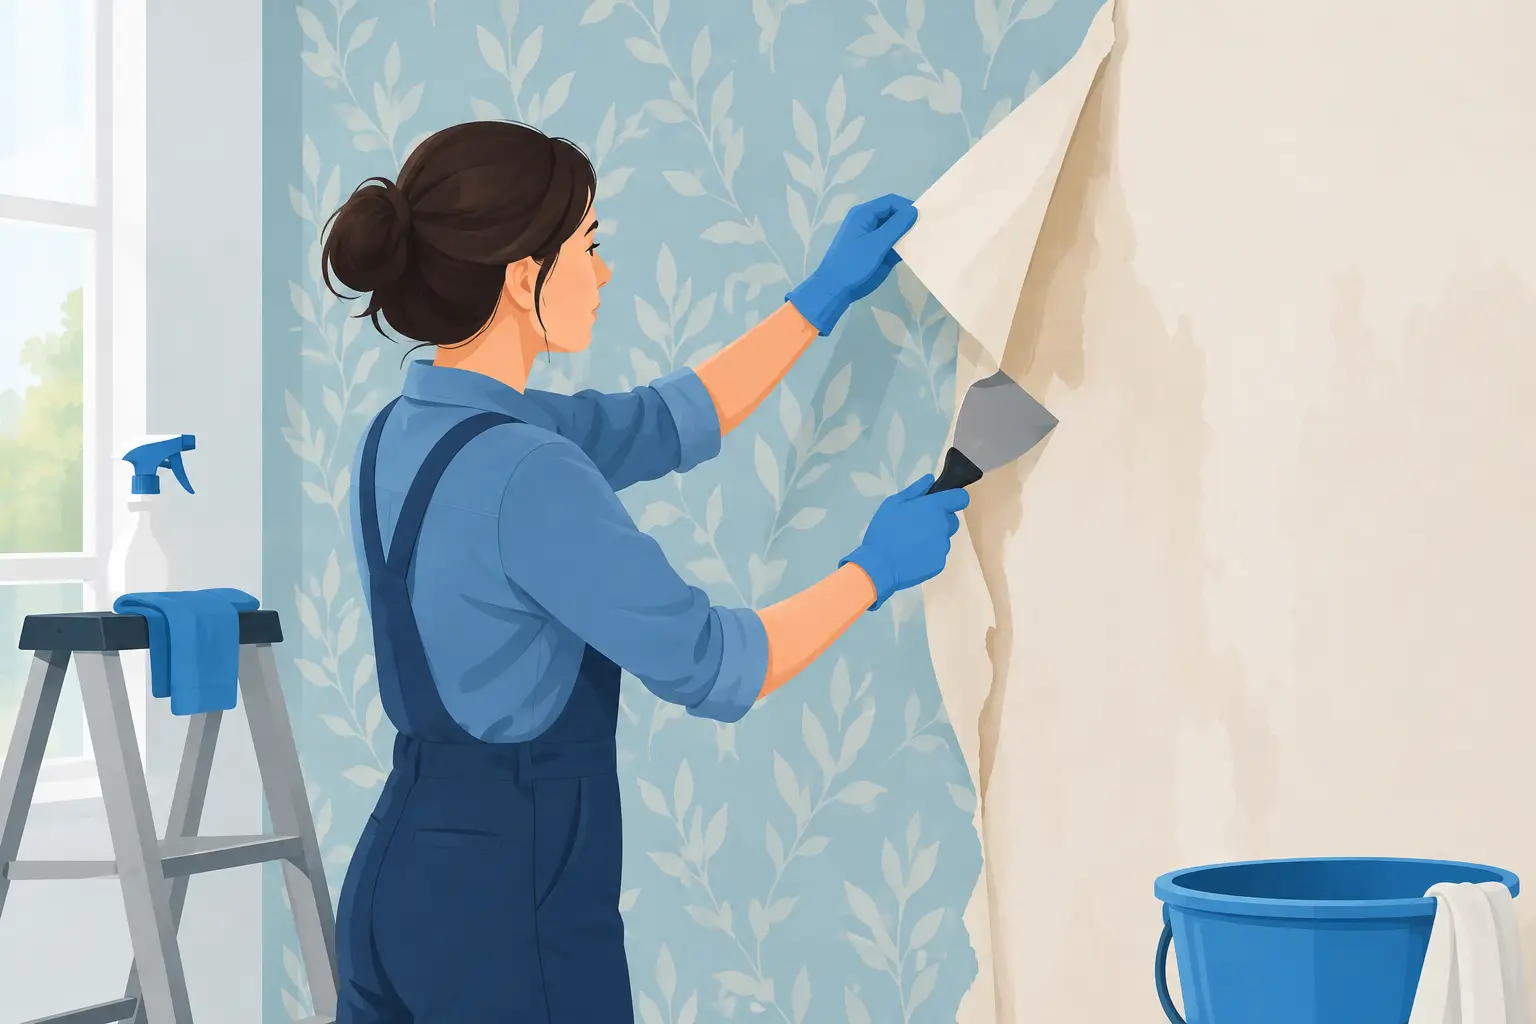
Begin in an inconspicuous corner, such as behind furniture or near a door frame. Use a putty knife to gently lift an edge. If a large sheet releases with light, steady pulling, you may have strippable wallpaper. Pull it downward at a low angle rather than straight outward. This reduces the chance of tearing the wall surface.
If the wallpaper shreds, leaves backing behind, or feels firmly bonded, stop pulling. Forcing it off can remove drywall facing, gouge plaster, and create a much larger repair job. At that point, moisture and patience will do more than muscle.
Prepare the Room Before You Add Moisture
Wallpaper removal is a wet, messy process even when it goes well. Proper preparation keeps furniture, flooring, outlets, and nearby finishes protected.
Move lightweight furniture out of the room and shift larger items toward the center, covering them with plastic sheeting. Lay drop cloths or plastic over the floor, then place absorbent towels along the base of the wall to catch drips. Remove wall décor, curtain hardware where practical, outlet covers, and switch plates. Turn off power to the room at the breaker before working near electrical outlets or switches.
Open windows where possible and use a fan for airflow, but do not aim strong airflow directly at a wet wall. You want the room ventilated, not the removal solution drying before it can soften the adhesive. Keep a trash bag or bin nearby so wet paper does not accumulate underfoot.
Gather a spray bottle or pump sprayer, warm water, a wallpaper remover solution if needed, a broad putty knife, a scraper with rounded edges, a scoring tool, sponges, clean rags, and a bucket. Wear gloves and eye protection. If there is any chance the wall contains mold or significant water staining, pause the project and have the condition assessed before wetting the area further.
How to Remove Wallpaper Safely Step by Step
Work in manageable sections, usually about three by three feet. Large wet areas are harder to control and may dry out before you can remove the paper.
1. Remove the top layer when possible
Start at a seam or loose edge. Lift the wallpaper with a putty knife, then pull slowly and evenly. Keep the sheet close to the wall as you pull. A sharp outward tug is more likely to pull up drywall paper or loosen skim coating.
If only the patterned surface comes away, leave the backing in place for the next step. Do not assume the remaining layer can be painted over. Wallpaper backing and old adhesive can bubble, reactivate under paint, or show visible seams after the wall is finished.
2. Score nonporous wallpaper lightly
Vinyl and coated wallpapers may prevent water from reaching the adhesive. A wallpaper scoring tool creates tiny perforations so the solution can penetrate. Roll it gently across the surface with light pressure. The goal is to perforate the wallpaper, not cut into drywall or plaster.
Avoid using a utility knife to score the wall. Even shallow cuts can become visible lines after painting, particularly on smooth interior walls. This is one of the most common avoidable causes of post-removal wall repairs.
3. Soften the adhesive with controlled moisture
Apply warm water or a wallpaper removal solution according to the product instructions. Saturate the wallpaper enough to soften the paste, but do not flood the wall. Excessive water can weaken drywall, soak into seams, and cause swelling or delamination.
Let the solution sit for several minutes. The exact timing depends on the wallpaper, adhesive age, and room conditions. Test a small area with your putty knife. If the paper resists, apply another light coat and wait again rather than scraping aggressively.
Steamers can help with stubborn adhesive, but they are not always the safest first choice. Heat and steam can soften paste quickly, yet they can also over-wet drywall, loosen plaster, and create hot condensation around trim and electrical areas. Use a steamer only with care, keep it moving, and avoid prolonged contact in one spot.
4. Scrape at a shallow angle
Once the adhesive has softened, slide a broad scraper beneath the paper at a low angle. Use short, controlled strokes and let the moisture do the work. If the blade starts catching or the wall surface begins to lift, stop immediately and re-wet the area.
A flexible putty knife is generally safer than a stiff, sharp scraper for drywall. For plaster walls, the concern is less about paper tearing and more about chipping brittle edges or opening existing cracks. In either case, slow removal produces a better surface for repair and repainting.
5. Wash away all remaining paste
The wallpaper may be gone while the adhesive remains. Run your hand over the wall after it dries slightly. A slick, tacky, or uneven feel usually indicates leftover paste. If it is painted over, that residue can cause poor paint adhesion, flashing, texture differences, or peeling.
Wash the wall with clean warm water and a sponge, changing the water regularly. A diluted wallpaper adhesive remover may be needed for stubborn residue. Rinse the wall afterward so cleaning chemicals do not remain on the surface. Use clean towels to wipe drips from baseboards and trim.
Let the Wall Dry Before Deciding What Comes Next
A damp wall can look acceptable right after removal but reveal damage as it dries. Give it adequate drying time before patching, priming, or painting. Good ventilation helps, but do not rush this stage with intense heat.
Inspect the surface in natural light and from an angle. Look for lifted drywall paper, softened areas, hairline cracks, nail holes, loose plaster, dark staining, or mold-like spotting. Minor surface damage can often be repaired with a suitable patching compound, sanded smooth once dry, and sealed with a quality primer.
If drywall facing has torn, do not apply joint compound directly over loose paper. First remove only the pieces that are already detached, seal the exposed area with an appropriate drywall sealer or primer, then patch and sand. Skipping the sealing step can cause the damaged paper to bubble when it absorbs moisture from the compound or paint.
For walls with widespread damage, repeated wallpaper layers, extensive adhesive, or uneven plaster, professional surface preparation is often the more economical choice. The visible quality of a paint job depends heavily on the wall beneath it. Saving time during removal can lead to a finish that looks rough under daylight, even with premium paint.
Common Mistakes That Damage Walls
The biggest mistake is treating wallpaper removal as a pulling job rather than a surface-preparation job. Dry ripping, over-scoring, using a razor blade, and scraping hard are all fast ways to damage drywall. So is soaking a wall repeatedly without allowing the solution to work.
Another frequent problem is painting before the wall is fully clean and dry. Paint cannot conceal adhesive residue, damaged paper, or unstable skim coat. It may temporarily cover the issue, but bubbles and peeling can appear later, especially in humid rooms such as kitchens, bathrooms, and laundry areas.
Be especially cautious in older properties. Existing cracks, water intrusion, weak plaster, or unknown previous repairs can change how a wall responds. When damage spreads beyond a small test area, stopping early is usually less expensive than continuing and repairing the entire room afterward.
When Professional Wallpaper Removal Makes Sense
Professional help is valuable when you need a predictable result with minimal disruption. This is particularly true for occupied homes, rental turnovers, offices, retail spaces, and projects on a tight painting schedule. A trained team can protect furnishings, remove wallpaper methodically, repair the substrate, prepare the surface correctly, and complete cleanup without leaving you to manage adhesive residue or patchwork.
At My Paint Job, wallpaper removal is treated as part of the complete wall-preparation process, not a separate stripping task. That means assessing the wall condition, protecting the space, addressing surface defects, and preparing a stable foundation for a clean painted finish.
A wall should feel smooth, dry, solid, and free of residue before its next finish goes on. If yours does not, taking the time to correct it now will make every coat of paint look better and last longer.