
A fresh coat of paint may make a stained wall look clean for a few weeks, but painting over mildew without proper treatment usually leads to the same spots returning. The paint can blister, discolor, or peel while the underlying moisture problem continues to affect the wall. For homeowners, landlords, and business owners, the right result starts with finding out why mildew formed in the first place.
Mildew is not simply a cosmetic issue. In humid spaces, it is often a warning that condensation, poor ventilation, water leakage, or damp building materials need attention. A professional painting job should restore the appearance of the surface while addressing the conditions that could damage the finish again.
Why Painting Over Mildew Usually Fails
Paint is designed to bond to a clean, dry, stable surface. Mildew creates a layer of organic growth that prevents good adhesion. Even if the marks are faint, painting directly over them can trap spores and moisture beneath the new coating.
The first visible sign is often a gray, green, or black stain appearing through the paint. In more severe cases, the coating may bubble or peel because the wall is still damp. This is why a stain-blocking primer alone is not a complete solution. Primer can help seal a properly prepared surface, but it cannot stop active mildew growth or fix a leaking pipe.
Bathrooms, kitchens, laundry areas, air-conditioned rooms, exterior-facing walls, and spaces behind large furniture are common problem areas. In Singapore’s humid climate, even a room with no obvious leak can develop mildew if air circulation is limited and moisture regularly settles on cool walls.
First, Identify What Is Causing the Mildew
Before cleaning or repainting, inspect the wall and surrounding area carefully. A small patch near a shower may be caused by steam and insufficient ventilation. A recurring stain below a window, near a ceiling, or along a wall joint may point to rainwater intrusion, plumbing leakage, or a failed waterproofing layer.
Look for peeling paint, soft plaster, cracks, damp patches, musty odors, and discoloration that returns after cleaning. If the wall feels cool and damp, or if the issue keeps coming back in the same place, painting should wait until the moisture source is resolved.
For rental properties, it also helps to distinguish between everyday condensation and a building defect. Regular use of exhaust fans, opening windows when practical, and allowing wet surfaces to dry can reduce condensation. However, leaks, spalling concrete, damaged exterior sealant, and persistent water penetration require repair work rather than another coat of paint.
The Proper Process for Treating Mildew Before Painting
A lasting repaint depends on preparation. Rushing through this stage may save time on the day, but it can create a more expensive repair later.
1. Protect the Room and Inspect the Surface
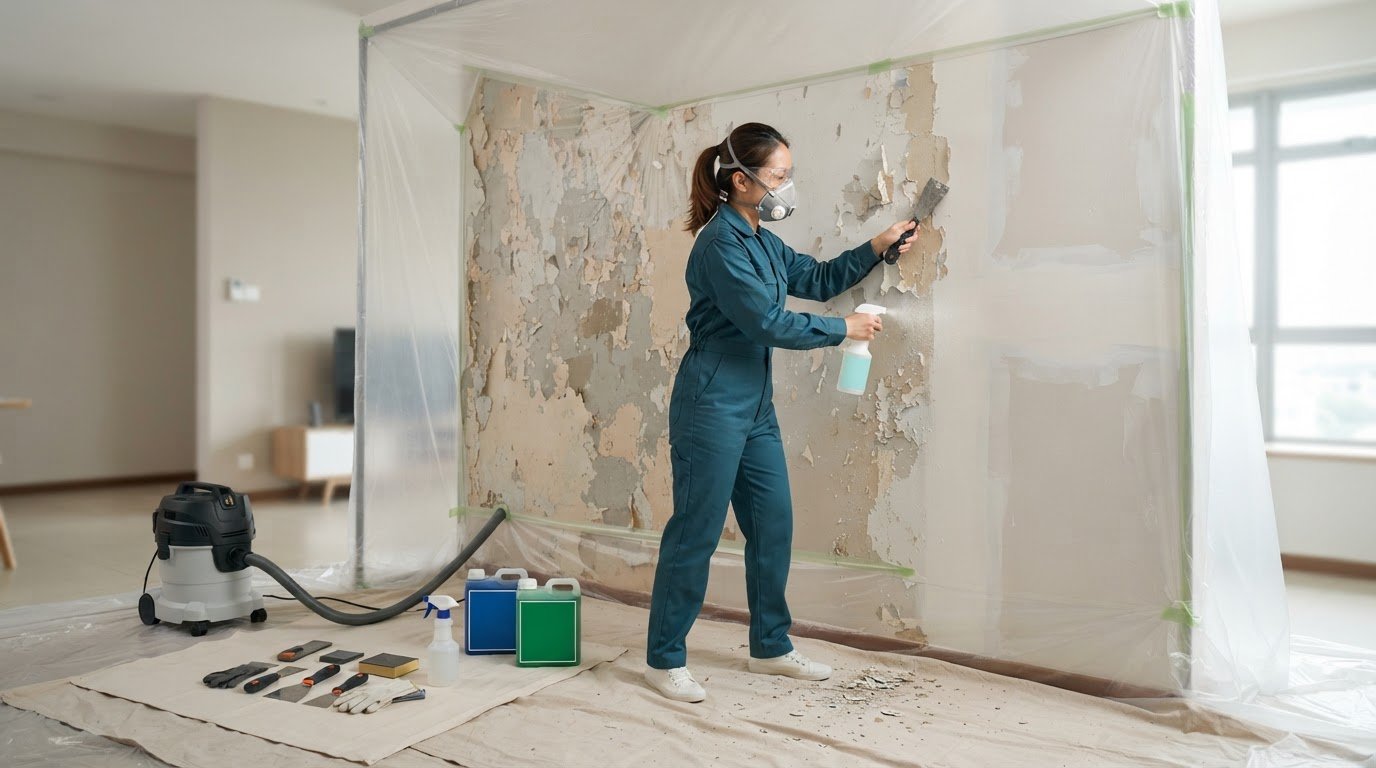
Move or cover furniture, protect flooring, and improve ventilation before work begins. Wear gloves, eye protection, and a suitable mask when cleaning affected surfaces. For a small, contained mildew patch, careful cleaning may be appropriate. If growth is extensive, the wall is crumbling, or there is a strong odor throughout the room, professional assessment is the safer choice.
The affected paint should also be checked for poor adhesion. Loose, flaking, or blistered areas need to be scraped back until a firm surface remains. Painting over compromised paint only transfers the weakness to the new finish.
2. Clean Away the Growth, Not Just the Stain
The wall should be cleaned with a suitable mildew-removal solution or cleaning product, following its safety instructions. The goal is to remove the growth and surface contamination, not merely lighten the visible mark. Avoid mixing cleaning chemicals, and do not assume that stronger chemicals will automatically produce a better result.
After treatment, wipe away residue and allow the surface to dry completely. This stage cannot be rushed. A wall that looks dry may still hold moisture beneath the paint film, especially after a leak or in a poorly ventilated room.
3. Repair Damage and Restore a Sound Surface
Mildew often reveals other surface problems. Minor cracks, nail holes, and uneven patches may need filling and sanding. Water-damaged plaster may need to be removed and repaired rather than covered. If concrete deterioration, rust stains, or spalling are present, those repairs should be handled before painting begins.
A smooth wall is not only about appearance. Proper repair gives primer and paint a stable base, helping the final finish look even and remain durable. In commercial spaces, this preparation also helps avoid avoidable touch-ups that can disrupt operations after reopening.
4. Prime Only After the Wall Is Dry
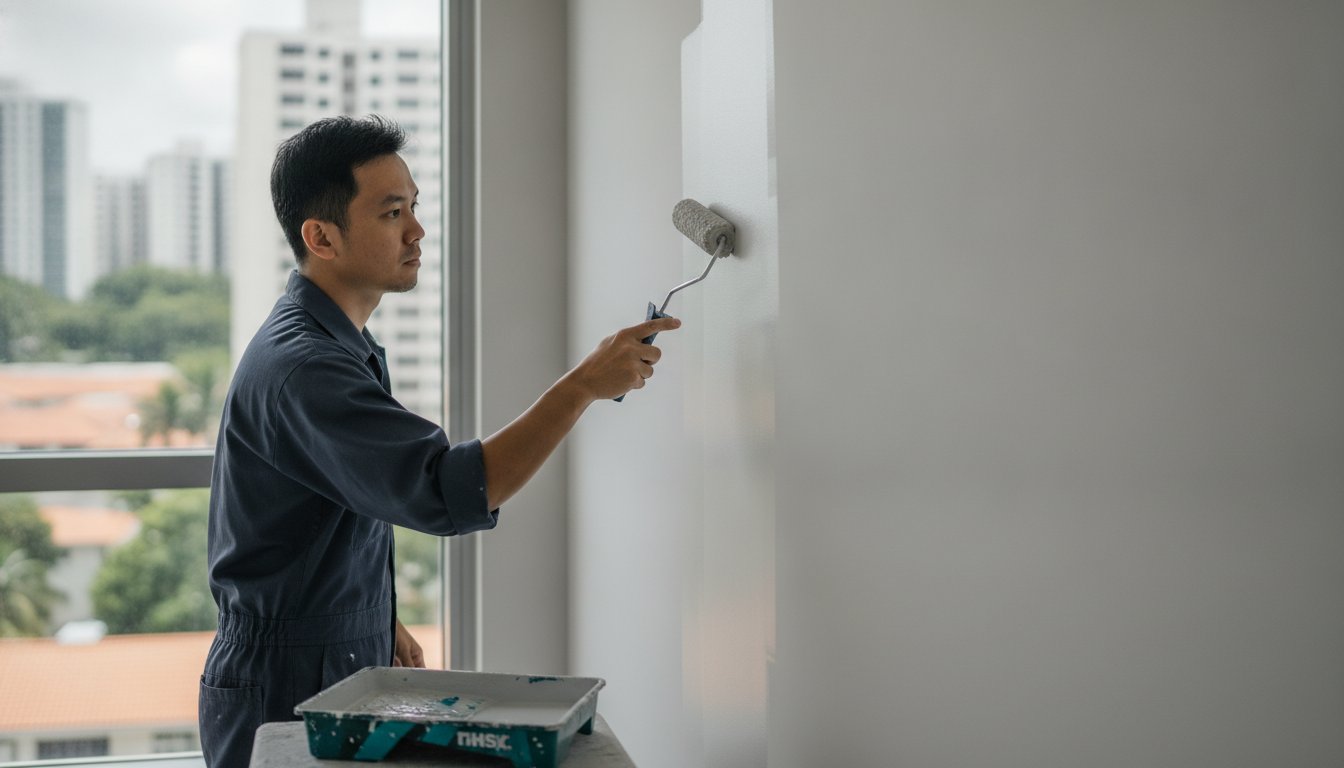
Once the cleaned and repaired wall is fully dry, apply the primer suited to the surface and condition. A quality stain-blocking or moisture-resistant primer can help prevent old discoloration from bleeding through the topcoat. For walls with repaired plaster, a primer also helps create even paint absorption, reducing patchiness.
The right primer depends on the substrate, the extent of staining, and the paint system being used. A standard interior primer may be sufficient for a minor, resolved issue. Walls with significant staining or previous water damage may need a more specialized coating system. This is where professional evaluation prevents guesswork.
5. Use Paint Made for Humid or High-Traffic Areas
For bathrooms, kitchens, and other moisture-prone rooms, choose a washable paint with mildew-resistant properties. These paints are formulated to help the finish stay cleaner and more durable under normal humid conditions. They are helpful, but they are not a substitute for ventilation or leak repair.
A higher-sheen finish is often easier to wipe down, although sheen should be selected with the wall condition in mind. Flat paint can soften the appearance of minor imperfections, while satin or semi-gloss finishes are generally more practical where splashes, steam, and frequent cleaning are expected. The best choice balances maintenance needs with the look of the room.
When You Should Not Handle It as a Simple Repaint
Some mildew issues are beyond normal surface preparation. If the affected area is large, repeatedly returns after cleaning, spreads behind cabinets, or is linked to visible dampness, stop before applying paint. The problem may involve a hidden plumbing leak, a roof or facade issue, failed waterproofing, or moisture inside the wall.
The same applies when paint has failed across a broad section of wall. Blistering near a window or on an exterior-facing wall can indicate water penetration from outside. Repainting without correcting that defect may result in another failed finish after the next period of heavy rain.
For offices, retail shops, and rental units, a quick cover-up can also create operational headaches. Odors, recurring stains, and peeling paint affect the presentation of the space and may require another closure for repairs. A planned inspection, repair, and repaint is usually the lower-disruption option over time.
How to Keep Mildew From Returning
After the wall has been properly treated and painted, everyday moisture control makes a meaningful difference. Run exhaust fans during and after showers, dry wet surfaces, avoid blocking airflow behind wardrobes or large cabinets, and address plumbing drips quickly. Air-conditioned rooms should also be checked for condensation around vents, pipes, and windows.
Periodic inspection matters, particularly before repainting a property for a handover, renovation, or business opening. Catching a small damp patch early is far easier than repairing damaged plaster and repainting an entire room.
My Paint Job approaches mildew-affected walls as a surface and moisture management issue, not simply a color change. From inspection and repair preparation to furniture protection, premium coatings, and final cleanup, a properly managed painting process gives your space the clean, polished finish it deserves. If a wall keeps showing the same stain, let the cause be fixed before the new color goes on – that is how a fresh finish stays fresh.