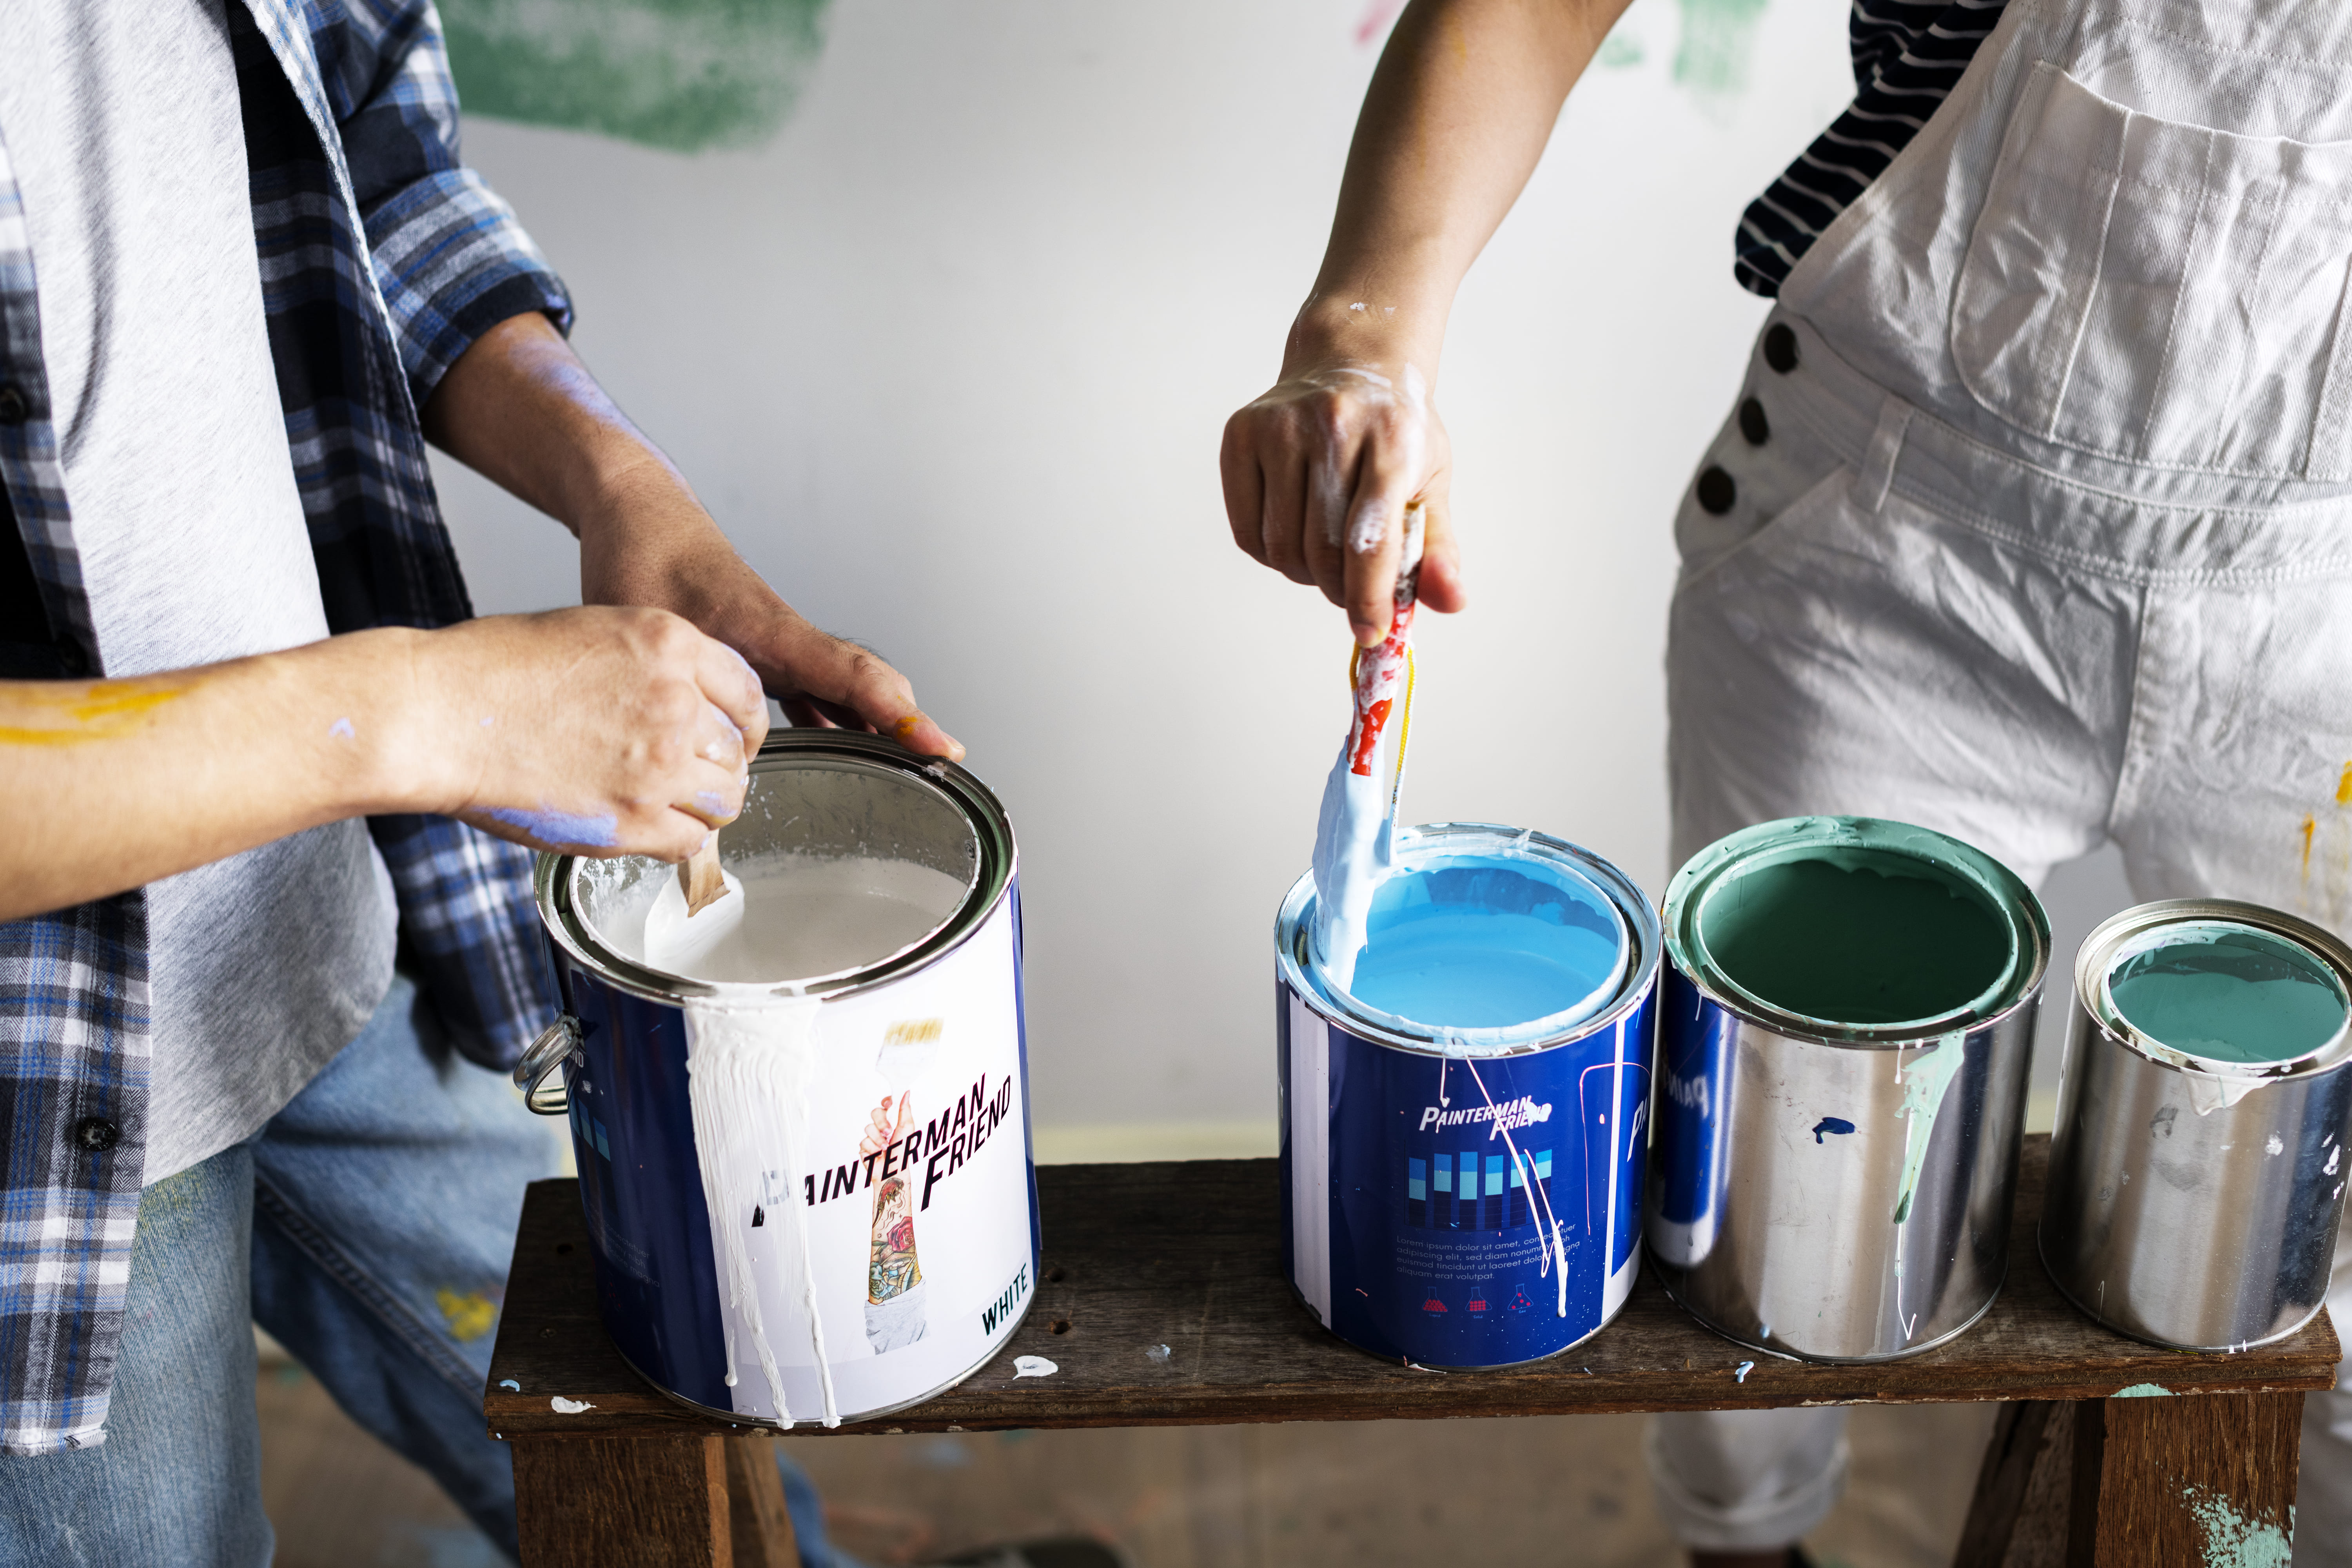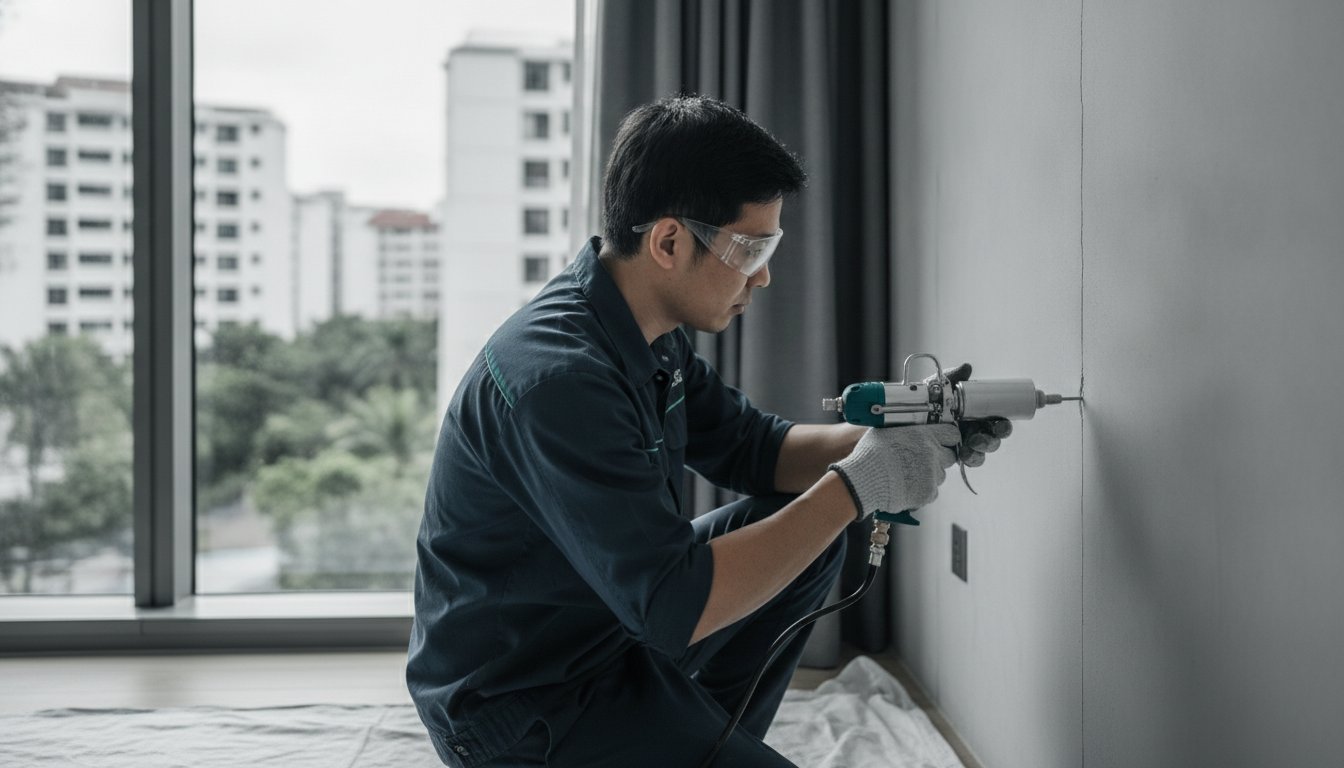
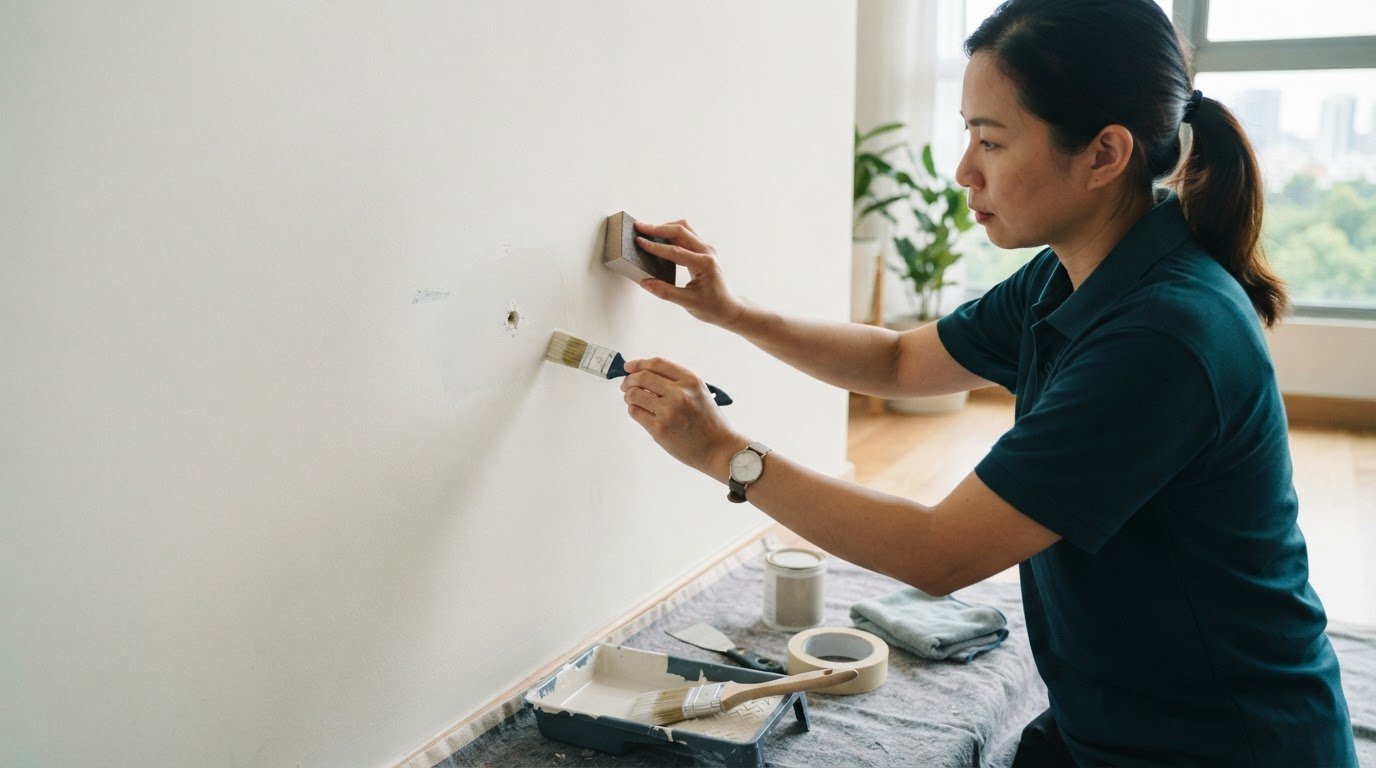
A small scuff or filled nail hole can become more noticeable if the paint colour, sheen or texture does not match. Even if you know how to touch up paint on walls, getting a neat result takes more than finding a similar shade.
Before you start, decide whether the mark needs cleaning, paint, a small surface repair or closer inspection. This guide explains how to prepare the area, match the original colour and sheen, and apply paint with a light touch. You’ll also learn why the same type of applicator and a smooth, sound surface matter, and how to spot recurring cracks, flaking or damp patches that paint alone will not fix. For persistent damage or a broad, uneven finish, professional painting or plastering may be a better route to a consistent result.
Key Takeaways
- Identify whether you’re dealing with a scuff, chip, crack, stain or sign of moisture before choosing a fix.
- Learn how to touch up paint on walls by protecting nearby surfaces, cleaning the area, repairing minor defects and testing the paint first.
- Check the paint’s sheen and texture as well as its colour. Sunlight, cleaning and age can make an old tin a poor match.
- Recognise when widespread fading, recurring patch visibility or uneven plaster calls for a larger repair rather than another spot touch-up.
How to Touch Up Paint on Walls: Identify the Mark Before You Start
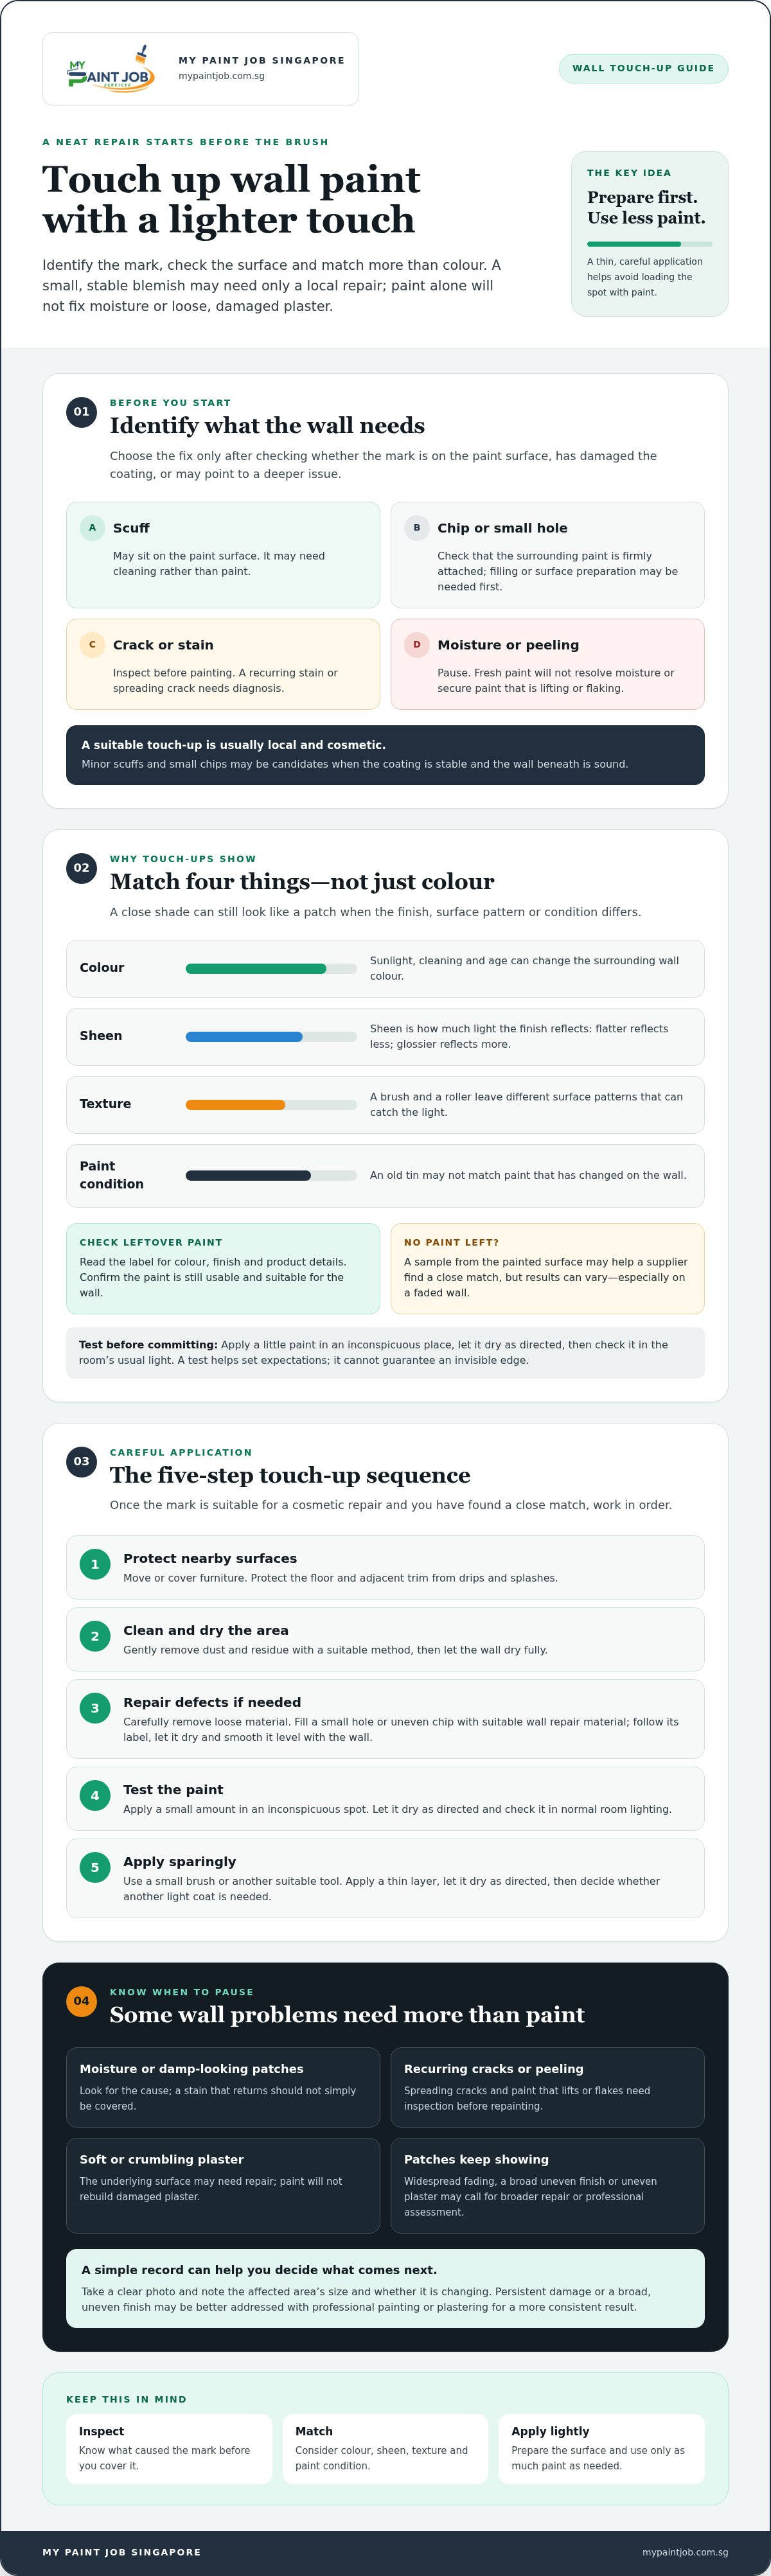
A small, stable blemish often needs only a local repair, not a fresh coat across the whole room. First, identify the problem. A faint scuff may sit on the paint surface, while a chip or scratch can expose the layer underneath. Cracks, stains, peeling and damp-looking patches need closer inspection before you reach for a brush.
A wall paint touch-up repairs a small, localised blemish using compatible paint. Compatibility means matching the paint type as well as the colour. For background on understanding paint composition, consider how paint ingredients and types differ. Paint can disguise a mark, but it will not secure loose paint, resolve moisture or rebuild damaged plaster. Find the cause first.
Which wall marks are suitable for a paint touch-up?
Minor scuffs and small paint chips may be suitable if the surrounding coating is firmly attached and the wall beneath is sound. A surface scuff may need cleaning rather than paint, while a chip may need filling or other preparation before repainting. A stain can have several causes, so don’t simply cover it if it returns. Recurring dampness, spreading cracks and peeling need diagnosis before fresh paint is applied.
When should you pause and inspect the wall?
Look for moisture, paint that lifts or flakes, plaster that feels soft or crumbles, and marks that reappear after cleaning or repainting. These signs suggest a touch-up alone may not last. Take a clear photo and note the affected area’s size and whether it’s changing. That record can help you decide whether the blemish is manageable as a small DIY repair or needs professional assessment, such as plastering before repainting.
Why Wall Paint Touch-Ups Show: Match Colour, Sheen, and Texture
A close colour match is only part of a seamless repair. Sheen describes how much light a paint finish reflects. A flatter finish reflects less, while a glossier one reflects more. If the touch-up has a different sheen, it can appear as a shiny or dull patch, even when its colour seems right. Colour, sheen, surface texture and paint condition all influence how visible a touch-up will be.
Existing wall paint can change with sunlight, regular cleaning and age. Previous coats may also differ from paint that is now in storage. Texture matters too: a roller leaves a different surface pattern from a brush, and that difference can catch the light around the repair. For more practical guidance, see these pro tips for touching up paint.
How can you find the closest paint match?
Check for leftover paint and read its label. Note the colour name, finish and product details, then confirm that the paint is still usable and suitable for the wall. If no paint remains, a sample from the painted surface may help a supplier find a close match, but results can vary, especially if the wall has faded. If you’re learning how to touch up paint on walls, treat the label as a useful starting point, not proof of an exact match.
Why can a correct colour still look different?
A small repair may be hard to notice on an even, well-maintained wall. Faded surrounding paint, a sheen mismatch or a different texture can make it stand out. Larger repaired areas are often harder to blend than small spots. Test a little paint in an inconspicuous place and let it dry before judging it in the room’s usual light. A test helps set expectations, but it cannot guarantee an invisible edge.
If patches keep showing or the wall needs broader coverage, professional painting services may help create a more consistent finish.
How to Touch Up Paint on Walls in 5 Careful Steps
Once you’ve confirmed that the mark is suitable for a cosmetic repair and found a close paint match, work in a deliberate sequence. The key to how to touch up paint on walls is to prepare the surface properly, then use as little paint as needed.
- Protect nearby surfaces. Move or cover furniture and protect the floor and adjacent trim to prevent drips and splashes.
- Clean and dry the area. Gently remove dust and residue with a suitable cleaning method. Let the wall dry fully before continuing.
- Repair defects if needed. Carefully remove loose material. For a small hole or uneven chip, use a wall repair material suitable for the surface and follow its label. Let it dry, then smooth the repair so it sits level with the wall.
- Test the paint. Apply a small amount in an inconspicuous spot and let it dry as directed. Check the result in normal room lighting before proceeding.
- Apply sparingly. Use a small brush or another suitable tool, applying a thin layer rather than loading the spot with paint. Let it dry as directed before deciding whether another light coat is needed.
How should you prepare a scuff, chip, or small hole?
Don’t paint over loose flakes or surface residue. Carefully remove unstable material, clean the area and wait until it’s completely dry. If a chip has rough edges or a hole needs filling, smooth the repaired area before painting. Keep the repair material within the defect and follow the product label for application and drying instructions.
How do you blend the paint without creating a hard edge?
Use a light touch and blend gently into the immediate surrounding area where appropriate. Match the wall’s existing texture with a suitable applicator, and avoid building up a thick ridge at the edge. If the paint starts to dry, stop brushing. Repeated strokes can disturb the surface and leave a more visible patch. Let it dry fully before judging the finish.
If the wall needs more than a small, stable repair, consider professional painting or plastering services for a more consistent surface and finish.
When a Wall Touch-Up Is Not Enough: What to Do Next
A touch-up works best for a small, stable mark on an otherwise sound wall. Widespread fading, repeated patch visibility, extensive peeling or uneven plaster may call for a larger repair. Don’t keep adding paint to a stain that returns or a crack that spreads. If moisture may be involved, identify and address its cause before repainting, or the damage may reappear.
Should you touch up one spot or repaint a larger section?
A local repair may suit a minor blemish when the surrounding finish is in good condition. If the wall has aged unevenly or looks patchy in several places, a single dab may draw attention to the difference. Test a small area, let it dry fully, then assess it in normal room lighting. If the result still stands out, consider repainting a larger section or the whole wall rather than layering on more spot repairs.
When can a professional painter help?
Consider professional assessment if stains persist, plaster is damaged, peeling covers a broad area or careful touch-ups keep producing visible colour differences. These problems may need investigation or surface repair, including plastering, before repainting. A DIY repair can be a sensible choice for a small, stable mark; not every blemish needs a contractor. But a broader issue deserves a closer look. My Paint Job Singapore provides painting and plastering services for walls that need more than a local touch-up.
If you’re unsure whether your wall needs a touch-up, surface repair or broader repainting, discuss a wall-painting concern and explain what you’ve noticed.
Make Your Next Wall Repair Count
A neat touch-up starts with the right diagnosis. Small, stable marks may need only compatible paint and careful application, while a lasting finish depends on matching colour, sheen and texture. If a stain returns, paint peels or plaster is damaged, address the underlying issue before covering it.
Now you know how to touch up paint on walls with a measured approach: prepare the surface, test your match, apply paint sparingly and let it dry before judging the result. If the repair keeps showing or the wall needs broader attention, professional painting or plastering may be a better fit.
My Paint Job Singapore has over 10 years of industry experience and focuses on careful surface preparation and thorough post-project clean-up. Its painting services include furniture protection and movement, as well as premium, eco-friendly paints. If your wall needs more than a local touch-up, contact My Paint Job Singapore to discuss painting or plastering for your home.
Frequently Asked Questions
How do you touch up paint on a wall without it showing?
Start with a sound, clean surface and the closest available match for both colour and sheen. Use a small amount of paint, blend the edge gently and avoid leaving a raised build-up. Let the repair dry fully as directed before assessing it in normal room lighting. A test patch can reveal a mismatch in finish or texture, though faded or older walls may still make the touch-up visible.
Can you use leftover paint to touch up a wall?
Yes, provided it’s the right type of paint and has been stored in usable condition. Check the label for the colour and finish, then mix it thoroughly according to the product instructions. Before using it on the blemish, test a small, inconspicuous area and let it dry. The surrounding wall may have faded or changed since it was painted, so leftover paint may not look identical.
Do you need to prime a wall before touching up paint?
It depends on the surface and paint system. A small scuff on intact paint may not need primer, but exposed filler, bare plaster or a repaired patch may require a suitable primer before the topcoat. Check the product instructions for the materials you’re using. Proper preparation helps the paint adhere and can support a more even finish. Skipping primer where it’s needed may leave the repair looking different.
Why does my wall look patchy after touch-up paint dries?
Patchiness can result from a difference in colour or sheen, faded surrounding paint, residue on the wall or a change in surface texture. Applying too much paint or leaving a hard edge can also make the spot stand out. Let the paint dry as directed, then assess it in normal light. If the patch remains obvious, repainting a larger section may blend more consistently than adding more paint to the spot.
Should you paint over a damp or peeling wall?
No. Fresh paint won’t resolve the cause of dampness, secure loose paint or repair damaged plaster. Pause and investigate the underlying issue before preparing and repainting the surface. If the stain returns, peeling spreads or the damage affects a larger area, seek a professional assessment. Repeatedly covering the problem with touch-up paint may hide it briefly without addressing what’s causing it.