A fresh coat of paint cannot hide every wall problem. If light catches ripples, old patch marks, hairline cracks, or rough texture, the real decision is usually plastering versus skim coating walls. Choosing the right surface treatment before painting protects your budget and gives the finished room the smooth, polished appearance you expect.
For homeowners, landlords, and business owners, the best option depends on the wall’s condition – not simply on which service costs less upfront. Plastering handles deeper defects and uneven masonry. Skim coating refines a mostly sound surface so paint applies evenly. A professional inspection helps prevent a quick cosmetic fix from becoming a repeat repair.
Plastering versus skim coating walls: the main difference
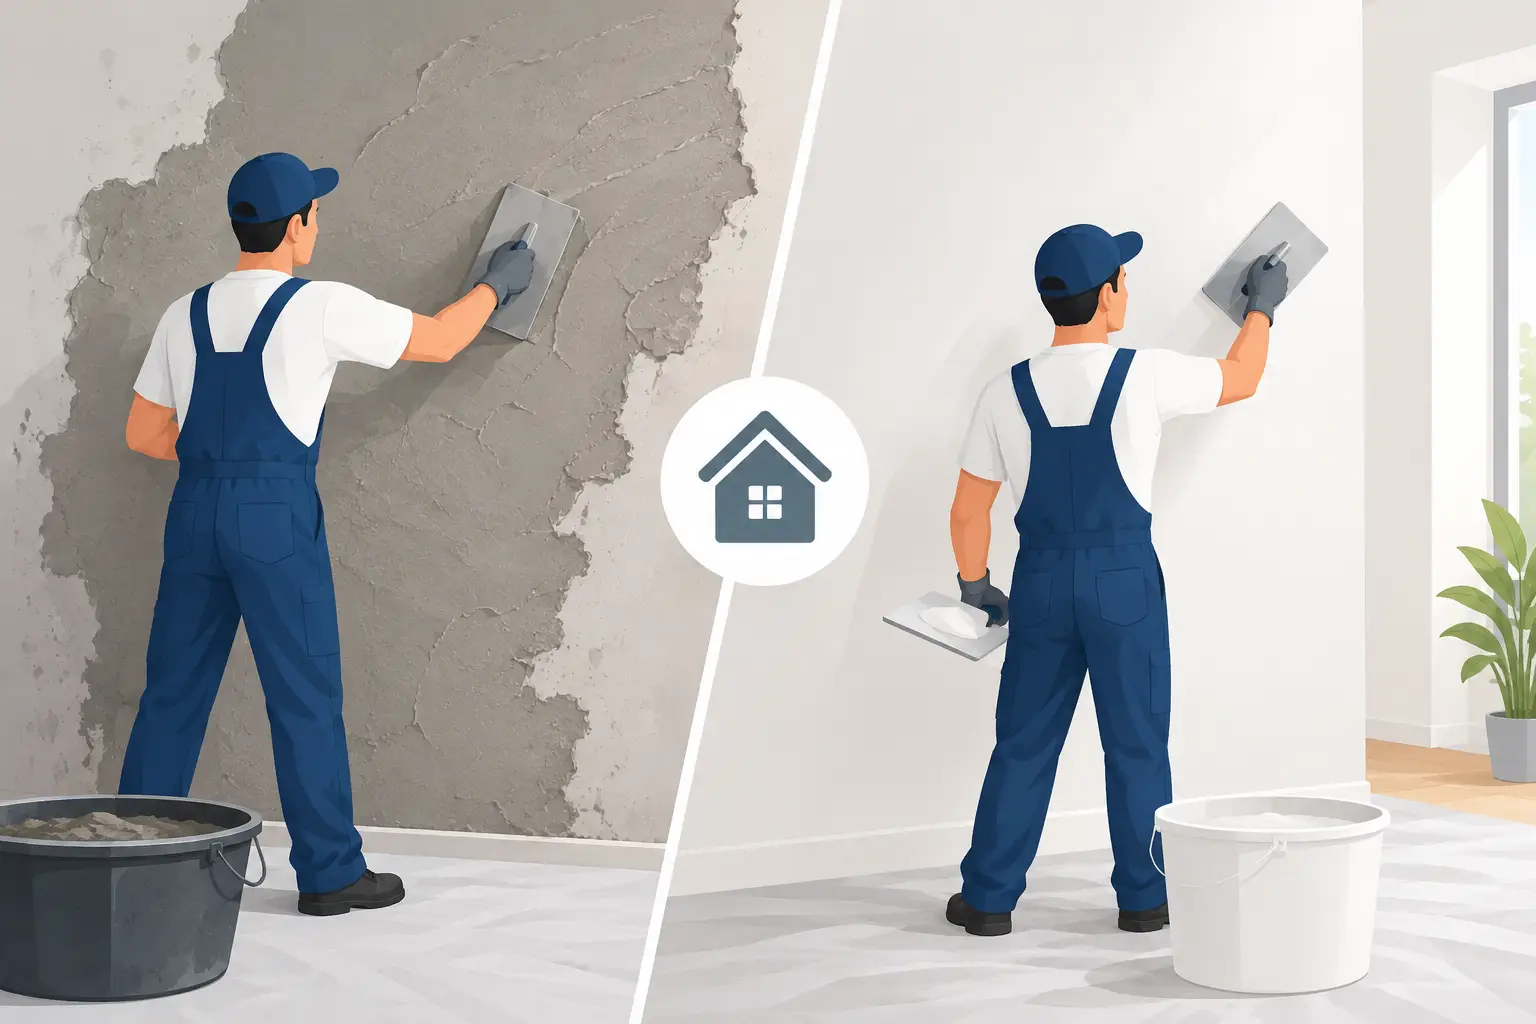
Plastering is a more substantial wall repair and leveling process. A plasterer applies a thicker material layer to correct uneven, damaged, or exposed masonry surfaces. It is commonly needed after hacking work, wallpaper removal that pulls away wall material, major cracking repairs, water damage remediation, or renovation work involving new electrical points and piping.
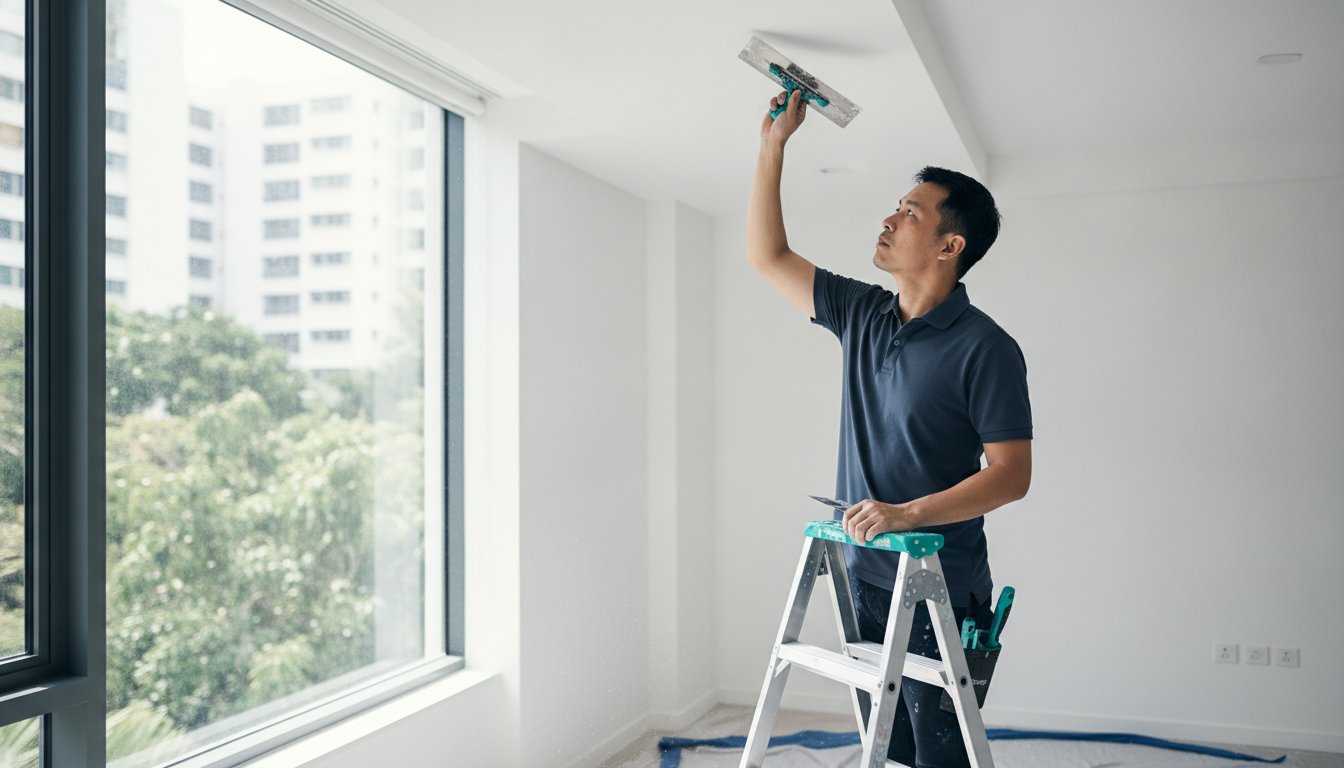
Skim coating is a thin finishing layer applied over a wall that is generally stable but visually imperfect. The coating fills fine pores, minor dents, shallow scratches, and small texture differences. Once dried and sanded properly, it creates a smoother base for primer and paint.
Think of plastering as rebuilding the foundation of the finish, while skim coating is refining the visible surface. Both can improve paint results, but neither should be selected without identifying the cause of the damage.
When wall plastering is the better choice
Wall plastering is usually the right solution when the problem goes beyond the paint layer. A wall that feels noticeably wavy, has deep gouges, contains uneven repair patches, or shows exposed cement may need plaster rather than a thin skim coat.
In older apartments, HDB flats, landed homes, and commercial units, wall movement and past renovation work can leave surfaces inconsistent from one section to another. Plastering restores a more level plane before any finishing work begins. This is especially valuable for walls that will receive light-colored paint, satin finishes, or strong side lighting, all of which make shadows and imperfections easier to see.
Plastering can also be necessary after removing wallpaper. If the adhesive, backing, or previous repairs tear away the wall surface, painting directly over the area may leave a patchy result. The same applies to walls affected by significant water stains or bubbling paint after the moisture source has been fixed.
However, plastering is not a cure for an active leak, serious structural crack, or concrete spalling. Those conditions need the underlying issue addressed first. Covering dampness with plaster can trap the problem beneath a new surface and lead to peeling, staining, or further deterioration.
What to expect from plastering work
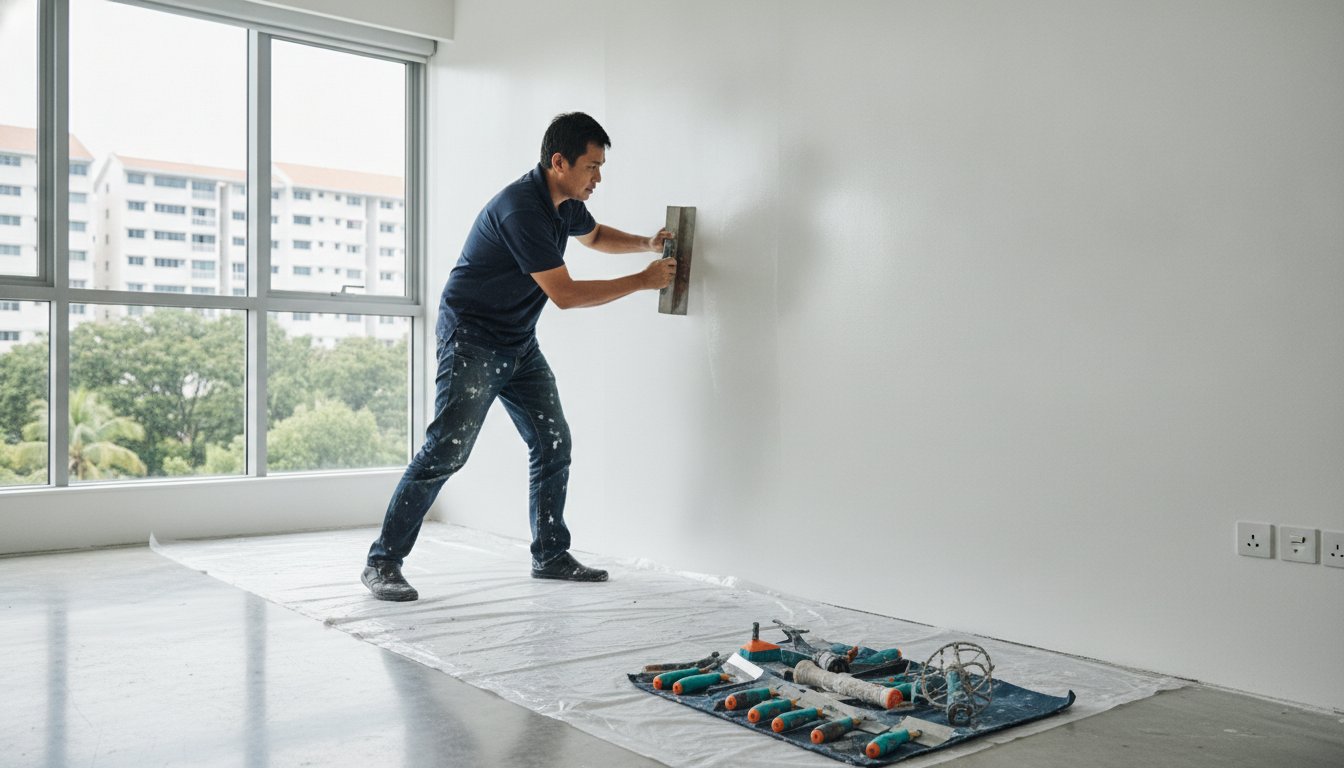
A proper plastering job involves more than spreading material over a damaged area. The team first removes loose material, cleans the surface, repairs relevant defects, and applies plaster at the correct thickness. The wall is then leveled and allowed to dry adequately before sanding, priming, and painting.
Drying time varies according to material thickness, ventilation, humidity, and the condition of the existing wall. Rushing paint onto a damp plastered surface can affect adhesion and appearance. For this reason, a reliable contractor plans the work sequence carefully rather than treating wall repair as an afterthought.
When skim coating is the smarter solution
Skim coating works well when a wall is structurally sound but needs a cleaner, smoother finish. It is often used to improve minor surface flaws before repainting a home, refreshing a rental property between tenants, or preparing an office or retail space for a more professional presentation.
Common candidates for skim coating include walls with small nail holes, faint hairline imperfections, shallow dents, orange-peel texture, old roller marks, or visible touch-up areas. It can also help blend repaired sections into the surrounding wall so the final paint color looks more consistent.
Because the material layer is thin, skim coating typically requires less material and less drying time than full plastering. That can make it a practical choice for projects with a tighter schedule, including express painting work. Still, speed should not mean skipping preparation. Dust, loose paint, greasy residue, and unstable patches must be dealt with before the coating is applied.
A smooth wall needs careful sanding
The quality of skim coating becomes obvious under paint. Poor application or rushed sanding can leave ridges, drag marks, pinholes, or uneven sheen. These flaws may not stand out on a bare wall, but they often become visible after light reflects off a newly painted surface.
Professional surface preparation includes applying thin, controlled coats where needed, allowing them to dry, and sanding between stages for an even result. A suitable primer then helps the topcoat bond consistently and reduces uneven paint absorption.
Cost, timing, and durability considerations
Plastering generally costs more than skim coating because it involves deeper repair, more labor, more material, and a longer drying process. It is the more economical choice only when the wall genuinely needs that level of correction. Using plaster for minor blemishes can add unnecessary time and expense.
Skim coating is often more affordable for cosmetic improvements, but it has limits. Applying a thin finish over a deep crack, loose plaster, or uneven wall may make the issue less obvious temporarily without solving it. The surface can crack again or reveal the original defect after painting.
Durability comes from correct diagnosis and preparation, not from choosing the thickest coating. A properly repaired and plastered wall can remain stable for years. A correctly skim-coated wall can also provide an excellent, long-lasting paint base when the underlying surface is sound.
For occupied homes and working commercial spaces, project planning matters as much as material selection. Furniture should be moved or protected, floors covered, dust controlled, and work areas cleaned after sanding. In offices and retail units, repairs can often be scheduled around operations to reduce disruption.
How paint finish changes the decision
The paint you choose can affect how much wall preparation is needed. Flat or matte paint is more forgiving of small imperfections, while eggshell, satin, and semi-gloss finishes reflect more light and reveal uneven surfaces more easily. Dark colors can also show patchiness when the wall has not been primed and prepared consistently.
That does not mean you should choose a paint finish simply to hide poor walls. It means the surface repair plan and paint selection should work together. During color consultation, it is worth discussing the room’s lighting, intended finish, and condition of the walls before finalizing the scope of work.
A hallway with strong downlights, for example, may benefit from more thorough skim coating even if the marks seem minor during the day. A utility room with a flat finish may only need localized patching and repainting. The practical answer depends on what the space needs to look like and how closely people will see the walls.
A professional assessment prevents unnecessary work
The most reliable way to decide between plastering and skim coating is to inspect the wall in person. A qualified team can check whether the defects are shallow or deep, isolated or widespread, cosmetic or moisture-related. This avoids receiving a quote for a surface treatment that does not match the actual condition.
At My Paint Job, wall improvement is planned as part of the complete painting process – from surface inspection and furniture protection to primer application, painting, and cleanup. That approach helps ensure the wall looks good not just on completion day, but after the paint has settled and the room returns to daily use.
Before committing to any repair, ask for a clear explanation of what is causing the wall issue, what preparation is included, and whether drying time is built into the schedule. The right repair should give you confidence in the finish, not leave you wondering what was covered up beneath the paint.