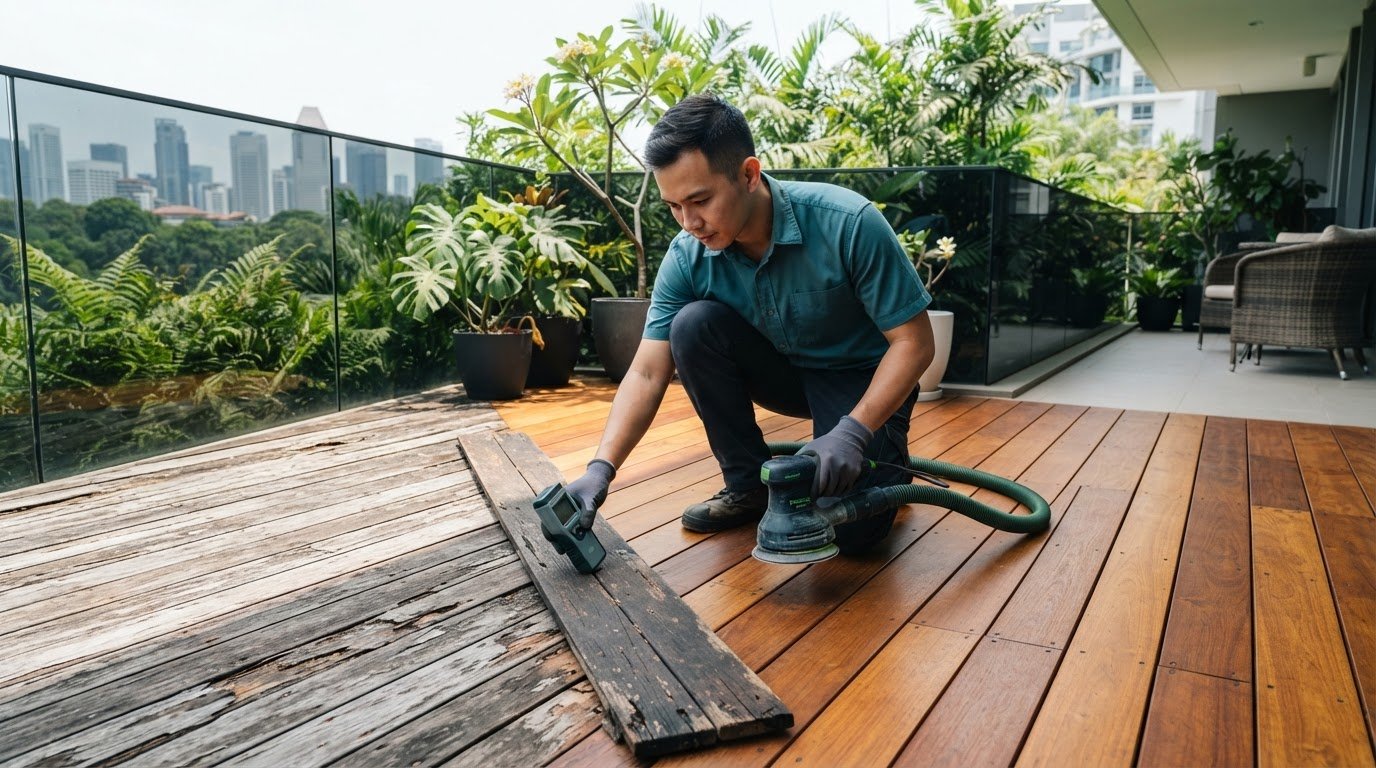
A fresh coat of varnish isn’t always the right first step for a weathered deck. If boards are peeling, grey, rough or soft underfoot, wood deck restoration and varnishing should begin with an assessment: is the finish worn, or are the boards themselves damaged?
To plan the work, inspect the entire deck and note where the finish has changed, whether the boards appear stable, and how much sun, rain and foot traffic each area gets. Singapore’s humid, rainy climate makes it especially important to follow the chosen product’s instructions for preparation and application. Sanding may help smooth sound timber, but it won’t repair damaged boards, and no outdoor finish is maintenance-free.
This guide explains how to spot visible wear, consider preparation and varnishing, and choose a sensible next step for the deck’s condition and exposure. My Paint Job Singapore provides wood varnishing, following Inspection → Preparation → Painting → Cleanup. Low-odour, zero-VOC paint options are also available for painting work.
Key Takeaways
- Fading, peeling, roughness and discolouration can signal finish wear. Cracks, movement, splintering or soft-looking areas need closer assessment.
- Plan wood deck restoration and varnishing around the deck’s condition. Sanding may be part of preparation, but it isn’t automatically required for every surface.
- Choose a finish and plan aftercare according to the product instructions, weather conditions and how you use the deck. Keep the surface undisturbed as directed.
- My Paint Job’s wood varnishing process is Inspection → Preparation → Painting → Cleanup. Low-odour, zero-VOC paints are available for painting work.
How to Tell Whether Your Wood Deck Needs Restoration and Varnishing
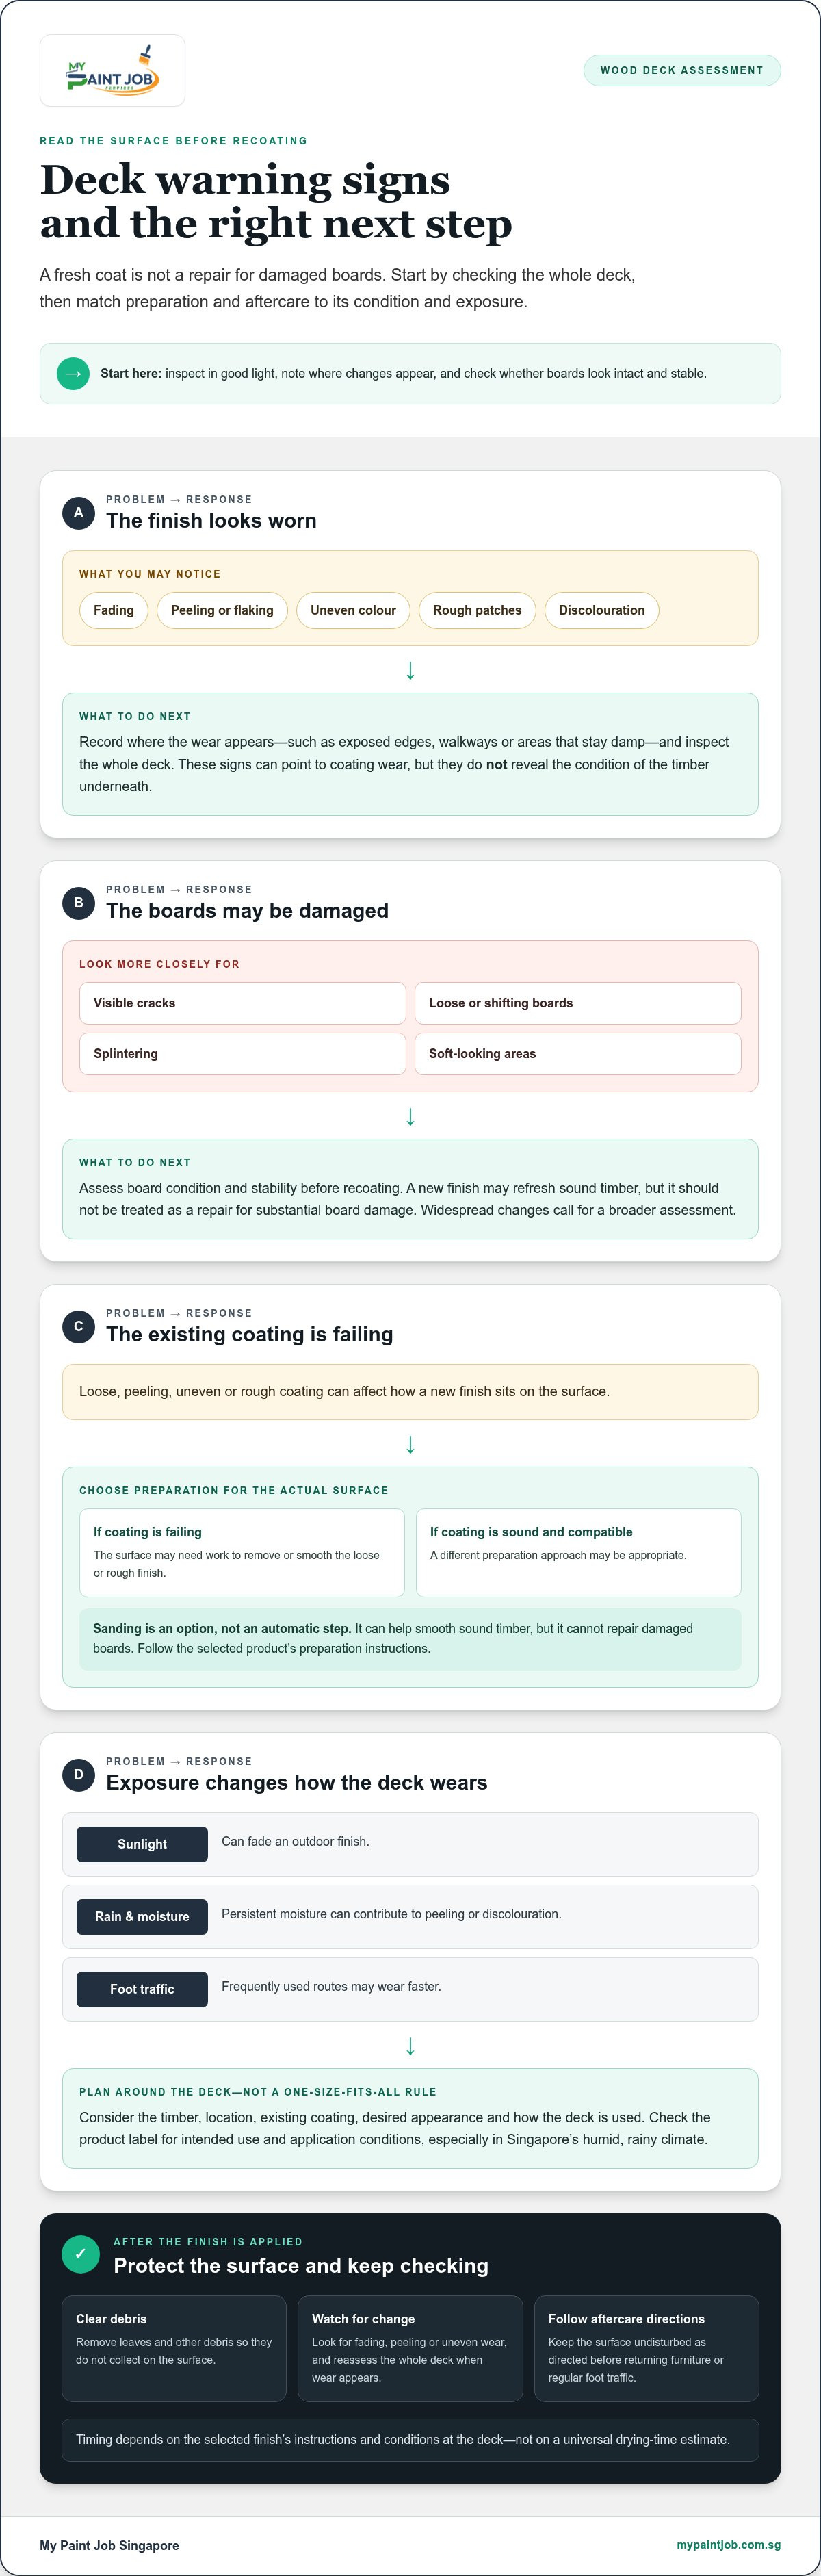
Inspect the whole deck in good light, not just the most weathered corner. Look for fading, uneven colour, peeling or flaking finish, rough patches and discolouration. Note where each sign appears, such as on exposed edges, walkways or areas that stay damp. This helps you distinguish a localised patch of wear from changes across the deck.
Which signs point to worn varnish rather than damaged boards?
Fading and peeling can indicate that the coating has worn, while roughness may mean the surface needs preparation before another finish is applied. These signs alone don’t reveal the condition of the timber underneath. Also look for visible cracks, loose or shifting boards, splintering and soft-looking areas. A new coat may refresh sound timber, but it shouldn’t be treated as a repair for substantial board damage.
Inspect the deck before considering another coat if you notice damage, movement or uneven wear. Check whether the boards appear intact and stable, and note where the problems occur. One peeling patch doesn’t necessarily represent the whole deck, but widespread changes call for a broader assessment.
Why does outdoor exposure matter when assessing a deck?
Sunlight can fade an outdoor finish, while rain and persistent moisture can contribute to peeling or discolouration. Foot traffic may also wear the coating faster along frequently used routes. In Singapore’s humid, rainy climate, exposure is an important part of the assessment. The effect depends on the deck material, location and existing coating, so don’t assume every board or finish will respond in the same way.
The right wood deck restoration and varnishing plan depends on the existing surface and how you use the deck. Since finishes differ, Varnish offers background on varnish as a wood finish and how it differs from stain. Record areas of wear, cracks and movement to guide the assessment before choosing preparation or recoating.
How Wood Deck Restoration and Varnishing Work
A sound result starts with a plan, not a coat of varnish. The general sequence is to inspect the deck, prepare the surface, apply a finish suited to the timber and exposure, then follow the product’s aftercare instructions. Each step depends on the condition of the boards and the existing coating. Loose or failing finish needs attention before recoating, or the new layer may not sit evenly.
When is sanding considered before re-varnishing?
Sanding is one preparation option, not an automatic step. If an existing coating is peeling, uneven or rough, the surface may need work to remove or smooth the failing finish. A sound, compatible coating may call for a different approach. Sanding changes the surface, while recoating adds finish. Choose the preparation method according to the deck’s condition and the product instructions.
How should the finish be chosen for an outdoor wood deck?
Consider the appearance you want, how exposed the deck is to sun and rain, and how much upkeep you can manage. These factors help narrow the options, but suitability depends on the specific timber and coating. Check the product label for its intended use and application conditions, especially in a humid, rainy climate. Follow its directions for preparation, application and aftercare rather than assuming one product or method suits every deck.
Preparation helps a finish meet the surface evenly, so applying varnish over loose or failing coating can undermine the result. After application, follow the product’s guidance before returning furniture or regular foot traffic to the deck. This helps avoid disturbing the finish before the product instructions allow normal use.
My Paint Job provides professional wood varnishing, following Inspection → Preparation → Painting → Cleanup. Low-odour, zero-VOC paint options are available for painting work, not as varnishes. To discuss your project, explore wood varnishing services and request a free, non-obligatory quote.
How to Plan Deck Varnishing Around Weather, Use, and Maintenance
Good scheduling gives the finish a better chance of being applied under suitable conditions and helps you plan around daily routines. In Singapore, humidity and frequent rain make it useful to check the selected product’s instructions instead of assuming a particular day or season will suit every coating. Confirm the stated application conditions and arrange access so the surface can remain undisturbed as directed.
What should homeowners check before scheduling varnishing?
Review the deck’s condition, existing coating, access and intended appearance before setting a work date. Note whether furniture needs to be moved, which areas get regular foot traffic and how you use the deck. These details help you plan when to clear the space and how to limit disruption. Timing depends on the finish’s instructions and the conditions at the deck, not on a universal drying-time estimate.
Once the work is complete, keep care simple and regular:
- Remove leaves and other debris so they don’t collect on the surface.
- Watch for changes such as fading, peeling or uneven wear.
- Reassess the whole deck if wear becomes visible, rather than relying on one small patch as a guide.
Also plan how you’ll use the deck during and after the work. If it’s a main route through the home or a frequently used outdoor space, arrange another way to access the area while the finish needs to remain undisturbed. Follow the product instructions before returning furniture or resuming regular use. Regular checks can help you notice changes early, though they can’t prevent the effects of exposure.
A practical plan connects weather, access and aftercare to the finish selected for your wood deck restoration and varnishing project. For professional wood varnishing, request a free, non-obligatory quote.
Plan Professional Wood Deck Varnishing with My Paint Job
If the finish looks worn but you’re unsure about the boards beneath it, professional wood varnishing can help you plan the work carefully. My Paint Job provides wood varnishing, with attention to the existing finish and the preparation the surface needs. Share what you’ve noticed, such as peeling, fading, rough areas or changes in the boards, so the project can be considered in context.
My Paint Job brings more than 10 years of industry experience to its work and offers a 100% Satisfaction Guarantee. The process is Inspection → Preparation → Painting → Cleanup, with assessment and preparation before finishing, followed by cleanup. Low-odour, zero-VOC paint options are available for painting work; they are not varnishes.
What happens when you request a wood varnishing quote?
Request a free, non-obligatory quote for your project. It helps to describe the deck’s size and access, the coating you believe is on it, visible wear or damage, and the appearance you want. Photos can help show what you’ve observed, while the surface assessment guides the appropriate preparation. You don’t need to decide on sanding or a new coat before considering the deck’s condition and existing finish.
A clear project brief connects the deck’s current state with a practical varnishing plan. If you’re ready to discuss professional wood varnishing, request a free, non-obligatory quote.
Take the Next Step Towards a Renewed Deck
Before planning wood deck restoration and varnishing, make a short project note: the appearance you want, how you use the space, and any concerns about access or the existing coating. Sharing these details helps focus the conversation on the work the surface may need.
With more than 10 years of industry experience and a 100% Satisfaction Guarantee, My Paint Job provides wood varnishing and a clear process for the work. A free, non-obligatory quote is a practical way to discuss your project before deciding how to proceed.
Request a free, non-obligatory quote for wood varnishing and take the next step towards a finish that suits your deck and how you want to enjoy it.
Frequently Asked Questions
How often should a wood deck be re-varnished?
There’s no fixed re-varnishing interval that suits every deck. Check for fading, peeling, roughness or other visible wear, and consider how much sun, rain and foot traffic the surface gets. For wood deck restoration and varnishing, keep a simple record of changes, such as dated photos from the same viewpoint. Follow the chosen finish’s maintenance instructions, and assess damaged-looking boards before planning another coat.
Does a wood deck always need sanding before varnishing?
No, sanding isn’t required for every deck. The existing coating and the surface condition guide preparation. A loose or failing finish needs attention before recoating, while a sound surface may call for another method specified by the product instructions. Don’t choose sanding by habit. Low-odour, zero-VOC paint options are available for painting work, but they aren’t varnishes.
Can I varnish a wood deck during humid or rainy weather?
Plan application only when conditions meet the varnish manufacturer’s instructions. Moisture and weather can affect application and drying, and products may specify different conditions. In Singapore’s humid, rainy climate, compare the product guidance with the conditions at the deck rather than choosing a date by season alone. If the stated conditions aren’t met, postpone the work instead of relying on a generic drying estimate.
What happens if I apply varnish over peeling or damaged wood?
A new coat won’t automatically resolve a problem beneath the existing finish. Peeling may mean the surface needs preparation, while visible board damage calls for closer assessment before varnishing. Inspect edges, joins and surrounding boards, not only the patch that first caught your eye. The cause and extent of the issue help determine whether the surface is ready for a new finish.
How soon can I use a deck after it has been varnished?
Wait for the specific product’s stated drying and curing instructions before returning furniture or regular foot traffic. A surface that feels dry may not yet be ready for normal use, so don’t judge by touch alone. Follow the manufacturer’s directions for the actual application conditions, and plan access to the deck accordingly. Avoid placing items or resuming use until the instructions allow it.