
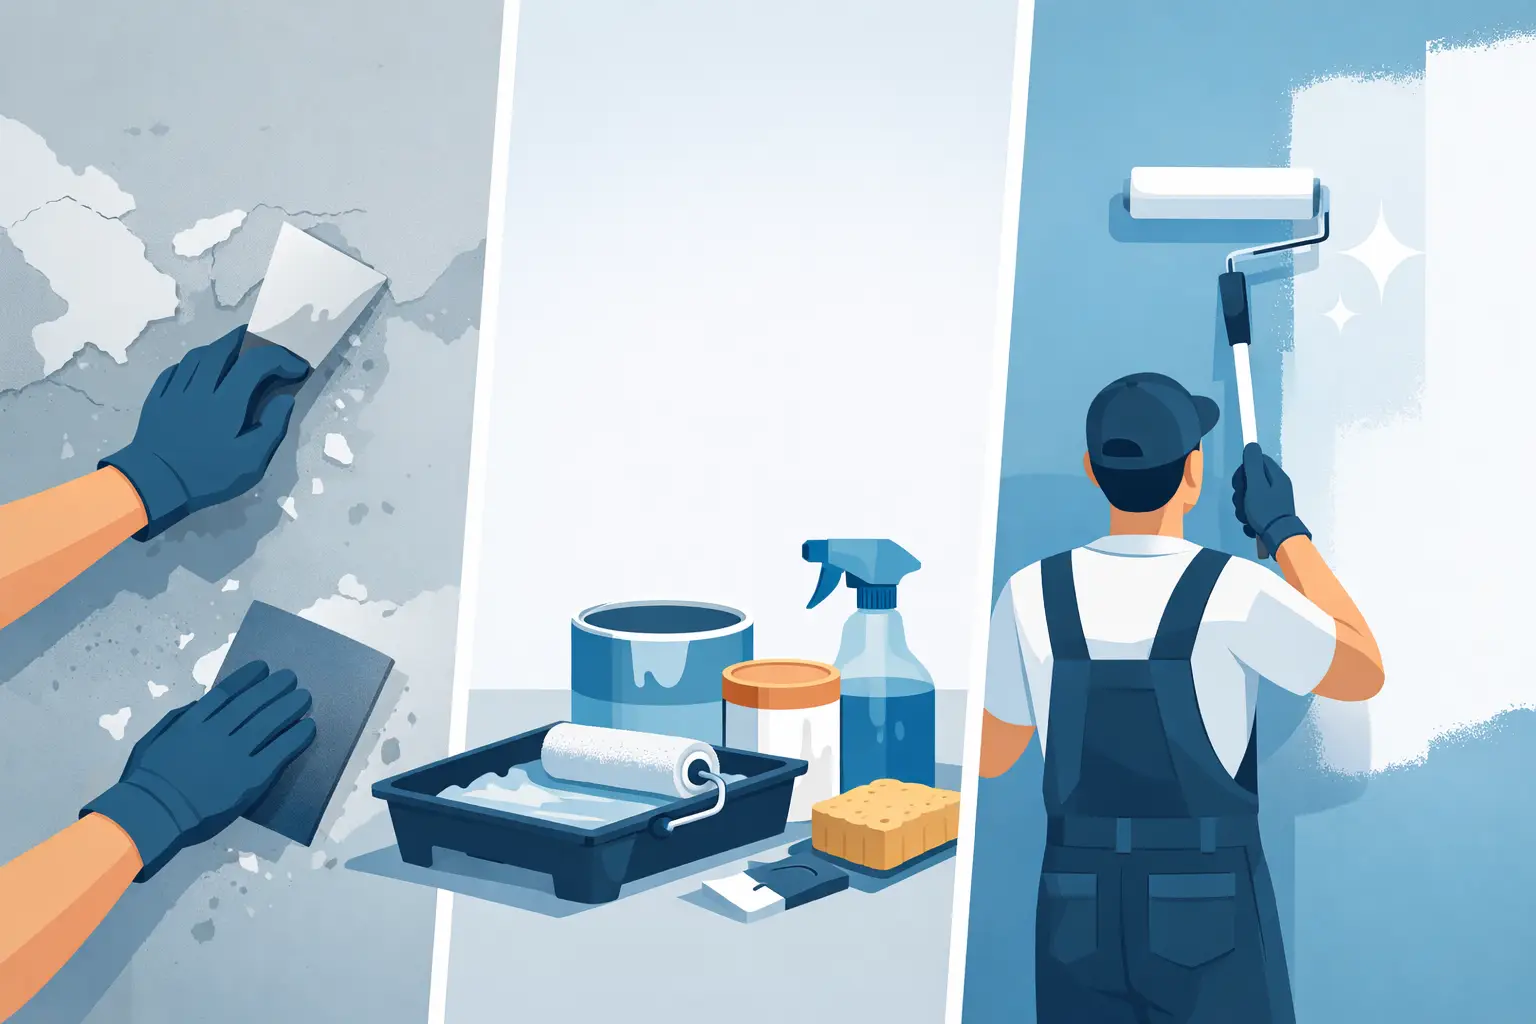
A fresh coat can transform a room in a day, but paint cannot hide a wall that is damp, dusty, cracked, or uneven. Proper surface preparation is the work that determines whether the new finish looks clean for years or starts peeling, bubbling, and showing flaws within months. For homes, offices, and retail spaces, this behind-the-scenes stage is where a professional paint job earns its value.
What Surface Preparation Actually Does
Painting is often seen as the final step, but it is a system: the surface, repair materials, primer, and paint must work together. If the wall is unstable or contaminated, even premium paint will struggle to bond properly. The result may be patchy color, visible roller marks, flaking paint, or a finish that wears out sooner than expected.
Surface preparation creates a clean, sound, and level base for the chosen coating. It involves assessing the condition of each wall, ceiling, gate, wood surface, or exterior area before deciding what needs to be cleaned, repaired, sanded, sealed, or primed. The right approach depends on the material and the problem. A wall with minor scuff marks needs far less work than one with water damage, powdery old paint, or concrete spalling.
For property owners, this process provides peace of mind. Instead of simply painting over a problem and hoping for the best, the underlying cause is addressed before the visible finish is applied.
The Problems Paint Alone Cannot Fix
A new color can make a room feel brighter and more polished, but it does not correct structural or moisture-related defects. In fact, fresh paint can temporarily disguise them, making the problem harder to identify until it returns.
Peeling, flaking, and chalky paint
Paint that lifts away in sheets or flakes at the touch is not a reliable base for another coat. Loose material must be scraped away, and the remaining surface may need sanding and sealing. On older walls, the paint can also become chalky, leaving a fine powder that prevents new paint from adhering. Cleaning and applying the appropriate primer are essential before repainting.
Cracks, holes, and uneven plaster
Small nail holes and hairline cracks may seem minor, yet they become more noticeable under a smooth, light-colored finish. Larger cracks can indicate movement, previous repair failure, or moisture issues, so they need closer assessment before filling.
Professional wall plastering and patch repairs help restore an even surface. The repaired area is then dried, sanded, and blended into the surrounding wall. Skipping this stage often leaves raised patches, shallow dents, or obvious lines that stand out once light hits the painted wall.
Water stains and dampness
Brown stains, blistering paint, musty odors, and recurring patches are signs that moisture may be present. Painting directly over them may conceal the marks briefly, but it will not stop water from affecting the finish.
The source should be identified first, whether it is a plumbing leak, condensation, exterior water entry, or a failed waterproofing detail. After the area is dry and stable, stain-blocking or moisture-appropriate primers may be used. This is one area where speed should not replace proper diagnosis.
Mold and mildew
Bathrooms, kitchens, poorly ventilated rooms, and humid areas can develop mold or mildew. These stains must be treated and cleaned safely before painting. The selected paint should also suit the room’s moisture level. Low-odor and eco-friendly options can be considered, but they still need to be matched to the surface condition and expected use of the space.
A Professional Surface Preparation Process
Every project begins with an inspection because no two properties have the same wear, prior paint history, or repair needs. A reliable contractor checks more than the color of the walls. They look for loose coatings, stains, cracks, damaged plaster, uneven surfaces, rust, and signs of water intrusion.
Protecting the space before work begins
Preparation includes protecting the property, not just the walls. Furniture is moved or covered, floors are shielded, and fixtures or fittings that should not be painted are masked carefully. This matters especially in occupied homes, offices, and shops where minimizing disruption is part of a professional service.
Proper protection also allows the team to work more efficiently. Paint preparation can involve sanding dust, cleaning solutions, fillers, and primers. Containing the work area keeps the project organized and makes final cleanup much easier.
Cleaning, removing, and sanding
Walls may need washing to remove dust, grease, nicotine residue, or general buildup. In kitchens and commercial areas, grease can be a major adhesion issue. Exterior surfaces can collect dirt, pollution, algae, and loose debris that must be removed before coating.
Old loose paint is scraped away, while stable painted areas are lightly sanded to create a more even surface for the next coat. Sanding is not about making every wall perfectly bare. It is about removing weak edges, smoothing repairs, and helping the paint bond consistently.
Wallpaper removal deserves special care. Adhesive left on the wall can cause uneven texture and paint failure. Once the paper is removed, the wall may require patching, skim coating, and sanding before it is ready for paint. This takes more time than applying paint over wallpaper, but it produces a cleaner and more durable result.
Repairing the substrate
After cleaning and sanding, damaged areas are repaired with the correct materials. For interior walls, this may include filling holes, repairing cracks, and applying plaster to restore a smooth finish. For concrete surfaces, damaged or loose sections may require spalling concrete repair before any decorative coating is considered.
Metal grills and gates need a different process. Rust must be removed, and bare metal should receive a suitable anti-rust primer before topcoats are applied. Wood requires its own attention too. Old varnish may need sanding, while stains, scratches, and open grain may need treatment before varnishing or painting.
These details affect both appearance and durability. Using the same preparation method for every surface may seem faster, but it can create costly repeat work later.
Priming for a consistent finish
Primer is not always optional, especially when walls have repairs, strong color changes, stains, bare plaster, or mixed surface conditions. A suitable primer seals porous areas so that the topcoat dries more evenly. It can improve adhesion, help cover old colors, and prevent stains from bleeding through.
The best primer depends on the job. A stain-blocking primer serves a different purpose from a masonry primer or anti-rust metal primer. This is why professional assessment matters: the goal is not to add unnecessary layers, but to use the right coating system for the surface.
When More Preparation Is Worth the Time
Property owners sometimes ask whether a wall can simply be repainted. The honest answer is: it depends. If the existing paint is sound, the wall is clean, and there are only minor marks, a straightforward preparation and repaint may be enough. This is often the most affordable option for a quick refresh.
More extensive work is worth considering when the defects will show through the new finish or compromise its lifespan. Deep cracks, peeling coatings, rough plaster, water stains, rust, and damaged concrete should be addressed before paint is applied. Choosing a lower upfront scope may save money today, but it can lead to early touch-ups or a full repaint later.
For rental properties, preparation can also protect the value and presentation of the unit between tenants. For businesses, smooth walls and clean finishes support a professional image for customers and staff. In both cases, the goal is a result that looks intentional rather than rushed.
How to Prepare for Your Painting Appointment
A professional team can handle the technical work, but a few simple steps help the project run smoothly. Remove small personal items, clear access to the walls where possible, and let the contractor know about known leaks, previous repairs, or areas that have repeatedly peeled. If you are selecting a new color, consider how daylight, indoor lighting, and nearby finishes will affect the final appearance.
For occupied offices and retail spaces, discuss the work schedule early. Express painting may be suitable when timing is tight, but adequate drying time for repairs and primers should still be respected. The fastest job is not always the best job if the surface needs attention first.
A clear quotation should explain whether patching, plastering, primer, wallpaper removal, concrete repair, or metal preparation is included. That clarity prevents surprises and helps you compare scopes fairly, rather than comparing paint prices alone.
A Finish That Starts Before the First Coat
At My Paint Job, preparation is treated as part of the finished result, not an extra step to rush through. From inspecting damaged walls and protecting furniture to repairing surfaces, selecting suitable primers, painting, and cleaning up, the focus is on making the process easy for property owners and dependable for the space.
Before choosing a paint color, take a close look at what is underneath it. A properly prepared surface gives every coat the clean, even foundation it needs – and gives you a finish that continues to look good long after the painters have packed up.