Two finish coats are the usual rule for repainting, but new walls and large patches need a different build-up: one coat of primer followed by two coats of finish paint. So, how many coats of paint are needed depends first on whether the surface is already painted or newly prepared.
It’s easy to assume a new wall needs less work because it looks clean and smooth. In practice, bare or repaired areas absorb paint differently from an established surface, so preparation and primer matter as much as the final colour.
This guide explains how colour changes, wall condition and paint coverage affect the number of coats, with practical guidance for homes in Singapore. You’ll see when one coat may be enough, why two finish coats are a reliable baseline, and what to consider for new walls and larger patches. That way, you can judge the work by the finish required, not just by the number of tins on hand.
Key Takeaways
- Match the number of finish coats to the colour change: a close match is easier to cover than a dramatic shift.
- Use primer to help new or repaired surfaces take paint more evenly and support a consistent finish.
- Assess the wall before choosing a paint system, since existing condition and texture can affect coverage.
- Estimate paint from the surface area and the product’s stated coverage, then allow for the wall’s texture and absorbency.
How paint colour changes the number of coats needed
Colour contrast affects coverage: two finish coats are a useful starting point when changing shades. A close match may need less, while a dramatic change can require more.
Covering One Colour With Another
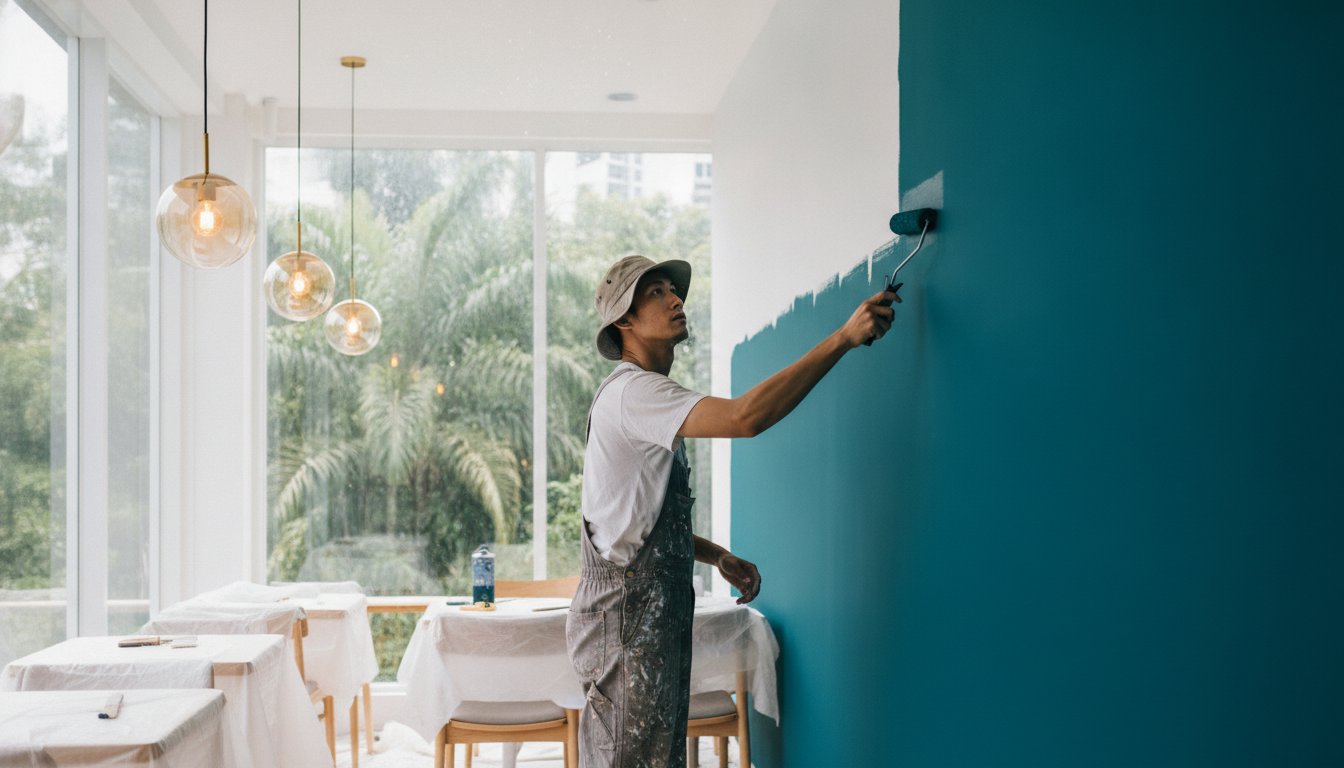
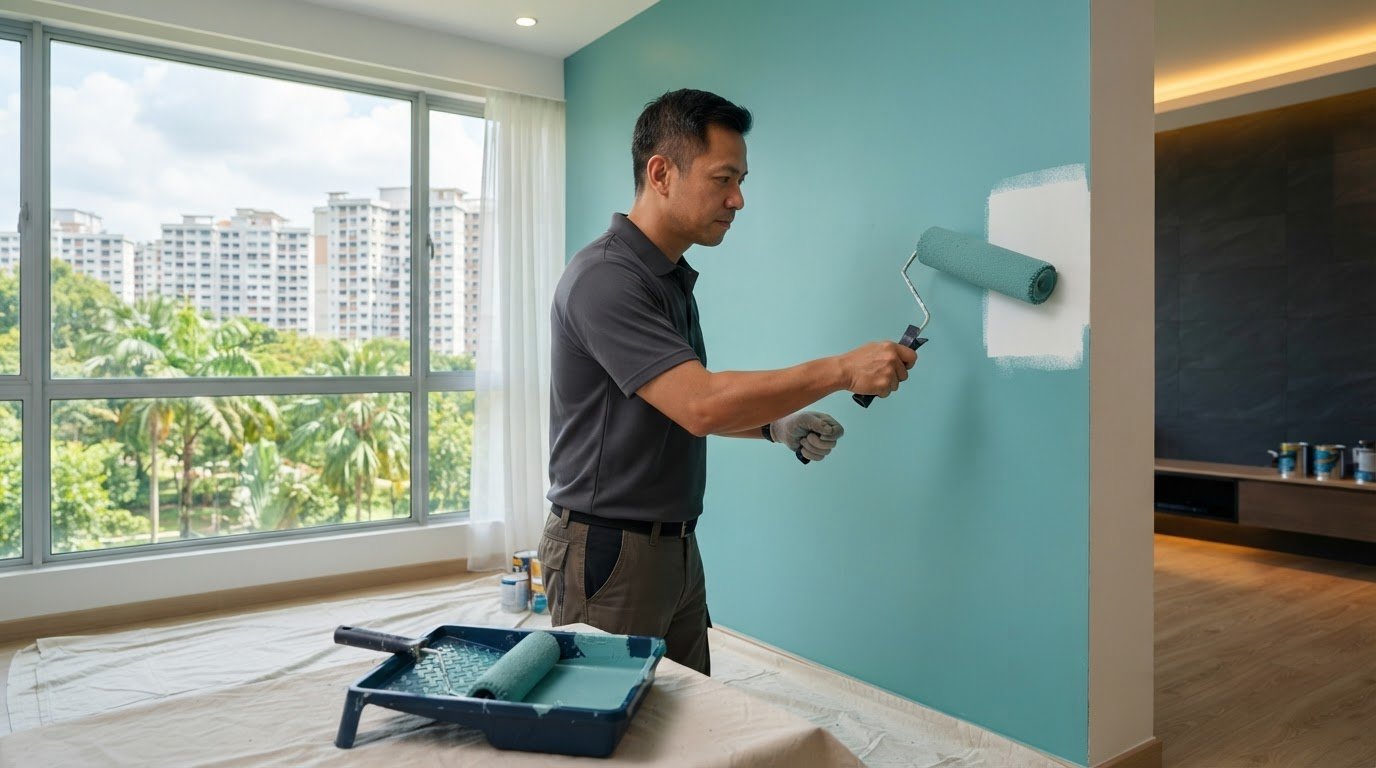
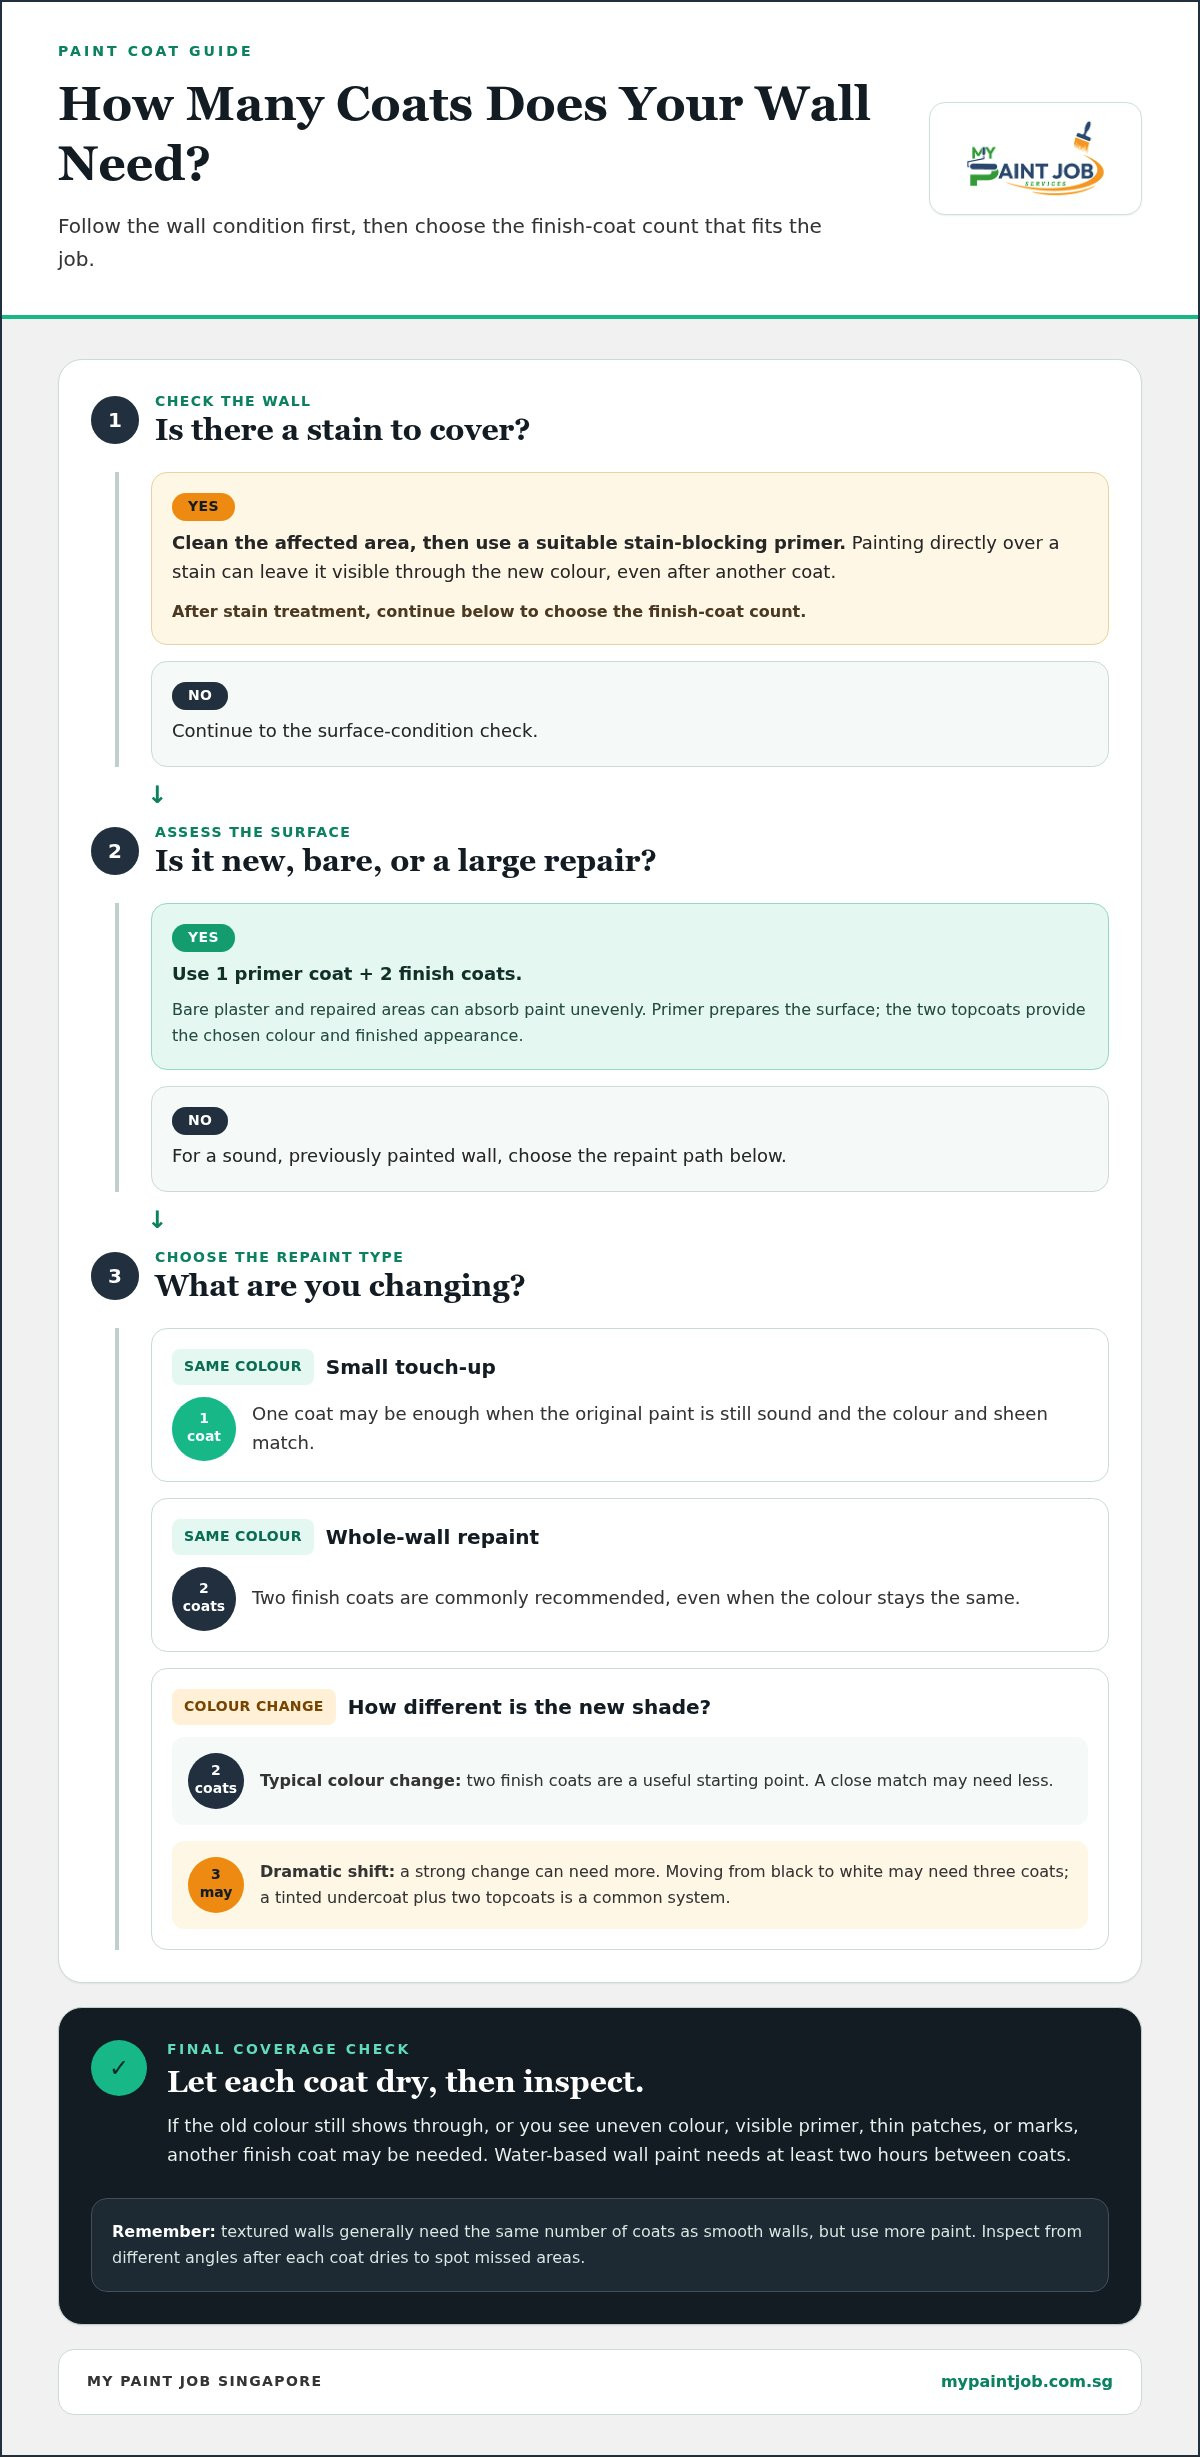
Changing colour means covering the existing shade with a different one. The greater the contrast, the harder it is to hide the old colour. Two coats are recommended for a typical change; moving from black to white may need three. Let each coat dry before applying the next, so the fresh layer covers evenly without disturbing the one beneath it.
For example, moving from pale grey to a similar neutral shade is less demanding than covering a deep colour with white. Judge coverage after the first coat has dried. If the previous colour still shows through, another finish coat may be needed for an even result.
Repainting in the Same Colour
Repainting in the same colour refreshes an existing finish without introducing a new shade. A small touch-up in the same colour may need one coat, especially when the original paint is still sound. For a whole-wall repaint, two coats are commonly recommended, even when the colour stays the same.
Sheen matters during spot repairs: a patch can stand out if the new paint reflects light differently from the surrounding wall. If the colour and sheen match, coat the repair first, then apply a coat across the wall. This helps blend the touch-up instead of leaving a visible patch.
New Plaster and Stains
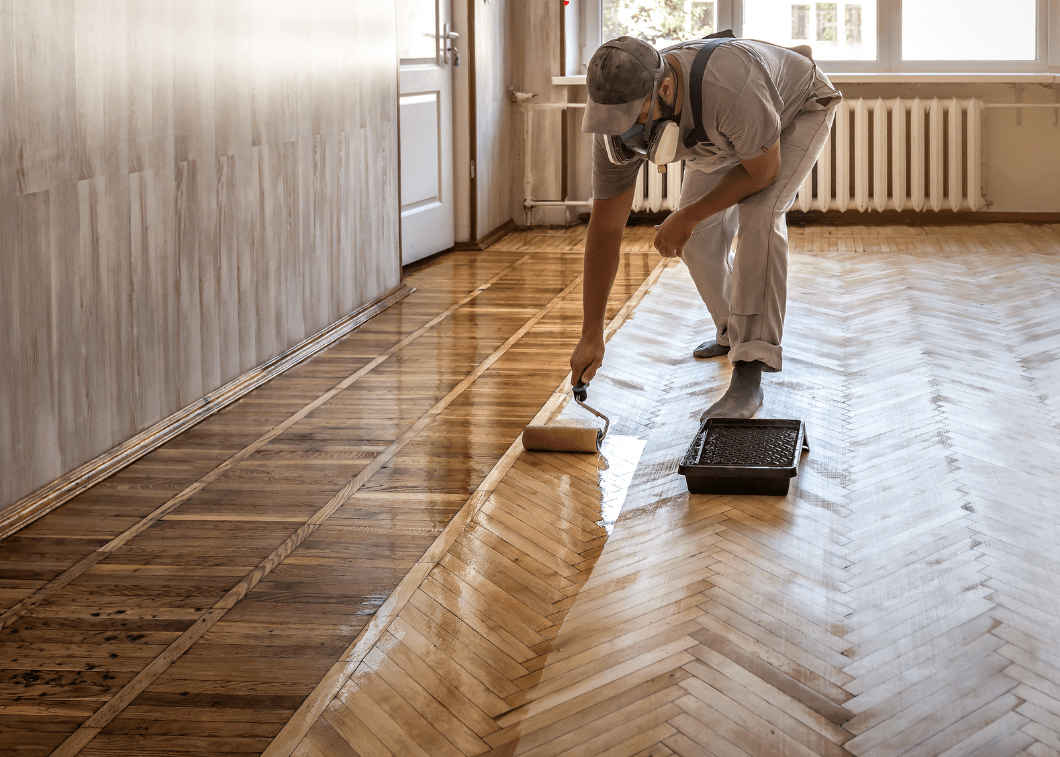
New plaster and large repairs need a different approach from a colour refresh. A new or patched surface can absorb paint unevenly, so apply one primer coat before two finish coats. Primer prepares the surface; the topcoats provide the chosen colour and finished appearance.
Stains also need attention before repainting. Clean the affected area and use a suitable stain-blocking primer before applying finish paint. Painting straight over a stain can leave it visible through the new colour, even after another coat. Treating the mark first helps the finish coats cover more evenly.
In short, decide whether you’re touching up, repainting, or changing colour. That distinction is the clearest guide to how many coats of paint are needed.
Is one coat of paint ever enough?
One coat may work for a small, same-colour touch-up, but most walls need two finish coats. Patchy colour, thin coverage, or visible old marks signal that another coat may be needed. Clean the surface, repair defects, and apply primer where it is new or repaired.
Primer and Paint Coverage
Primer prepares a surface so finish paint adheres and covers more evenly. On new plaster, acrylic sealer undercoat covers around 10 to 12 square metres per litre, so it has a different coverage rate from topcoat. Apply primer to bare or repaired areas before painting. It helps prevent uneven absorption from making the final colour look inconsistent.
Primer isn’t a substitute for finish paint. A wall system commonly uses one primer coat followed by two topcoats, with the exact build-up depending on the surface condition.
Coverage on Textured Surfaces
Texture increases the surface area paint must cover, even when a wall’s measured dimensions stay the same. Textured walls and ceilings generally need the same number of coats as smooth surfaces, but use more paint. Raised areas and recesses can also make missed spots harder to see, so inspect from different angles after each coat dries.
Use steady, overlapping strokes to reach into the texture. A smooth-looking first pass doesn’t prove that every recess has an even layer.
Coverage Rates and Estimates
For interior walls, a realistic estimate is 12 to 14 square metres per litre per coat. A 15-square-metre bedroom may have about 32 square metres of wall area after subtracting its door and window. Two coats cover 64 square metres in total, requiring roughly 5 litres.
Estimate paint for a two-bedroom flat by adding the paintable wall areas, then multiplying by the planned coats. Openings reduce the area; textured or absorbent walls can increase paint use. Measure the actual walls rather than assuming every flat has the same layout.
Paint Quality, Preparation and Recoating Signs
Paint quality affects coverage: lower-quality paint may need considerably more coats. Prepare by cleaning the wall, repairing damaged areas, and letting repairs dry before priming. Let each paint coat dry before recoating; water-based wall paint needs at least two hours between coats.
Look for uneven colour, visible primer, thin patches, or marks showing through. Those signs indicate incomplete coverage. Where concrete is spalling, repair the damaged surface before painting; spalling concrete repair addresses that underlying issue.
How Many Coats of Paint Do I Need?
Start with the surface: a sound painted wall usually needs two finish coats. Exterior walls need at least two coats of paint, while bare or repaired areas call for primer before the topcoat.
Primer and Topcoat Counts by Wall Condition
A paint system combines primer where needed with finish coats suited to the wall’s condition. For a sound repaint, two topcoats are a dependable baseline. New walls and large patches generally need one primer coat followed by two finish coats because bare and repaired areas absorb paint differently.
For a strong colour change, a tinted undercoat plus two topcoats is a common three-coat system. Exterior surfaces also need at least two paint coats. These counts refer to finish paint unless primer or undercoat is named separately, so distinguish preparation layers from topcoats when planning.
Primer and Paint-and-Primer Products
Primer is a preparatory coating; paint-and-primer products combine those functions in one product. The label alone doesn’t mean every surface can skip separate primer. A previously painted, sound wall differs from bare plaster, a large repair, or a surface with a strong colour contrast.
Match the product to the wall and the intended colour. For example, a fresh patch may absorb paint differently from the surrounding wall, so a primer coat helps create a more even base. Follow the product’s application guidance, then assess the finish after the coat dries.
Choosing Primer or Undercoat
Use primer or undercoat when the surface is new, repaired, or undergoing a strong colour change. On new interior or exterior walls, prime and seal before applying two coats of paint. This sequence prepares the substrate and gives the finish coats a consistent base.
For an exterior repaint, plan at least two finish coats; add primer when the wall’s condition calls for it. Peeling paint, exposed areas, or repairs indicate that preparation may be needed before repainting. Let each layer dry before adding the next, and assess coverage across the full surface, not just one small patch.
Coats needed for new walls and large drywall patches
Fresh plaster and bare drywall need more than finish paint alone. A reliable starting system is one primer coat followed by two finish coats, giving the new surface a prepared base and an even layer of colour.
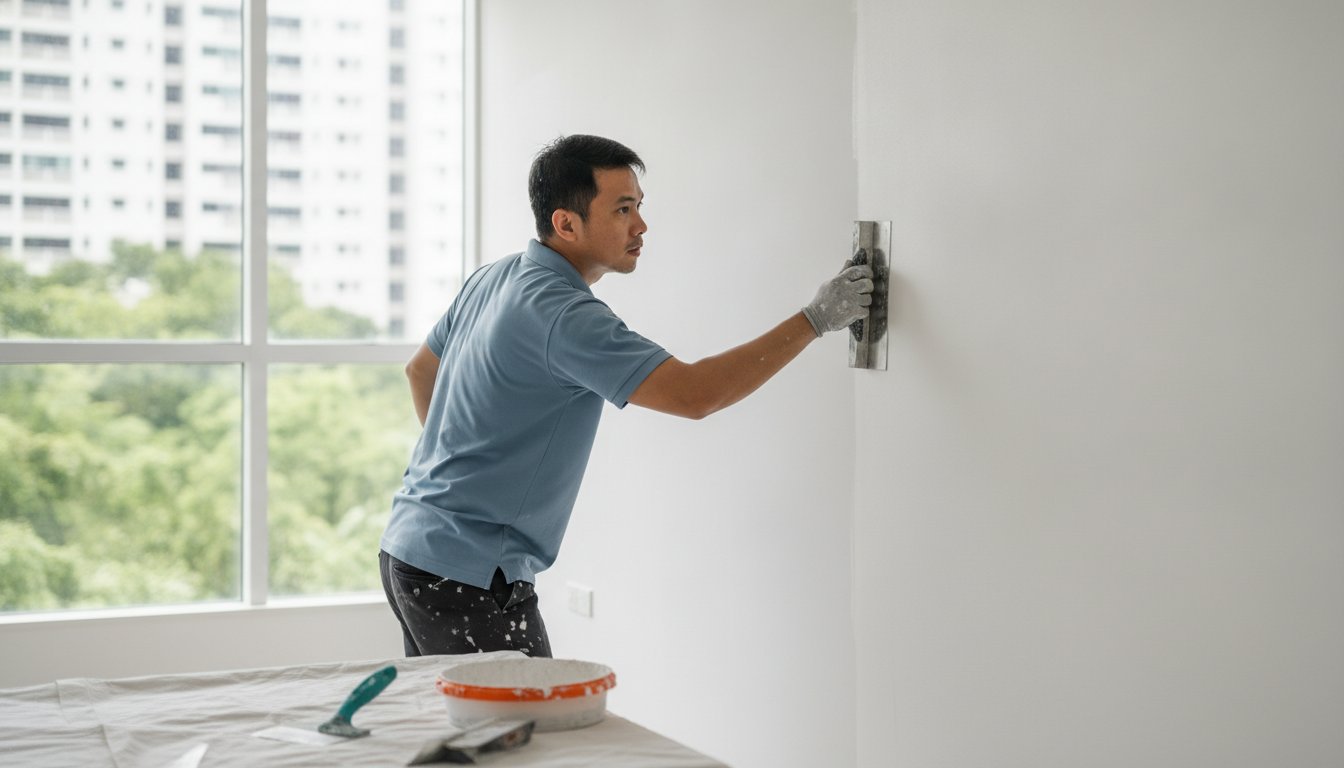
New material absorbs paint differently from an established wall. A large drywall patch can also have a different texture and porosity from the surrounding surface, making the repair visible beneath a single topcoat. Prepare the area first: smooth uneven edges, remove sanding dust, and apply primer across the bare patch. Extend the finish coats across the wall to blend the repair with the surrounding paint.
Bare drywall typically needs one coat of acrylic sealer, then two coats of finish paint. On new walls and large patches, the recommended sequence is one primer coat followed by two finish coats. These are separate layers, not three coats of colour. Primer prepares the substrate; the finish coats create the final appearance. Check the surface after each coat has dried, since missed areas or uneven absorption can become clearer as the paint settles.
Keep the sequence consistent across the whole repair. Apply primer to exposed material rather than relying on topcoat to seal it. After it dries, apply the first finish coat evenly, then assess whether the colour and coverage look uniform. A second finish coat completes the system. Follow the paint label’s drying and recoating guidance, as applying another layer too early can affect the finish.
For a small patch on a painted wall, the repair may need less preparation than a large area exposing bare drywall. The deciding factor is the exposed surface, not simply the patch’s outline. If concrete is spalling rather than drywall needing paint, request help with spalling concrete repair before planning the finish.
My Paint Job Singapore: HDB painting services
My Paint Job Singapore provides HDB painting services for homeowners planning a repaint or refreshing a room. When wall condition, colour changes, or repairs make coat planning less straightforward, careful surface preparation helps create a more even finish.
Its painting services also cover condos, landed homes, and commercial properties. The right paint system depends on the surface and desired result, whether you’re updating one room or repainting a property. My Paint Job Singapore’s team uses meticulous preparation and premium, eco-friendly paints to support a quality finish.
For a considered approach to your next painting project, contact My Paint Job Singapore or visit mypaintjob.com.sg.
Plan a Finish That Suits Your Space
Before choosing a paint system, decide how you want the room to feel. A calm neutral, a deeper feature colour, or a brighter overall look can each shape the finish you’re aiming for. View your preferred colour in the room’s natural and artificial light, then consider how the walls will work with the flooring and furnishings.
Knowing how many coats of paint are needed is only one part of planning a successful repaint. A clear goal for the space helps guide decisions about colour, surface preparation, and the final appearance. For a home refresh, My Paint Job Singapore can bring the painting work together with careful preparation and attention to finish.
Whether you’re planning a new look for an HDB flat, condo, or landed home, take the next step at your own pace. Contact My Paint Job Singapore to discuss your painting project and move towards a space that feels distinctly yours.
Frequently Asked Questions
How far does a litre of paint actually go?
A litre realistically covers around 12 to 14 square metres per coat on interior walls. Treat that as a planning range, then divide the wall area by the paint’s stated coverage to estimate litres for one coat. Multiply by the number of coats you intend to apply. Textured or absorbent surfaces can use more paint, so the tin’s coverage guidance matters.
Do you need three coats when changing colour?
Not for every colour change. Two finish coats are a common starting point, while a dramatic shift, such as black to white, may need three. A tinted undercoat plus two topcoats is another system for a strong change. Count the undercoat separately: three layers in that system means one preparation coat and two coats of finish paint.
Does the same rule apply to ceilings and trim?
No, the right approach depends on the surface and existing colour. A white ceiling over white primer can receive one carefully applied ceiling-paint coat; two coats are another option. Trim has different edges and details from a broad wall, so follow the chosen paint’s instructions and inspect corners, profiles, and exposed areas for even coverage.
How long should you wait between coats?
For water-based wall paint, allow at least two hours between coats. Drying conditions and the product can affect recoat time, so follow the tin’s instructions too. Before continuing, check that the previous layer is dry rather than relying only on the clock. This helps the next coat spread cleanly and form an even finish.
Third Coat: When Is It Needed?
A third coat is useful when the dried second coat still looks uneven or the old colour shows through. Strong contrasts, such as painting white over black, can need extra coverage. Inspect the wall in ordinary room lighting, including near corners and repairs. If the finish looks consistent across the surface, another coat may not add value.
What happens if you apply the second coat too soon?
Applying the next coat before the first has dried can disturb the wet layer. The roller may drag or lift paint, leaving streaks, marks, or an uneven finish. It can also make coverage harder to judge because the surface hasn’t settled. Wait until the stated recoat time has passed and the first coat is dry to the touch.