A small patch of loose, cracked concrete can become more than a cosmetic problem. In apartments, condos, and commercial spaces, spalling concrete may drop debris, expose rusting steel reinforcement, and create concern for occupants below. Knowing how to repair spalling concrete safely starts with recognizing when a surface-level repair is appropriate and when the damage needs a trained professional.
A clean, well-prepared repair can restore the appearance of a ceiling, beam, wall, or balcony edge while helping prevent further deterioration. But simply covering damaged concrete with filler and paint is rarely a lasting solution. The cause of the spalling must be addressed first.
What Spalling Concrete Means
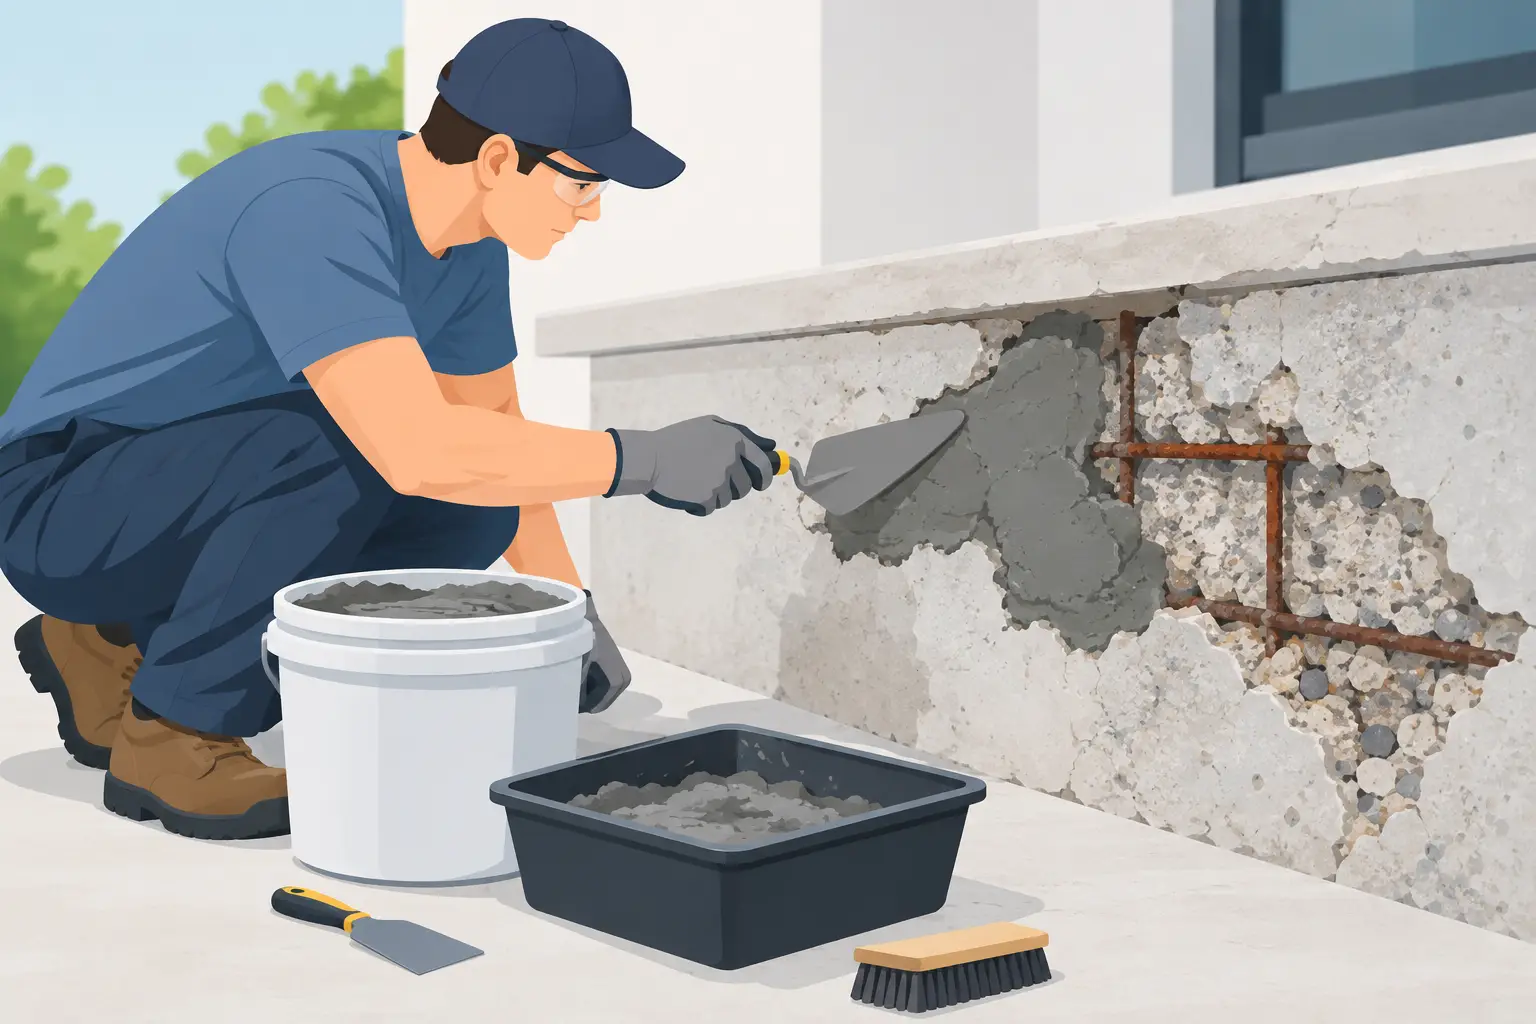
Spalling occurs when the surface of concrete breaks, flakes, chips, or falls away. It is especially common on ceilings, balconies, external walls, beams, and areas exposed to moisture. In many cases, water reaches the steel reinforcement inside the concrete. As the steel rusts, it expands and pushes against the surrounding concrete until the surface cracks and detaches.
You may notice brown stains, hairline cracks, hollow-sounding areas, loose flakes, or exposed metal bars. Damage can range from a small isolated patch to a wider issue affecting multiple areas of a property.
Paint may hide discoloration temporarily, but it cannot stop corrosion or bond loose concrete back into place. A proper repair involves removing unsound material, treating exposed steel where necessary, rebuilding the damaged area with compatible repair material, and applying a protective finish.
Safety Comes Before Surface Repairs
Loose concrete overhead is a safety concern, not a weekend decorating task. Before touching the affected area, keep people, furniture, and valuables clear of the zone. If the spalling is on a ceiling, balcony soffit, beam, building facade, or high wall, avoid working directly underneath it.
Wear safety glasses, gloves, a dust mask or respirator suitable for concrete dust, long sleeves, and closed-toe shoes. Concrete particles are abrasive, and dust generated during hacking or sanding can irritate the eyes, skin, and lungs. If work involves elevated areas, stable access equipment and fall protection are also essential.
Do not attempt to repair a patch if concrete is actively falling, reinforcing bars are extensively exposed, cracks are spreading, water is leaking through the area, or the damage appears near a structural connection. These signs can point to a larger moisture or structural issue. In a multi-unit building, notify the relevant building management promptly, as responsibility may involve common property or building systems.
How to Repair Spalling Concrete Safely
The repair process depends on the depth of damage, the location, and the underlying cause. For minor, stable, accessible patches, the general process follows a clear sequence. Careful preparation matters more than a quick cover-up.
1. Inspect the area and identify moisture sources
Start by looking beyond the damaged patch. Check for plumbing leaks, failed waterproofing, cracks around windows, drainage problems, or persistent condensation. Concrete repairs will not last if water continues to enter the substrate.
For example, a spalled ceiling below a bathroom may be caused by a leaking pipe, failed waterproofing, or a damaged floor drain above. A balcony edge may be affected by rainwater intrusion and poor drainage. Resolve the moisture source before carrying out cosmetic restoration.
2. Remove all loose and weak concrete
The damaged area must be opened back to sound concrete. Using appropriate hand tools, carefully remove loose, hollow, cracked, and deteriorated material around the spall. The edges should be firm rather than feathered or crumbling.
This stage can create dust and may reveal a larger damaged area than what was visible on the surface. That is normal, but it is also the point where homeowners should pause if they uncover widespread corrosion, deep voids, or significant exposed steel. Trying to minimize the repair area by leaving weak material in place often leads to patch failure later.
3. Clean and assess exposed reinforcement
If steel reinforcement is visible, it needs close attention. Rust reduces the bond between steel and concrete, and continued corrosion can cause the repaired area to crack again. Loose rust and debris should be removed carefully, then the steel should be checked for substantial loss of thickness.
Light surface corrosion may be treatable with a suitable anti-corrosion coating as part of a professional repair system. However, heavily corroded, bent, or deeply exposed reinforcement should be assessed by a qualified contractor or engineer. This is particularly true for load-bearing beams, columns, slab edges, and overhead structures.
4. Prepare the surface for strong adhesion
Once unsound material and dust are removed, the concrete needs to be clean and properly prepared for the repair mortar. Depending on the product system, this may involve lightly dampening the surface, applying a bonding agent, or using a cementitious slurry coat.
This is not a place to substitute random wall putty or ordinary interior filler. Concrete repair mortars are designed to adhere to mineral surfaces, resist shrinkage, and build up depth without sagging. The right product should match the repair location, especially for ceilings, exterior areas, or surfaces exposed to moisture.
5. Rebuild the damaged section in layers
Apply repair mortar firmly into the prepared area, making sure it fully surrounds any treated reinforcement and fills voids. Deeper repairs are usually built in layers rather than applied in one thick coat. This reduces shrinkage, improves curing, and helps maintain a level surface.
For ceiling repairs, material selection and application technique are especially important. A repair mortar that is too wet, too thick, or poorly bonded can sag or detach. Skilled workmanship protects both the finish and the people using the space below.
6. Allow proper curing before finishing
A repair that dries too quickly may crack or lose strength. Follow the curing requirements for the selected repair system before sanding, skimming, priming, or painting. Cure times vary based on the material, repair depth, temperature, and humidity.
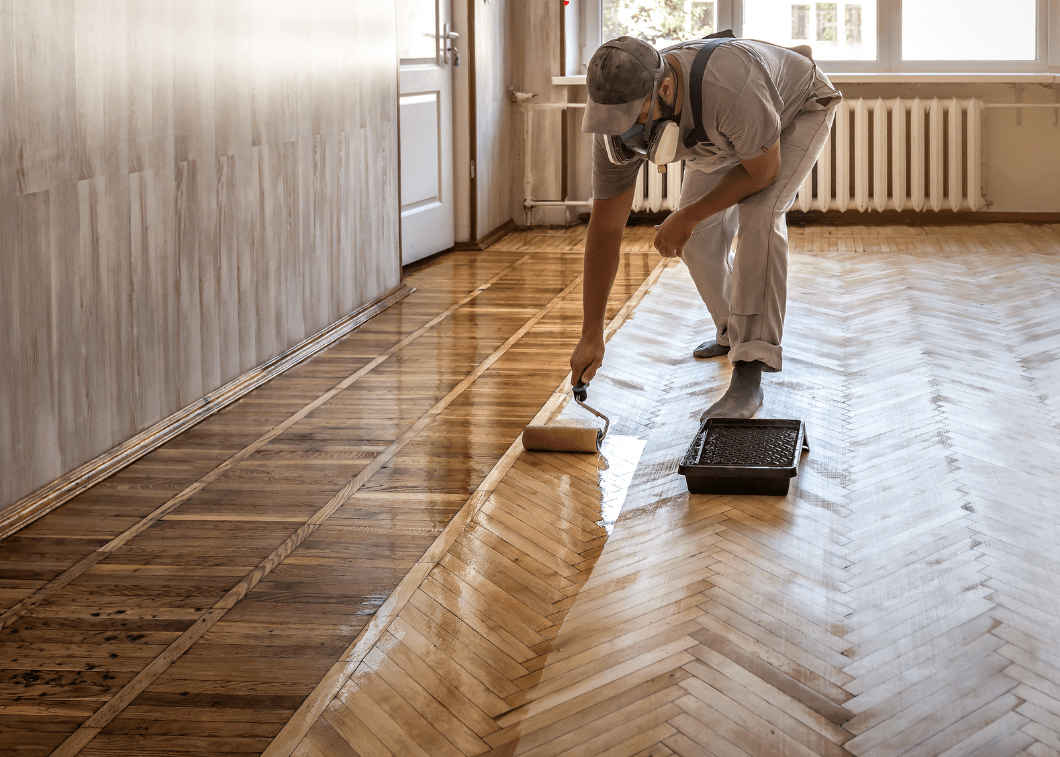
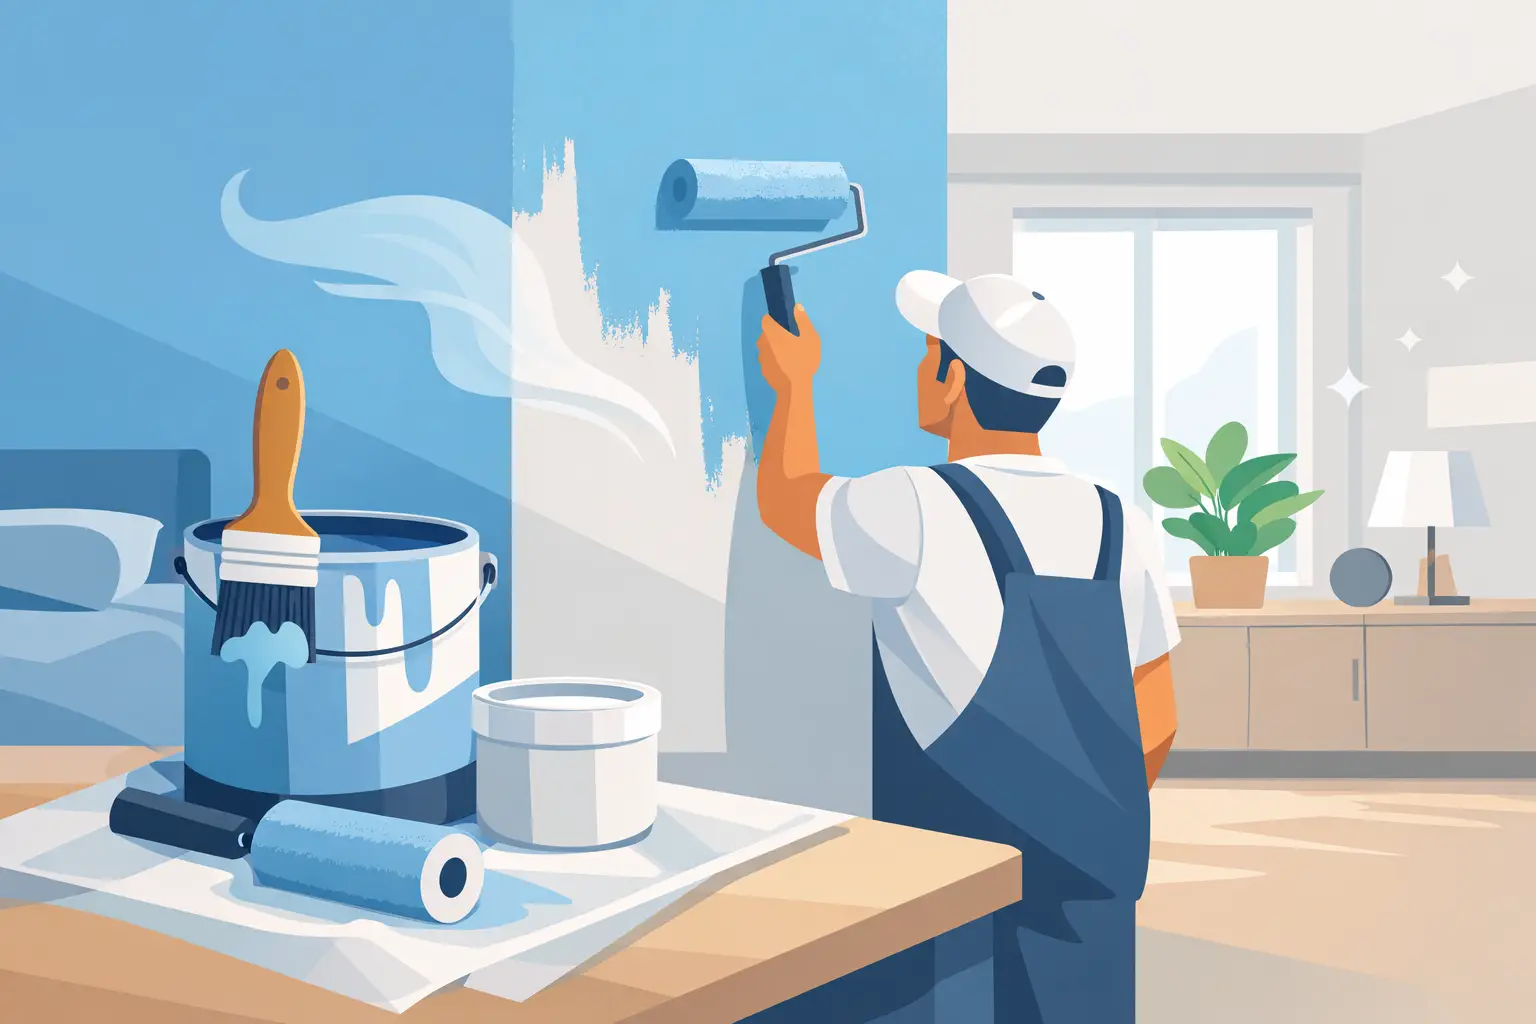
Once the surface is fully cured, it can be leveled with a compatible skim coat if needed. A quality primer and suitable paint system then provide a clean appearance and an added protective layer. In moisture-prone spaces, the paint should be selected for the conditions rather than appearance alone.
When Professional Spalling Repair Is the Better Choice
DIY repairs can seem affordable at first, but the cost of redoing a failed patch, repairing water damage, or managing falling debris can be much higher. Professional repair is usually the safer choice for overhead spalling, recurring damage, large patches, external elevations, commercial premises, or any area with exposed reinforcement.
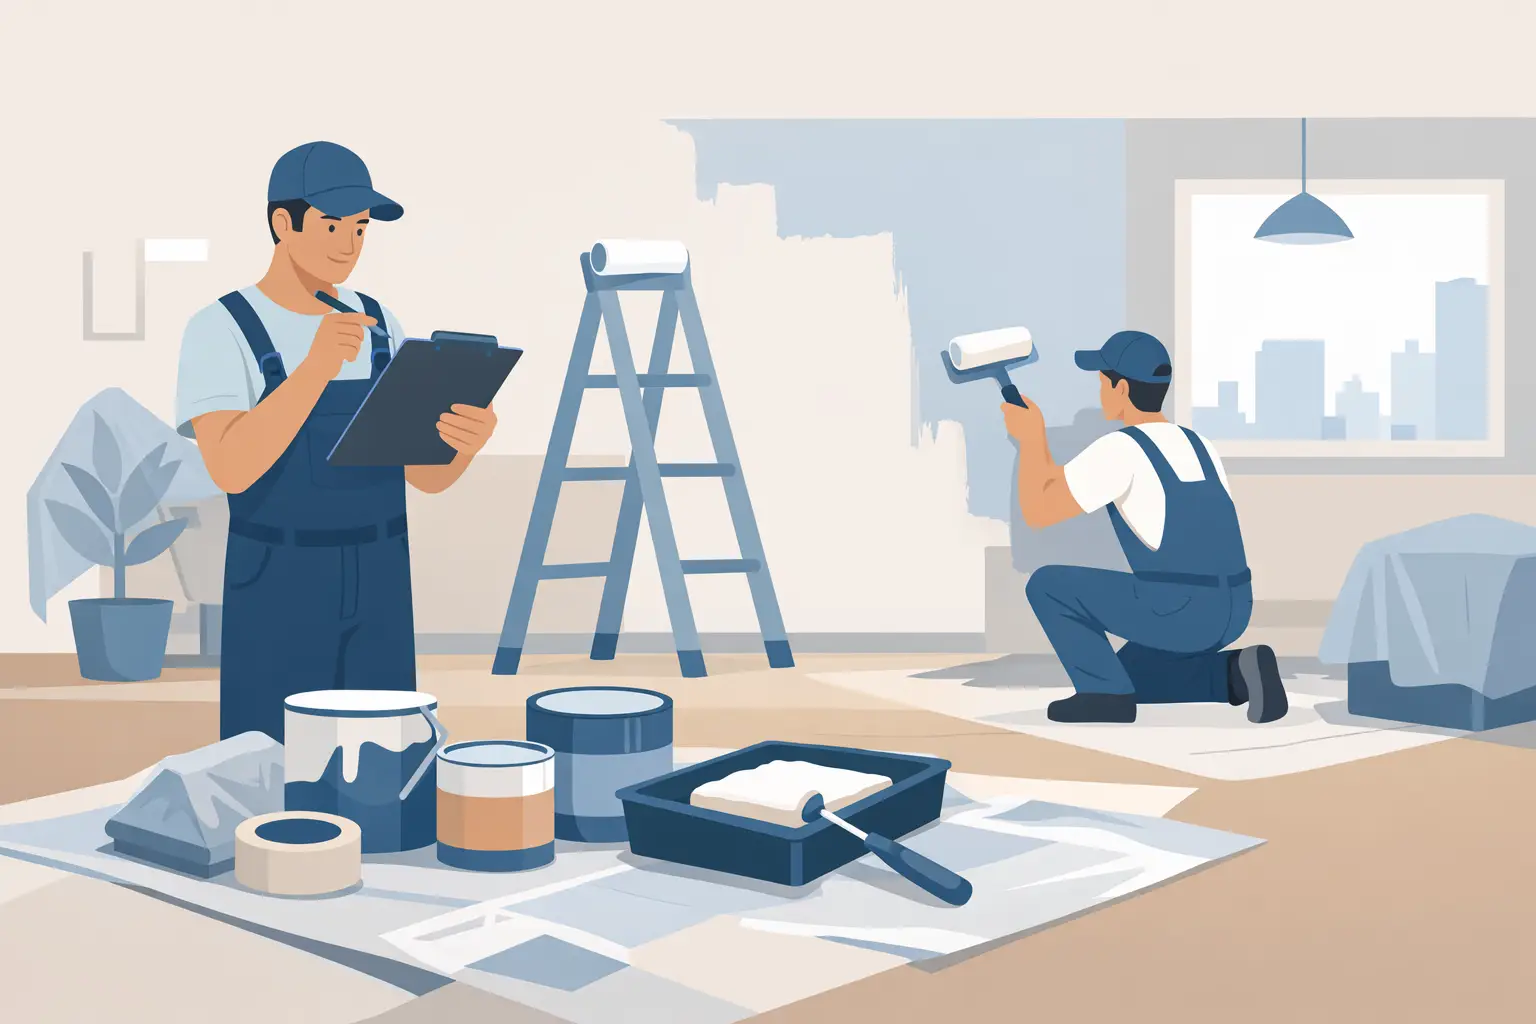
A professional team can inspect the condition, protect floors and furniture, isolate the work area, remove damaged concrete safely, apply the correct repair materials, and finish the surface to match the surrounding paintwork. For occupied homes, offices, and retail spaces, this managed approach also reduces dust, disruption, and cleanup concerns.
At My Paint Job, surface repair and painting are handled as connected parts of the same job. That means the repair is not treated as an afterthought before painting. The team can assess the affected surface, recommend a practical scope of work, complete careful preparation, and deliver a polished finish with minimal hassle for occupants.
Avoid These Common Repair Mistakes
The most common mistake is painting over a cracked or hollow surface. Fresh paint may make the area look better briefly, but loose concrete and active corrosion will continue underneath. Another frequent issue is using lightweight wall filler for a deep concrete void. It may be easy to apply, but it is not designed for structural or moisture-exposed concrete repairs.
Rushing the process also causes trouble. Skipping steel treatment, applying mortar to dusty surfaces, failing to solve a leak, or painting before full cure can shorten the life of the repair. Good results come from a disciplined sequence: investigate, remove weak material, repair correctly, cure fully, and finish with the right coating.
Keep Your Property Safe and Well Finished
Spalling concrete is easier to manage when it is addressed early. Check ceilings, balconies, exterior walls, and wet areas periodically for stains, cracks, peeling paint, or loose concrete. Early action may keep a small repair from becoming a larger restoration project.
If you are unsure whether a damaged patch is cosmetic or potentially hazardous, treat caution as the right first step. A proper inspection and repair plan can protect your property, the people using it, and the clean, lasting finish you expect from your space.