
A scratched dining table, faded front door, or cloudy wood trim can make an otherwise well-kept property feel tired. This guide to wood surface refinishing helps you understand what a quality restoration involves, when a surface can be refreshed, and when it needs more substantial repair. The difference is rarely just the final coat. Long-lasting results depend on accurate assessment, careful preparation, and choosing a finish that suits how the wood is used.
Wood adds warmth and character to homes, offices, and retail spaces, but it is also exposed to daily wear. Sunlight can fade stain, moisture can create white marks or peeling varnish, and frequent cleaning can gradually dull a protective topcoat. Refinishing restores the appearance of the wood while renewing the barrier that helps protect it.
Start With the Condition of the Wood
The first step is identifying whether the problem is in the finish or in the wood itself. Surface-level scratches, dullness, light staining, and minor water rings may only require cleaning, light sanding, and a fresh protective coat. This is often the most efficient option for doors, cabinets, trim, and furniture that remain structurally sound.
Deep scratches, widespread peeling, dark water stains, loose veneer, rot, or cracking need closer attention. Sanding alone cannot fix wood that has absorbed water over a long period or has begun to deteriorate. In those cases, damaged sections may need to be repaired or replaced before refinishing begins. Skipping this stage may create a neat-looking finish temporarily, but the underlying issue will return.
For rental properties and commercial interiors, assessment also helps set the right scope. A quick refresh may be appropriate between tenants, while a customer-facing reception counter or shop entrance may benefit from a complete refinishing process that creates a more polished first impression.
A Practical Guide to Wood Surface Refinishing
A professional wood refinishing job follows a sequence for a reason. Each stage affects how evenly the stain absorbs, how smooth the finish feels, and how well it holds up to handling, humidity, and routine cleaning.
Protect the surrounding area first
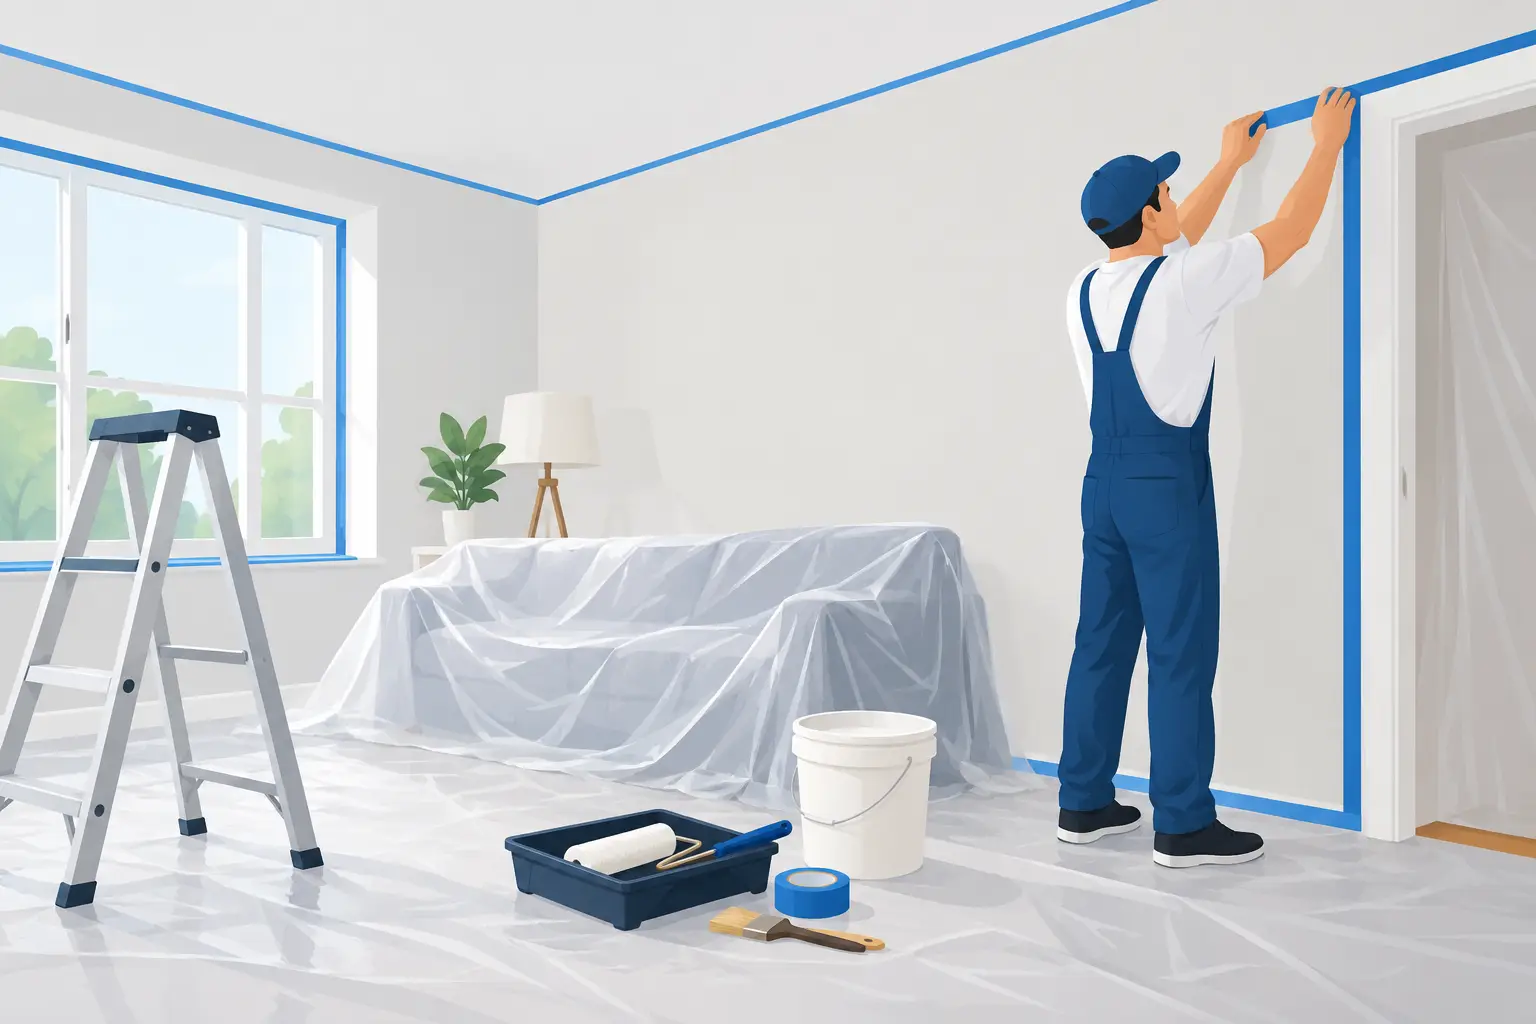
Refinishing can create fine dust, and stains or varnishes can mark nearby walls, flooring, fabrics, and hardware. Furniture should be moved or properly covered, while floors and adjacent finishes need masking. Handles, hinges, locks, glass panels, and vents may also require protection or removal depending on the item being refinished.
This preparation is especially valuable in occupied homes and operating workplaces. It keeps the project controlled and reduces cleanup later. A contractor should plan the work area before opening a sanding tool or coating container.
Clean away wax, grease, and contaminants
Wood surfaces collect more than visible dust. Kitchen cabinets can carry grease, handrails may have oils from repeated contact, and older furniture may have polish or wax residue. These contaminants prevent stain and coatings from bonding correctly.
The surface should be cleaned with an appropriate product, then allowed to dry fully. Using a coating over residue can lead to fish-eye marks, uneven sheen, or peeling. A clean surface is a simple detail, but it has a major effect on finish quality.
Repair defects before sanding
Nail holes, small dents, open joints, and minor chips should be addressed before the final sanding stages. A suitable wood filler can improve the appearance of painted wood, though it may not accept stain in exactly the same way as natural wood grain. For stained pieces, color-matched repairs and realistic expectations are important.
Loose or damaged veneer requires a different approach. If it can be re-adhered cleanly, repair may be possible. If it is badly lifted or missing, replacing the veneer or panel can produce a more reliable result than trying to hide the damage beneath a dark stain.
Sand with control, not force
Sanding removes failed finish, smooths repairs, and gives the new coating a surface it can grip. It should be done gradually, moving from a coarser grit only when needed to a finer grit for a smooth final surface. Rushing with aggressive sandpaper can leave swirl marks, round sharp edges, or sand through thin veneer.
The right approach depends on the existing coating. Thick varnish may need more work than a lightly worn clear coat, while a painted door may require different preparation than a solid hardwood table. Detailed edges, carvings, and grooves often need hand sanding to avoid damaging the profile.
Dust removal matters just as much as sanding. Fine particles left behind can settle into the coating and leave a rough, gritty finish. Professional preparation includes thorough vacuuming and careful wipe-down before stain or varnish is applied.
Choose a Finish for Real-Life Use
The most attractive finish is not always the most practical one. A low-sheen finish can hide light marks and feel more natural, while a glossier finish reflects more light but can show scratches and fingerprints more easily. The right decision depends on the wood item, its location, and how often it is handled.
For a dining table, countertop, or frequently used desk, durability and stain resistance should take priority. For decorative trim, shelving, or a low-contact cabinet, appearance may be the main consideration. Exterior-facing wood needs a finish designed to handle UV exposure and changing weather conditions, not the same coating used for an indoor cabinet.
Stain is optional. If the goal is to preserve the natural tone of the timber, a clear protective coat may be enough. If the wood has uneven color, old stain, or visible repairs, staining can create a more consistent appearance. Testing a small, inconspicuous area before committing is the safest way to confirm the color and sheen.
Water-based finishes generally dry faster and have lower odor, which can be helpful in lived-in homes and active offices. Oil-based products can provide a warmer tone and longer open time for application, but they usually require more ventilation and take longer to cure. Neither option is automatically better. The best choice is the one that matches the surface, schedule, indoor environment, and expected wear.
Application Is Where Craftsmanship Shows
A finish can be technically suitable and still look disappointing if it is applied unevenly. Brush marks, lap lines, drips, bubbles, and dust nibs often come from poor technique, unsuitable tools, or working too quickly. Stain needs to be applied and wiped consistently so it does not become blotchy. Clear coats require thin, even layers and the correct drying time between coats.
Most wood surfaces benefit from more than one protective coat. Light sanding between coats can remove small imperfections and improve adhesion, provided the coating has dried sufficiently. However, applying too many coats too quickly can trap solvents, creating a soft finish that marks easily.
Temperature, ventilation, and humidity also affect results. High humidity may slow drying, while excessive heat can cause a coating to dry before it levels properly. Scheduling the work with site conditions in mind helps avoid preventable defects and unnecessary delays.
Know When Refinishing Is Not the Best Value
Refinishing is often more affordable than replacement, especially for solid wood doors, built-in cabinetry, quality furniture, and architectural trim. It can extend the life of a well-made piece while preserving a look that fits the property.
Still, replacement may be the better option when engineered boards are swollen, veneer is extensively damaged, structural wood is rotten, or the cost of labor exceeds the value of the item. A transparent recommendation should consider the condition, not simply assume every surface can be restored.
For property owners who want a dependable result without managing sanding dust, product selection, and drying times, a managed service can make the process far easier. My Paint Job handles surface preparation and finishing work with attention to protection, cleanliness, and the final appearance of the space.
Keep the New Finish Looking Its Best
Once refinishing is complete, allow the surface to cure before placing heavy objects on it or cleaning it aggressively. A coating may feel dry within hours but still need days or longer to reach its full hardness. Early care prevents impressions, scratches, and dull spots.
Use a soft cloth for routine cleaning and avoid harsh abrasive pads or strong chemical cleaners unless the finish manufacturer specifically permits them. Wipe spills promptly, use coasters and protective pads on tables, and avoid leaving wet items against wood doors or cabinetry. These small habits preserve both the sheen and the protective layer.
If your wood surfaces are worn but worth keeping, begin with a clear inspection rather than a quick coat of varnish. Careful refinishing can make a familiar door, table, or cabinet look cared for again – and help it stay that way through years of everyday use.