A fresh coat of paint can transform a room quickly, but the finish is only as good as the work completed before the first brush touches the wall. When you prepare rooms before painting properly, you protect your belongings, reduce dust and mess, and give the paint the clean, stable surface it needs to last.
For homeowners, tenants, landlords, and business owners, preparation is often the difference between a project that feels controlled and one that becomes disruptive. A professional painting team plans this stage carefully because it prevents avoidable touch-ups, uneven coverage, peeling paint, and damage to furniture or flooring.
Why Room Preparation Matters Before Painting
Paint does not hide every problem. It can improve the look of a room, but it cannot reliably correct flaking surfaces, greasy walls, hairline cracks, damp spots, or loose plaster. If these issues are painted over, they can reappear through the new finish and shorten the lifespan of the work.
Good preparation also makes the painting process faster and cleaner. Clear access allows painters to work efficiently around walls, ceilings, trims, doors, and windows. Proper protection keeps paint splatters, sanding dust, and cleaning residue away from surfaces that are not being painted.
The exact amount of preparation depends on the property. A well-maintained bedroom may only need furniture moved, walls wiped down, and small holes patched. A kitchen, rental unit, retail space, or older property may require more detailed cleaning, wallpaper removal, plaster repairs, or treatment for water-damaged areas.
How to Prepare Rooms Before Painting
Start with a clear plan for the space
Before moving anything, decide what will be painted. This may include walls, ceilings, skirting boards, doors, window frames, grills, gates, or built-in cabinetry. Confirming the scope early helps prevent missed areas and makes it easier to choose the right paint type, finish, and color.
It is also the right time to consider how the room is used. A high-traffic hallway needs a durable, washable finish. Bedrooms may benefit from low-odor or eco-friendly paint options. For offices and retail spaces, the schedule matters just as much as the color choice. Work may need to be arranged around operating hours to keep disruption low.
Take down wall art, mirrors, curtains, blinds, removable shelves, and decorative items. Do not leave small items on counters or furniture and assume they will be safe under a sheet. Removing them completely creates better access and eliminates the risk of accidental paint marks.
Move and protect furniture
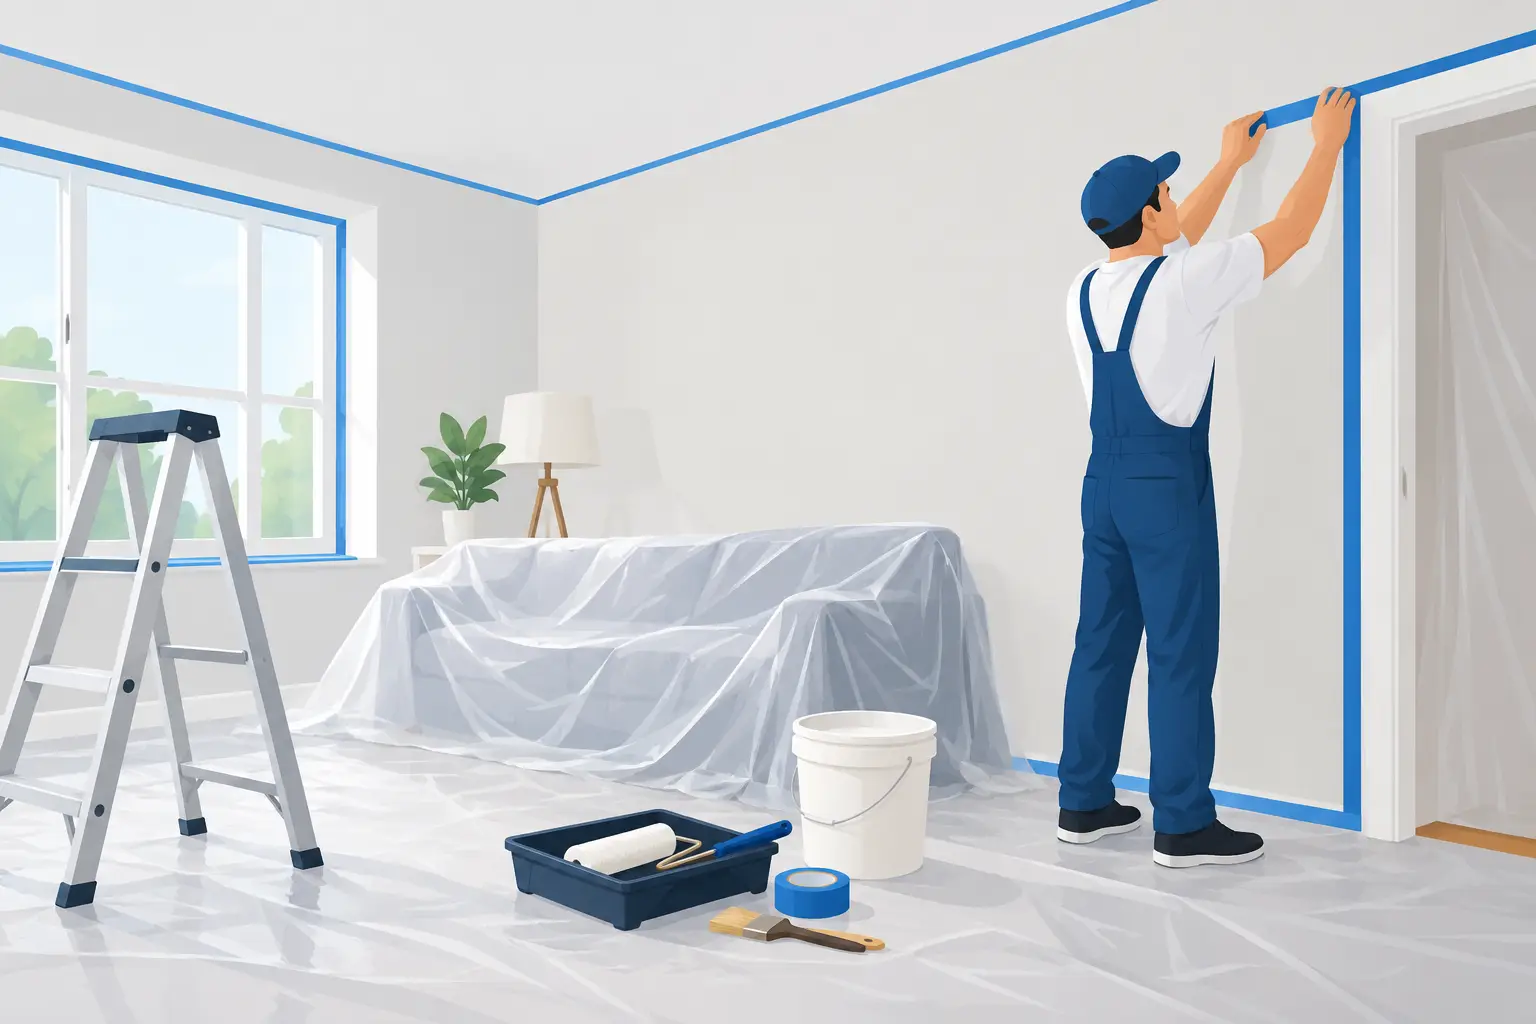
Whenever possible, move furniture out of the room. This gives the painting crew space to prepare walls correctly and creates a cleaner working environment. If large pieces cannot be moved, place them in the center of the room and cover them fully with clean plastic sheeting or drop cloths.
Floor protection deserves the same care. Use suitable drop cloths or protective covers over tile, wood, vinyl, carpet, and other finished flooring. Thin plastic alone can shift underfoot and may become slippery, so professional crews often use materials designed to stay in place and resist paint seepage.
For commercial spaces, protect workstations, stock, display units, electronics, and customer-facing surfaces. A small amount of planning before the job begins can prevent expensive interruptions later.
Clean walls and remove loose material
Walls collect more than visible dust. Cooking residue, handprints, oils, smoke particles, and cleaning-product residue can interfere with paint adhesion. Wipe walls with an appropriate mild cleaner, then allow them to dry fully before painting.
Pay close attention to kitchens, dining areas, bathrooms, entryways, and spaces near air-conditioning vents. These areas usually need more thorough cleaning than a low-use guest room. Mold or mildew should never be covered with paint alone. The cause of the moisture must be addressed first, then the affected surface should be cleaned and treated correctly.
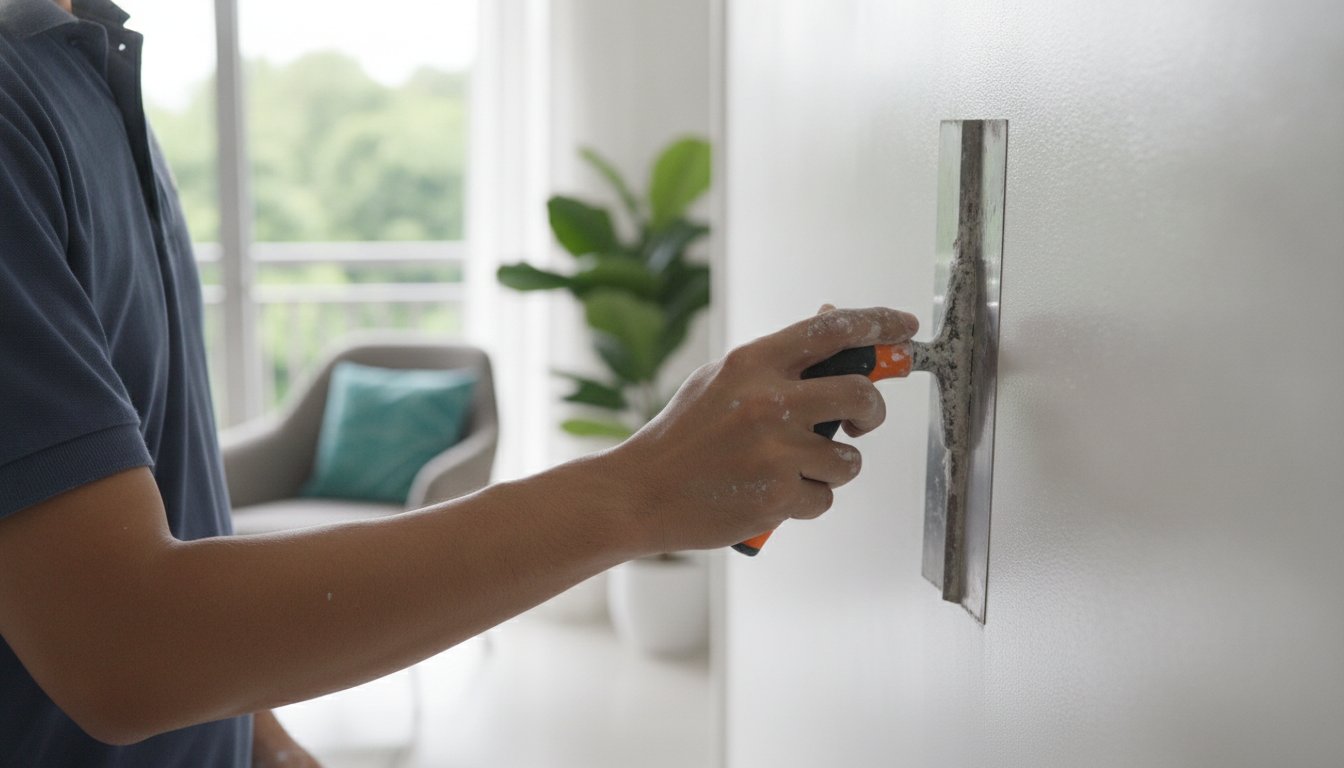
Next, inspect for peeling paint, bubbling, cracks, dents, nail holes, and rough patches. Loose paint should be scraped away, while damaged areas may need filling, sanding, or plastering. If the wall has significant cracking, uneven texture, or signs of spalling concrete, a surface repair specialist should assess it before the painting work proceeds.
Repair, sand, and prime where needed
Small holes and minor dents are common, particularly when a room has had pictures, shelves, or mounted accessories. Filling these marks creates a smoother result, but the filler must be allowed to dry and then sanded flush with the surrounding wall.
Sanding is not simply a cosmetic step. It helps level repaired areas and gives paint a better surface to grip. However, it creates fine dust, which must be removed before primer or paint is applied. Skipping this cleanup can leave grit trapped in the final finish.
Primer is not required for every repaint, but it is valuable in several situations: after extensive patching, when changing from a dark color to a much lighter one, when painting new plaster, or when covering stains. The right primer improves coverage and helps the final color look more even. Using extra paint instead of primer may seem more affordable at first, but it often costs more time and material without producing the same result.
Protect edges, fixtures, and outlets
Masking tape helps create neat lines around trims, switches, outlets, window frames, and other edges. It should be applied to clean, dry surfaces and removed at the right stage so it does not pull away fresh paint.
Light fixtures, air vents, door hardware, and electrical covers should be protected or removed when practical. Do not paint over outlet covers, hinges, or handles to save time. It may look minor initially, but these details are highly visible once the room is complete.
If electrical work, polishing, wallpaper removal, or carpentry adjustments are part of the project, coordinate the order of work before painting starts. Painting should usually happen after dusty repair work is completed, but before final installation of delicate fittings or furnishings.
Prepare for a Low-Disruption Painting Day
A smooth project depends on communication as much as surface preparation. Confirm which rooms will be available, where painters can store materials, and which areas need to remain accessible. If you have children, pets, elderly family members, customers, or staff on-site, plan safe routes away from the work area.
Keep windows or ventilation options available where appropriate, especially during cleaning, priming, and painting. Low-VOC and eco-friendly paint choices can help reduce odors, but every product still needs the correct drying and ventilation conditions.
For occupied homes, set aside essentials you will need during the project, such as medications, chargers, keys, work items, and clothing. For offices and shops, back up or relocate sensitive equipment, communicate the work schedule to employees, and protect inventory before the crew arrives.
A professional contractor should handle much of this process, including furniture protection, surface checks, repairs, masking, and cleanup. At My Paint Job, preparation is treated as part of the workmanship, not an optional extra. That approach helps deliver an even finish while keeping your property orderly from inspection through final cleanup.
Common Preparation Mistakes to Avoid
The most frequent mistake is painting over walls that look clean but have not been properly washed. Another is rushing repairs and applying paint before filler, plaster, or primer has fully dried. Both can lead to visible imperfections and premature paint failure.
It is also risky to cover furniture loosely or leave valuables in drawers, open shelving, and display cabinets. Dust can travel farther than expected during sanding and repairs. Clear the area where possible, protect what remains, and let the painting team know about delicate finishes or items that need special handling.
Finally, avoid choosing a paint color only from a small sample viewed under store lighting. Test the color in the room and look at it in daylight, at night, and under your usual indoor lighting. The same shade can appear warmer, cooler, darker, or brighter depending on the surrounding surfaces.
A room that is carefully prepared gives every coat of paint a better chance to look polished and stay that way. If you want the transformation without managing the moving, masking, repairs, and cleanup yourself, request a detailed quote and let experienced painters handle the details with care.