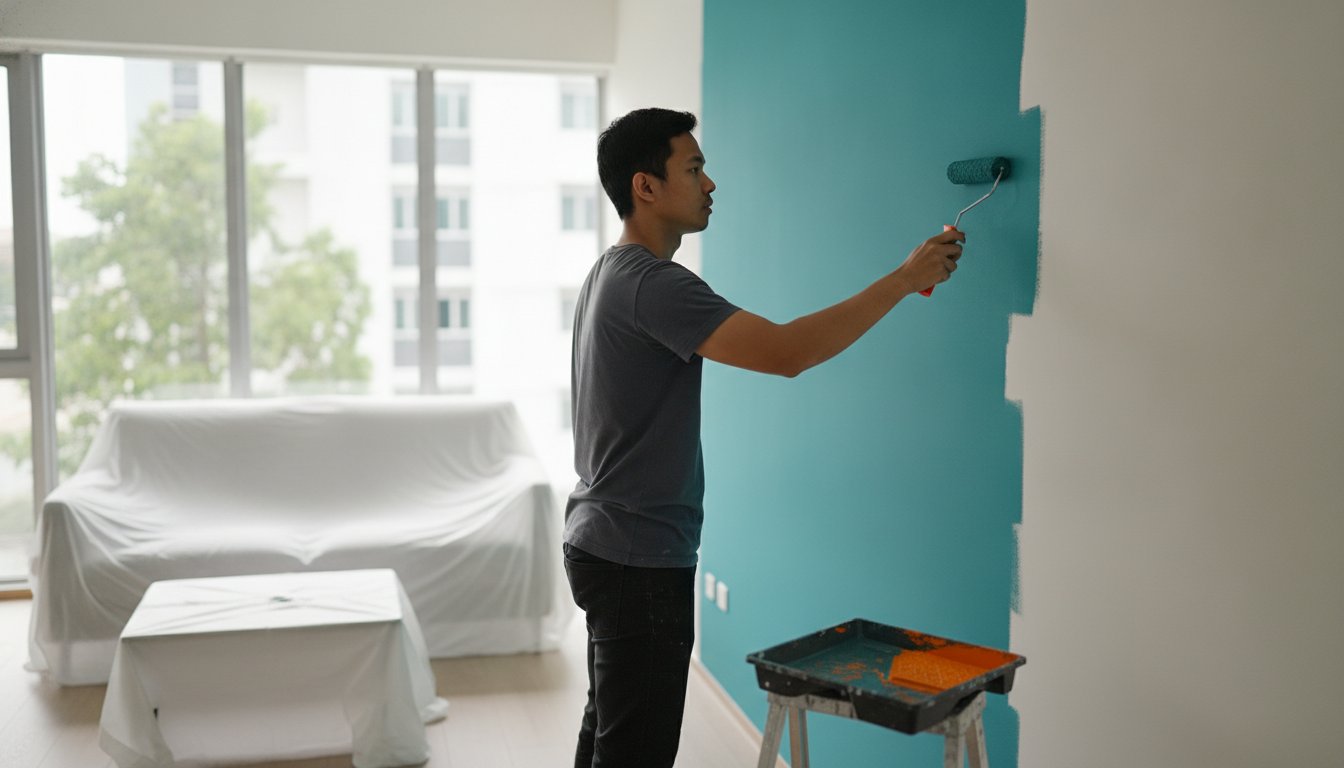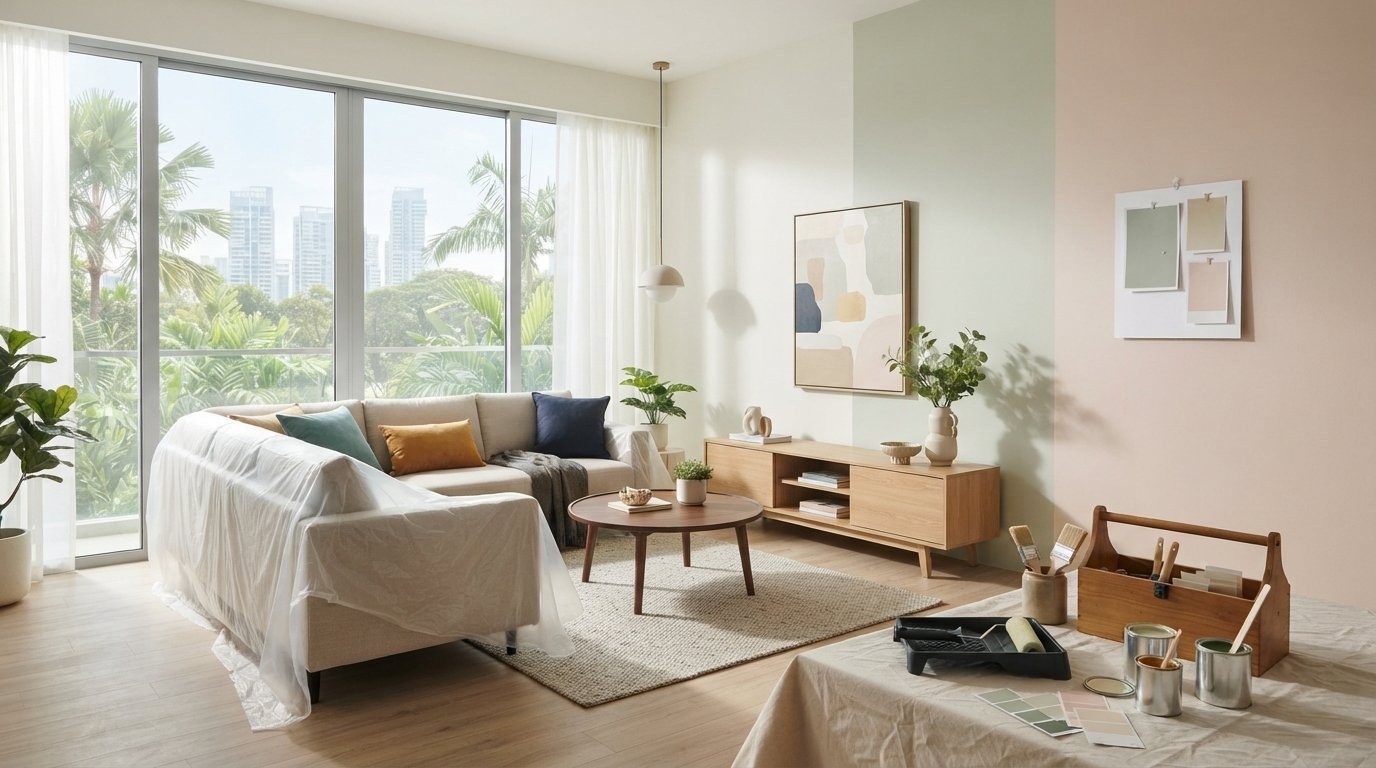
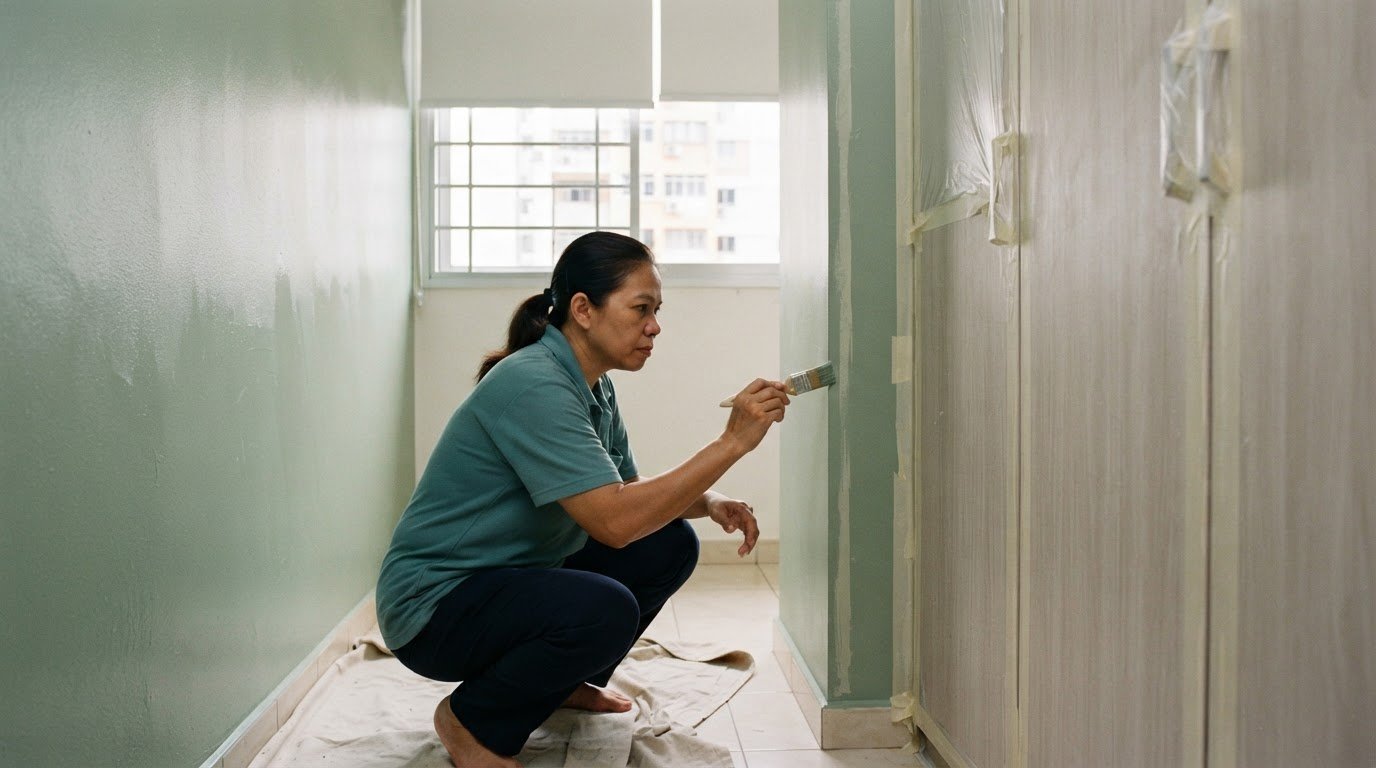
Fitted wardrobes don’t have to match the walls; choose the same colour for a seamless, built-in look or a contrasting shade to make them stand out. For how to paint around built-in wardrobes, start by cleaning the surfaces with water and a non-abrasive cloth, then protect nearby areas and allow the fresh paint around a week to dry before reassembly.
A careful finish starts before the first coat. Dust, grime and rushed preparation can undermine the result, while thoughtful colour choices help the wardrobe sit naturally in the room. Clean and prepare the surfaces, protect doors, handles, floors and surrounding walls, and wait until the paint is ready before putting everything back together. Consider how light, room size and your preferred finish affect the choice between matching the walls and creating contrast, so the result feels deliberate.
Key Takeaways
- Clean wardrobe surfaces gently before painting so grime doesn’t compromise preparation.
- Choose the colour and finish with the room’s light and overall style in mind.
- Give the fresh paint around a week to dry before reassembly to help protect the finish.
- Remove doors where practical and shield handles, floors and nearby walls from paint splashes.
1. Cleaning wardrobe surfaces before painting
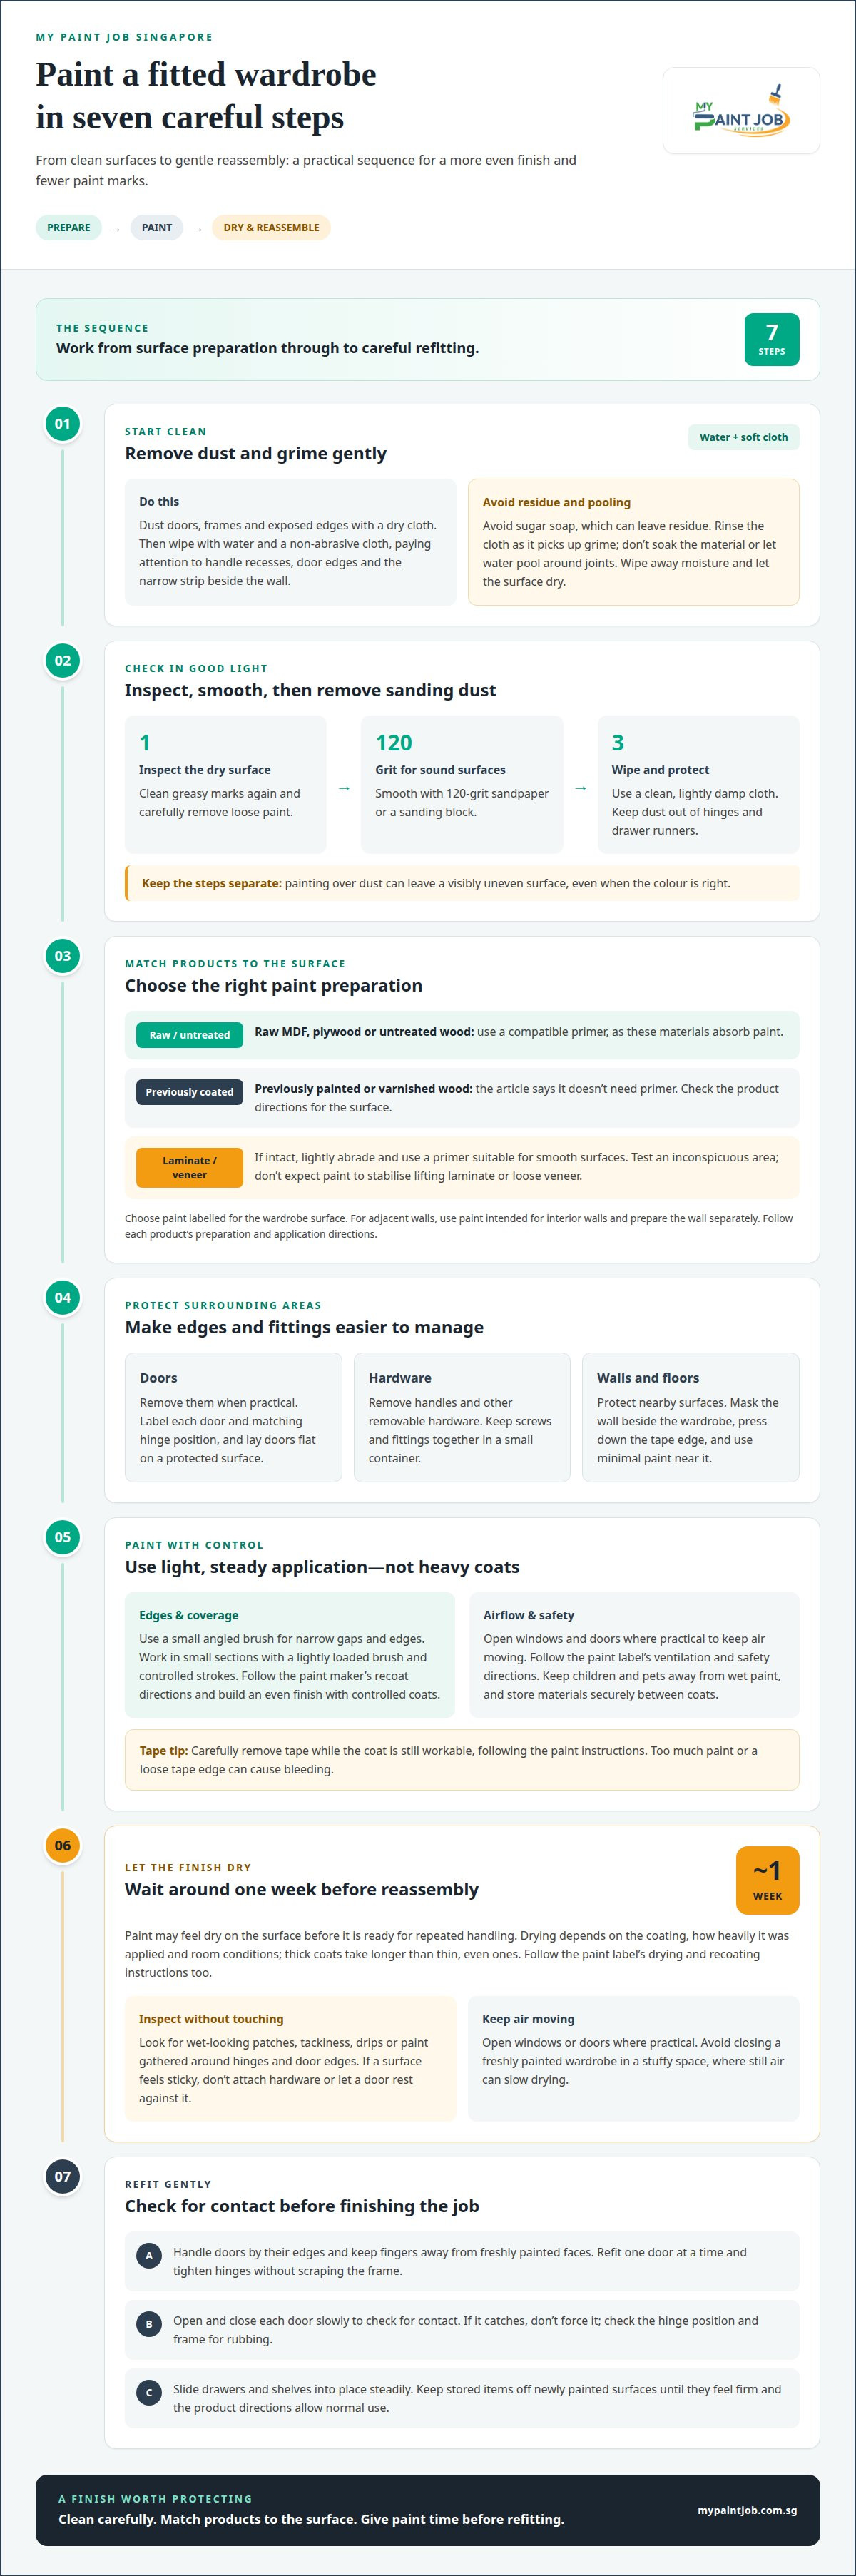
Start with the doors, frames and exposed edges. Remove dust with a dry cloth, then wipe each surface with water and a non-abrasive cloth. Avoid sugar soap, which can leave residue on wardrobe finishes. Pay attention to handle recesses, door edges and the narrow strip beside the wall, where fingerprints and dust collect. Rinse the cloth as it picks up grime, and don’t soak the material or let water pool around joints. Wipe away moisture and let the surface dry before sanding or painting.
Once dry, inspect the wardrobe under good light. A greasy mark, loose flake or rough patch can affect the finish, so clean marks again and remove loose paint carefully. Smooth sound surfaces with 120-grit sandpaper or a sanding block, then wipe away the sanding dust with a clean, lightly damp cloth. Keep dust out of hinges and drawer runners. Cleaning and sanding are separate steps: painting over dust can leave a visibly uneven surface, even when the colour is right.
Choose paint labelled for the wardrobe surface, and use a compatible primer on raw MDF, plywood or untreated, unpainted wood, as these materials absorb paint. Priming needs can vary with the wardrobe surface, so check the paint instructions before painting. For adjacent walls, choose paint intended for interior walls and prepare the surface separately. Don’t assume wardrobe paint suits both. Follow each product’s preparation and application directions.
For narrow gaps and edges, use a small angled brush and apply controlled strokes instead of loading the brush heavily. Mask the wall beside the wardrobe with painter’s tape, press down the tape edge, then paint toward it with minimal paint. Carefully remove the tape while the coat is still workable, following the paint instructions.
In a Singapore home, open windows and doors to keep air moving while you work, and follow the paint label’s ventilation and safety directions. Keep children and pets away from wet paint, and store materials securely between coats. Good airflow also helps surfaces dry evenly before you continue.
2. Common wardrobe-painting mistakes
Laminate and veneer can be painted if the surfaces are intact, but poor preparation risks peeling or damage. Don’t strip or sand aggressively. Lightly abrade the finish and use a primer suitable for smooth surfaces. Test the preparation and paint on an inconspicuous area, such as the inside edge of a door. If laminate is lifting or veneer is loose, painting over it won’t stabilise it.
Another common mistake is choosing primer by habit rather than by surface. Raw MDF, plywood and untreated wood need primer because they can absorb paint; previously painted or varnished wood doesn’t. For laminate or veneer, follow the primer label’s surface guidance. An incompatible coating can leave a weak layer that scratches or flakes during everyday use.
Paint bleeding beneath masking tape often starts with a loose edge or too much paint on the brush. Press the tape down firmly, then use a lightly loaded brush and stroke away from the tape edge. If the paint is still wet, carefully lift the excess with a clean brush. For dried drips, let the coat dry, sand the raised area smooth, remove the dust, then apply a thin touch-up coat.
Uneven edges can also result from rushing across the wardrobe frame and adjoining wall in one pass. Work in small sections, keep a steady brush angle, and inspect the junction from different positions before the paint sets. Test a large colour sample in natural and artificial light. A shade that looks balanced beside a window may appear different in the evening.
Finally, don’t apply a heavy coat to hide an earlier mistake. Thick paint can leave ridges around door panels and hardware. Follow the paint maker’s recoat directions, and build an even finish with controlled coats. If a full room repaint is part of the project, careful HDB painting work can help coordinate a consistent finish around fitted furniture.
3. Drying time before reassembly
Leave freshly painted wardrobe surfaces to dry for around one week before reassembly. Paint can feel dry on the surface before it’s ready for repeated handling. Refitting a door too soon can leave fingerprints, scratches or marks where it touches the frame. Follow the paint label’s drying and recoating instructions too.
Drying depends on the coating, how heavily it was applied and the room conditions. Thick coats take longer to dry than thin, even ones. In Singapore, keep air moving through the room by opening windows or doors where practical. Avoid closing a freshly painted wardrobe in a stuffy space, since still air can slow drying.
Use the waiting period to inspect each painted area without pressing or rubbing it. Look for wet-looking patches, tackiness, drips and paint gathered around hinges or door edges. If a surface feels sticky, don’t attach hardware or let a door rest against it. Contact can pull at the coating and leave a mark that needs sanding and touch-up paint.
Once the waiting period is over, reassemble gently. Handle doors by their edges, keep fingers away from freshly painted faces, and tighten hinges without scraping the frame. Refit one door at a time, then open and close it slowly to check for contact. If a door catches, don’t force it. Check the hinge position and frame for rubbing before continuing.
Drawers and shelves need the same care. Slide them into place steadily, watching for fresh paint rubbing against runners or cabinet sides. Keep stored items off newly painted surfaces until they feel firm and the product directions allow normal use. Returning items gradually protects the finish and helps prevent fitting adjustments from causing visible paint damage.
4. How to protect wardrobe doors, handles, floors and surrounding walls while painting?
Remove wardrobe doors before painting when practical. This reduces the chance of paint cracking around the hinges and gives you better access to the frame edges. Mark each door and its matching hinge position with removable labels, then lay the doors flat on a protected surface. Keep screws and fittings together in a small container for straightforward reassembly.
Remove handles and other removable hardware rather than painting around them. Place each set of screws in a labelled bag, and cover fixed hinges or fittings with painter’s tape. Press the tape firmly around fitting edges to limit paint seepage. If a handle can’t be removed, wrap it fully and check that the covering stays secure as you work.
Protect the floor with a drop cloth or suitable floor covering, extending it beyond the wardrobe’s footprint. Tape down the edges where people might walk so the covering won’t shift beneath a ladder or paint tray. Keep the paint container on a stable surface, not on a loose edge of the covering. Carefully cover parquet and other finished flooring to prevent drips and sanding dust from marking it.
Mask the wall where it meets the wardrobe frame, along with nearby skirting and adjacent surfaces. Apply painter’s tape in straight runs, pressing the edge flat with a clean finger or cloth. Use a small brush near the taped boundary and avoid pushing paint beneath the tape. Carefully remove the tape before the paint fully hardens, following the paint maker’s directions.
Before starting, open doors and drawers and clear nearby furniture from the work area. Check that floor protection remains flat and tape hasn’t lifted at corners. A simple final check helps catch gaps before paint reaches the wall or floor. If you’d like help planning a tidy room repaint, get support with your painting project.
My Paint Job Singapore: HDB painting services
My Paint Job Singapore provides HDB painting services for homeowners planning a room refresh or a broader interior repaint. If wardrobe preparation, precise edges or coordinating fitted furniture with freshly painted walls feels difficult, the painting team can handle the surrounding room surfaces with careful preparation.
Choose a consistent colour across the walls and wardrobe surroundings for an integrated appearance, or use contrast to make the fitted unit stand out. My Paint Job Singapore also provides painting services for condominiums, landed properties and commercial spaces, with work suited to different property settings.
For a considered finish around your fitted wardrobe, contact My Paint Job Singapore or visit mypaintjob.com.sg.
Plan a wardrobe finish that fits the whole room
A fitted wardrobe shapes the feel of a bedroom, so treat its finish as part of the overall design rather than an isolated paint task. Before starting, decide whether you want it to blend into the walls or act as a feature. Then consider whether to repaint only the surrounding surfaces or extend the work across the room for a more cohesive result.
When planning how to paint around built-in wardrobes, let the surface condition and level of detail guide your approach. A large wardrobe, tight edges or several adjoining surfaces can make careful preparation and a consistent finish more demanding. My Paint Job Singapore can help with painting work for your home, planned around the property and the finish you want.
Take the next step at your own pace. Contact My Paint Job Singapore today to discuss your painting project and create a room that feels thoughtfully finished.
Frequently Asked Questions
Should fitted wardrobes be the same colour as the walls?
Matching the walls can create a calm, integrated look, but it isn’t essential. In a compact bedroom, a similar colour for the walls and wardrobe can make the large unit feel less dominant. Choose contrast if you want the wardrobe to become a feature, such as a deep shade against pale walls. Consider the door design too: panelled fronts create shadows that affect how colours appear.
How to prepare built-in wardrobe surfaces before painting?
Begin by emptying the wardrobe and checking its structure before preparing the finish. Look closely at corners, joints and screw heads for movement, swelling or loose material. Secure loose fittings and address damaged areas before painting, since a coating won’t fix an unstable surface. Check the paint and primer labels for compatibility with the wardrobe material, then test the chosen system in a discreet area.
How to paint around built-in wardrobes without removing them?
Keep the wardrobe in place by opening its doors and working on one accessible area at a time. Use a narrow angled brush along the frame and wall junction, keeping paint away from hinge joints and moving parts. To paint around built-in wardrobes neatly, pause between sections and inspect the edge at eye level. This makes missed spots and uneven lines easier to catch before the coat sets.
How many coats of paint are needed, and how long should each coat dry?
Apply controlled coats for an even finish, following the paint maker’s recoating directions. Leave the freshly painted wardrobe to dry for around one week before reassembly.