
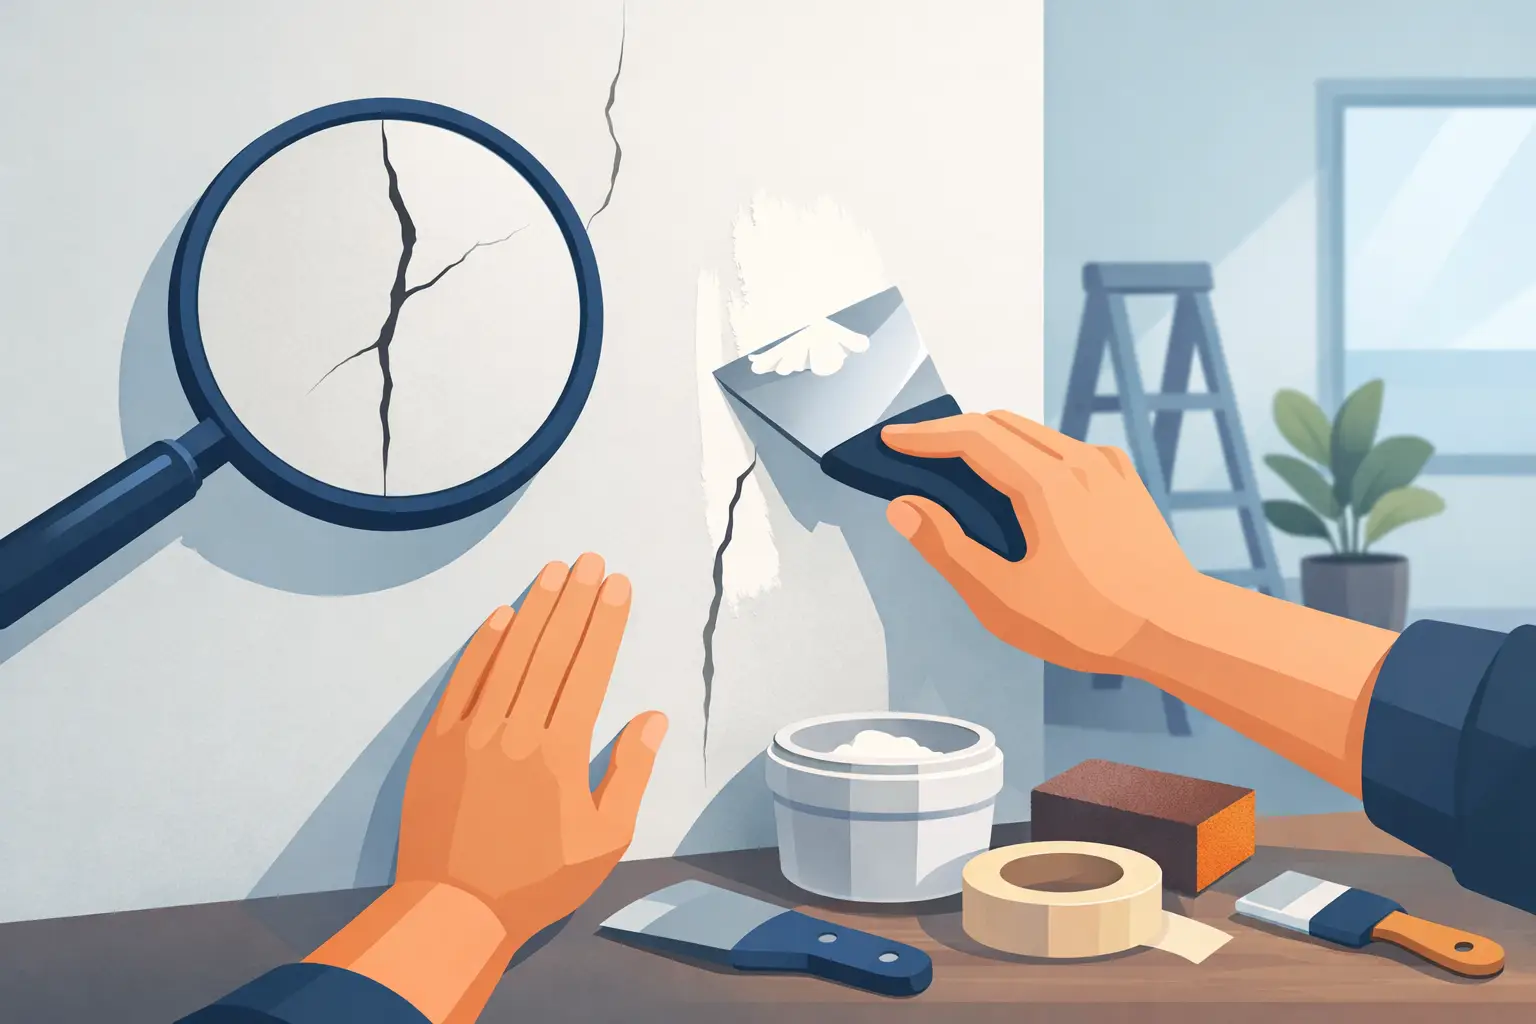
A thin crack above a door frame or running across a painted wall can make an otherwise clean room look neglected fast. If you are wondering how to fix hairline wall cracks without ending up with the same line showing through again a few weeks later, the real answer is not just filler and paint. The finish depends on why the crack appeared, how well the surface is prepared, and whether the repair is matched to the wall condition.
Hairline cracks are common in homes, apartments, offices, and retail spaces. In many cases, they are cosmetic. Paint film ages, plaster shrinks slightly, and buildings settle over time. In other cases, they are the first visible sign that the surface underneath needs more than a quick touch-up. Knowing the difference saves time, money, and repeat repairs.
What causes hairline wall cracks?
Most hairline cracks come from minor movement or surface stress rather than major structural failure. That includes natural settling, small temperature changes, drying shrinkage in plaster or joint compound, and movement around doors, windows, and wall joints. In painted interiors, older coatings can also become brittle, which makes fine cracking more visible.
Moisture changes can play a role too. In humid environments, walls expand and contract slightly. If the substrate was not prepared properly before painting, or if a previous repair was rushed, the crack often returns in the same place.
That said, not every fine crack should be treated the same way. A short, narrow crack on a stable wall is usually a straightforward repair. A crack that keeps reopening, spreads diagonally from a corner, or appears together with bubbling paint, damp patches, or flaking plaster may point to a deeper issue.
When a hairline crack is safe to repair
A cosmetic crack is usually thin, shallow, and limited to the surface coat. It does not create an uneven wall profile, and there are no signs of water intrusion, spalling, or crumbling plaster around it. If you press gently near the crack and the wall still feels solid, that is a good sign.
This is the kind of damage most property owners can address with proper prep and finishing. The key is to avoid painting over the crack directly. Paint alone rarely hides it for long.
How to fix hairline wall cracks step by step
The best repair is a controlled one. Done properly, the wall looks smooth again and the paint blends in cleanly.
1. Inspect the crack before you start
Look at the length, width, and location. If the crack is only as thin as a strand of hair and there is no moisture, bulging, or soft plaster, you can usually proceed with a surface repair. If the area feels hollow or chalky, the damaged section may need more preparation than expected.
This first step matters because the wrong repair product on a weak surface will fail, even if the paint finish looks good on day one.
2. Open the crack slightly
This sounds counterintuitive, but a very fine crack often needs to be widened just a little with a scraper, putty knife, or utility blade. The goal is not to gouge the wall. It is to remove any loose edges and create enough space for filler to grip properly.
If you skip this, the filler may sit on top of the crack rather than inside it. That usually leads to ghost lines showing after repainting.
3. Clean away dust and loose material
Use a dry brush or cloth to remove powder, dust, and flakes. A clean surface helps the filler bond well. If the wall has grease or residue, especially in kitchens or commercial spaces, wipe it down and let it dry fully before moving on.
Surface cleanliness has a direct effect on how long the repair lasts. It is a small step, but it is one of the most overlooked.
4. Apply the right filler
For most interior hairline cracks, a quality crack filler or patching compound works well. Press it into the crack with a putty knife and smooth it out in thin layers. It is better to build lightly than to apply one thick patch that shrinks or cracks while drying.
Some cracks, especially those along recurring stress points, benefit from a more flexible filler. This is where experience matters. A rigid patch can look neat at first but fail once the wall moves again.
5. Let it dry fully
Do not rush the drying stage. If filler is still damp underneath, sanding and repainting too soon can ruin the finish. Dry time depends on the product, room temperature, humidity, and patch depth.
This is one of the main reasons DIY crack repairs look fine for a day and then sink, flash, or outline through the paint after a week.
6. Sand for a flush surface
Once dry, sand the repaired area until it feels level with the surrounding wall. Use fine-grit sandpaper and keep the motion light. The aim is a smooth transition, not an obvious patch.
In strong side lighting, even a slight ridge will show. Taking time here makes the repainting stage much easier.
7. Prime before painting
Primer is not optional if you want an even result. Repaired filler absorbs paint differently than the surrounding wall. Without primer, the patch often looks duller, brighter, or visibly textured after the topcoat dries.
A good primer seals the repair and helps the finish coat blend more naturally across the wall.
8. Repaint the area or the full wall
If you still have the original paint and it has not faded, a careful touch-up may work. But many wall paints age unevenly, especially in rooms with sunlight, airflow, or regular cleaning. In those cases, spot painting can leave a visible patch even if the color code is technically the same.
For the best visual result, repainting the entire wall is often the safer choice. It costs a bit more, but it gives you a uniform finish rather than a repaired area that still catches the eye.
Common mistakes when fixing hairline wall cracks
The most common mistake is painting directly over the crack. It may hide the line for a short time, but the crack usually reappears quickly. Another problem is using too much filler at once, which can shrink as it dries and leave a depression.
Skipping primer is another frequent issue. Many people assume the topcoat will cover everything, but patched surfaces almost always need sealing first. Poor sanding is also easy to spot, especially on smooth interior walls with satin or eggshell finishes.
The final mistake is ignoring the cause. If moisture, weak plaster, or ongoing movement is behind the crack, a standard cosmetic repair may not last.
When to call a professional for hairline wall cracks
If the crack keeps returning, spreads across multiple walls, appears near ceilings and windows repeatedly, or comes with paint bubbling and dampness, it is worth getting the wall assessed properly. The same applies if the plaster is loose, chalking, or breaking away when you prep the area.
Professional repair is not just about making the wall look better. It is about choosing the right treatment for the substrate, preparing surrounding areas cleanly, and repainting for a consistent finish. In occupied homes, offices, and shops, that also means less mess and less trial and error.
For landlords, property managers, and business owners, this matters even more. A poor patch job can make a unit or workspace feel unfinished. A clean, well-managed repair supports the overall presentation of the property.
How to stop hairline cracks from coming back
Not every crack can be prevented permanently, because buildings move and surfaces age. But good preparation makes a big difference. That includes removing weak material, using the correct filler, priming properly, and applying quality paint over a stable surface.
If the wall has wider surface defects, old patchwork, or uneven plaster, a more complete surface improvement may be the better investment than isolated spot repairs. Sometimes the most cost-effective option is to restore the wall properly once rather than touch up the same crack several times.
At My Paint Job, this is where craftsmanship matters. A lasting finish comes from handling the full process carefully, from inspection and prep to repair, painting, and cleanup.
A hairline crack may be small, but the way you fix it has a big impact on how your space looks and how long the finish holds up. If you want walls that look smooth, clean, and professionally maintained, treat the crack as part of the surface system, not just a line to cover.