A fresh coat of paint can make a room feel new, but paint applied over a damp wall rarely stays looking new for long. Blistering, peeling, stains, and a musty odor can return within weeks if moisture is still moving through the surface. Knowing how to assess wall dampness before painting helps you protect your property, avoid repeat work, and choose the right repair instead of simply covering up the evidence.
For homeowners, landlords, and property managers, the goal is not to diagnose every moisture problem alone. It is to recognize the warning signs early, narrow down the likely source, and know when professional surface repair is the sensible next step.
Start With What the Wall Is Telling You
Dampness does not always look like a large wet patch. In many cases, the first clues are small changes in the finish. Look at the wall in natural light and from different angles. A surface that appears uneven, darker in patches, or slightly glossy in one area may be holding moisture beneath the paint.
Pay particular attention to walls near bathrooms, kitchens, laundry areas, windows, exterior-facing rooms, balconies, and air-conditioning units. These are common locations for plumbing leaks, condensation, rainwater entry, or failed waterproofing.
A wall that feels cold or clammy compared with the surrounding surface deserves a closer look. You may also notice bubbling paint, flaking, powdery white deposits, swollen plaster, soft drywall, or mold spots. Each sign points to a moisture issue, but the underlying cause can be different.
A simple visual inspection is a good first step, especially before scheduling repainting. It is not enough, however, to decide that a wall is dry simply because there is no obvious stain. Moisture can sit behind a finished surface long before it becomes visible.
How to Assess Wall Dampness With Simple Checks
You can make an initial assessment without damaging the wall. Begin by checking whether the affected area changes after rain, after a shower, or when an air conditioner has been running. Timing often reveals more than appearance alone.
If a patch becomes darker after heavy rain, the problem may be related to an exterior crack, window seal, roof detail, or waterproofing failure. If it appears after showers or cooking, humidity and poor ventilation may be contributing. If the area stays damp regardless of weather or room use, a concealed plumbing leak is more likely.
Use the touch and smell test carefully
Place the back of your hand against the suspect area and then against a nearby section of wall that looks sound. A damp area may feel noticeably cooler. Do not press hard on soft, swollen, or cracked plaster, as weakened material can break away.
A persistent musty smell is another meaningful clue. Odor often develops when moisture has been present long enough to encourage mold growth behind paint, wallpaper, cabinetry, or wall coverings. Cleaning the visible surface may reduce the smell temporarily, but it will not solve moisture trapped within the wall.
Try a plastic sheet test
For a basic check, tape a clear plastic sheet tightly over a dry-looking section of the wall, sealing all four edges. Leave it in place for 24 to 48 hours. If condensation forms on the wall-facing side of the plastic, moisture may be coming through the wall. If water appears on the room-facing side, high indoor humidity may be the bigger issue.
This test is useful as an indicator, not a final diagnosis. It cannot identify the exact source of water, and results can be affected by temperature changes. Still, it can help distinguish between moisture within the wall and condensation forming from humid indoor air.
Use a moisture meter for a clearer reading
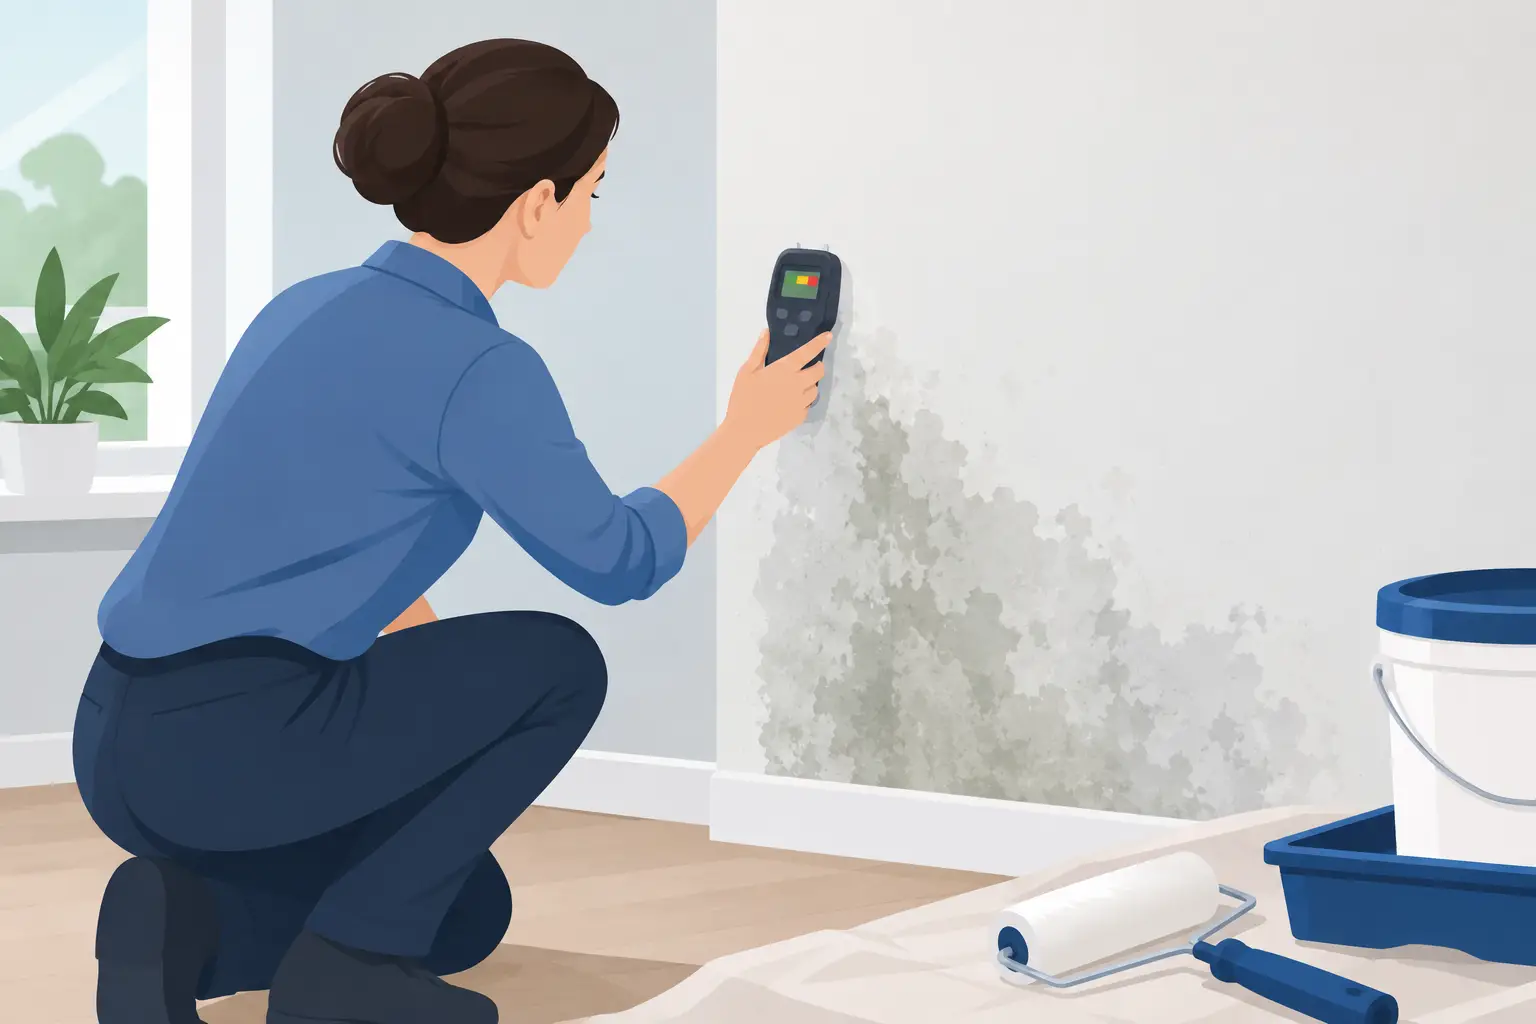
A wall moisture meter can provide a more objective reading than touch alone. Pinless meters scan below the surface, while pin-type meters use small probes to test a specific point. Compare readings from the suspicious area with readings from a dry, unaffected section of the same wall.
Higher readings in one localized area may support the presence of moisture, but meter scales vary by material. Concrete, plaster, drywall, and masonry do not all produce the same numbers. For that reason, the comparison matters more than relying on a single reading or a universal “safe” percentage.
Identify the Most Likely Source Before Repairing
Painting is the final finish, not the moisture solution. Before any scraping, plastering, or repainting begins, identify where the water is coming from. The correct repair depends on the cause.
Condensation is common in rooms with warm, humid air and limited airflow. It often appears on cooler exterior walls, behind large furniture, or around poorly ventilated bathrooms. Improving ventilation, using exhaust fans, allowing space behind furniture, and managing indoor humidity can make a meaningful difference.
Leaks tend to create more localized damage. A stain below a bathroom, beneath a window, near a pipe route, or close to an AC drain line may point to a plumbing or drainage issue. Watch for stains that grow, paint that repeatedly bubbles in the same spot, or dampness that remains even during dry weather.
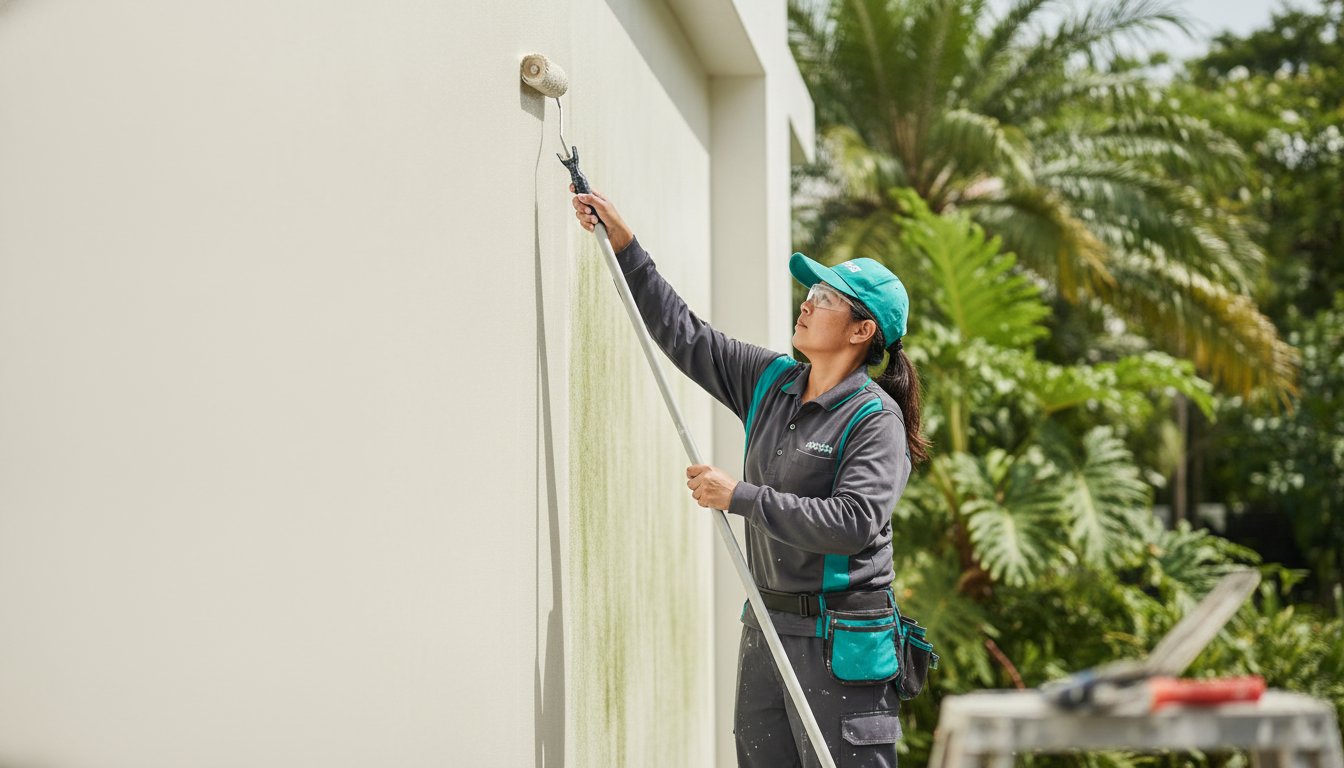
Rainwater intrusion often affects exterior-facing walls and window surrounds. Hairline cracks, failed sealant, damaged exterior coating, clogged drainage points, or gaps around frames can allow water into the wall assembly. In this situation, repainting the interior wall alone may hide the problem briefly while the structure continues to absorb moisture.
Rising damp is less common in upper-level units but can affect ground-level walls and older properties. It usually begins near the bottom of the wall and may leave tide marks, crumbling finish, or white mineral deposits. This calls for a more thorough inspection because surface patching alone is unlikely to last.
Know When a Wall Is Ready for Painting
A wall should be dry, stable, clean, and properly prepared before new paint is applied. If paint is peeling, the loose material must be removed. If plaster is soft, hollow, cracked, or contaminated by mold, it may need to be repaired or replaced rather than simply sanded and painted.
Do not assume that a wall is ready because it feels dry for one day. After a leak or waterproofing repair, drying time depends on the wall material, the extent of saturation, room ventilation, and local humidity. Dense concrete and plaster can retain moisture longer than expected.
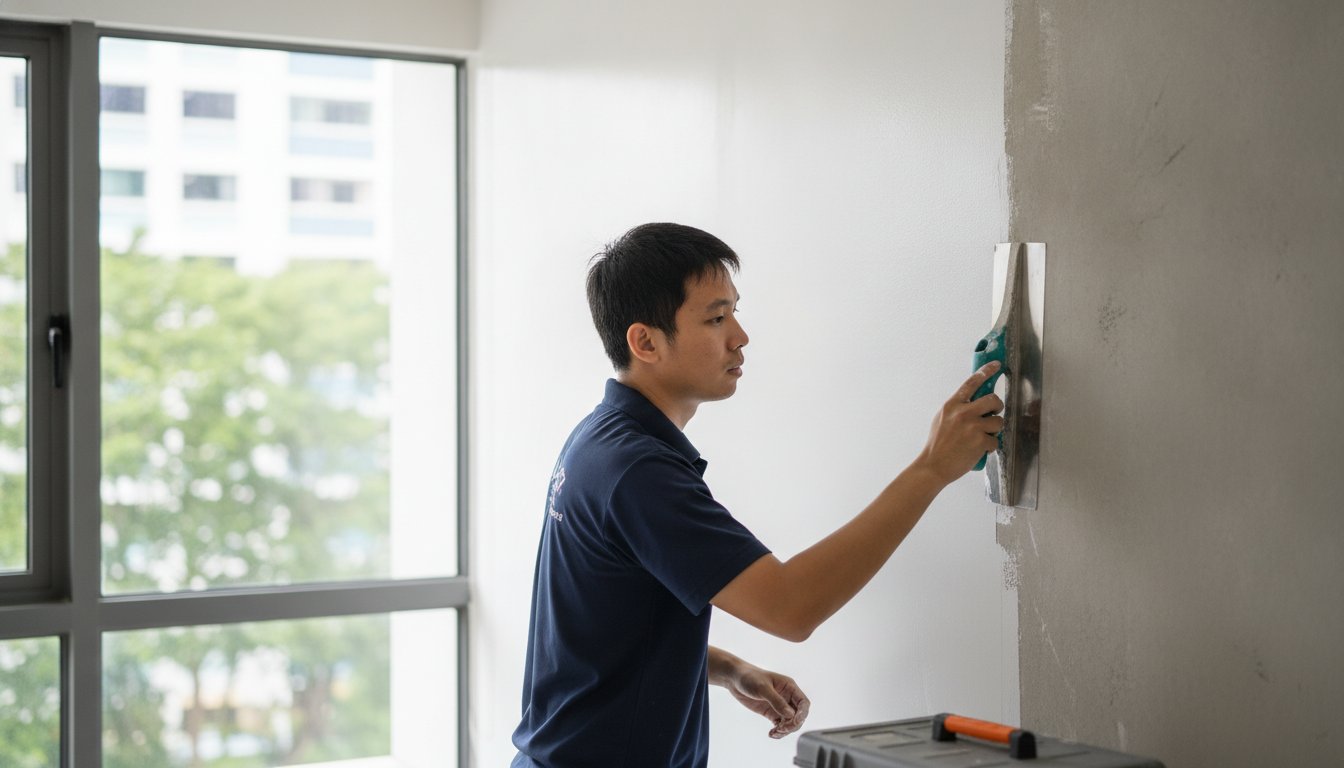
A professional painter or surface specialist can check the substrate, remove failed coatings, treat affected areas appropriately, carry out wall plastering where needed, and apply the right primer before the finish coats. This preparation is what gives a paint job its clean appearance and staying power.
For minor past moisture marks that are fully dry and no longer active, a stain-blocking primer may be appropriate before repainting. But primer is not waterproofing. If the source is unresolved, even premium paint systems can eventually blister, discolor, or separate from the wall.
Avoid These Common Shortcuts
The most expensive dampness repairs often begin with an inexpensive-looking shortcut. Painting directly over a stain may make the room presentable for a short time, but it can trap moisture and make later assessment harder. Applying thicker paint is not a fix either. It may delay visible damage, not prevent it.
Avoid using strong bleach solutions on every mold mark without understanding the material underneath. On porous plaster or drywall, surface cleaning may not reach growth behind the finish. More importantly, mold should be handled with care when the affected area is extensive or when occupants have respiratory sensitivities.
It is also risky to keep drying a wall with fans while ignoring a possible active leak. Fans can improve evaporation, but they cannot stop water from entering through a pipe, crack, failed joint, or damaged waterproofing layer.
When to Call a Professional
Arrange a professional inspection when paint is repeatedly peeling, the wall feels soft, stains keep returning, mold spreads, or there is a suspected plumbing or exterior water-entry problem. The same applies if you see concrete cracking, exposed reinforcement, or rust staining, as these may indicate a more serious surface or spalling issue.
For rental properties and commercial spaces, early action also reduces disruption. Addressing a small affected section before it expands can help protect furnishings, avoid tenant complaints, and keep a repainting project on schedule.
A dependable painting contractor should assess the condition of the wall before recommending a finish. The right approach may involve moisture investigation, surface repair, plastering, priming, and repainting in the proper order. That is a more reliable investment than paying twice for paint that was applied before the wall was ready.
When a wall looks questionable, pause the painting plan long enough to find the cause. A dry, properly repaired surface gives your chosen color the smooth, durable finish it deserves – and gives you far greater confidence that the result will last.