A paint job usually looks simple from a distance. Then the masking tape starts peeling, patchy walls show through, and furniture ends up dust-covered for days. A good home painting process step guide matters because the finish you see at the end is decided long before the first coat goes on.
For homeowners, tenants, landlords, and property managers, painting is rarely just about changing a color. It is about protecting surfaces, improving how a space feels, and getting the work done with as little disruption as possible. That is why the process matters as much as the paint itself.
Why the home painting process step guide matters
Painting is one of the fastest ways to refresh a property, but it is also one of the easiest jobs to underestimate. The difference between a finish that lasts and one that starts failing early often comes down to preparation, surface condition, and product choice.
That is especially true when walls have hairline cracks, flaking paint, damp marks, spalling concrete, or old wallpaper underneath. If those issues are covered instead of corrected, the new paint may look acceptable for a short while, then show defects again. A professional process reduces that risk and gives you a cleaner, more even result.
Step 1: Site inspection and scope planning
Every reliable paint job starts with inspection. Before anyone talks about shades of white or feature walls, the property needs to be assessed properly. That means checking the condition of the walls and ceilings, identifying stains, peeling areas, cracks, plaster damage, water intrusion, and previous coatings that may affect adhesion.
This is also the stage where practical decisions are made. Are you painting only the interiors, or do exterior surfaces need work too? Does the project include doors, gates, grills, or wood elements that require varnish rather than wall paint? Is wallpaper removal needed first? In commercial spaces, the question is often about timing – whether work can be phased to reduce disruption to staff or customers.
A proper inspection leads to a clearer quote, realistic scheduling, and fewer surprises once work begins.
Step 2: Color selection and paint system choice
Once the scope is clear, color selection becomes more useful because it is tied to the actual space, lighting, and surface type. Bright daytime light, warm indoor lighting, ceiling height, and room size all affect how paint will look after application.
This step is not just about aesthetics. The paint system needs to match the environment. For example, high-traffic areas may need more washable finishes. Bedrooms and family spaces may benefit from low-odor or eco-friendly options. Kitchens, common corridors, and commercial interiors may need coatings that resist stains better and hold up to more frequent cleaning.
There is always a trade-off. Matte finishes help hide small surface imperfections, but they can be less washable than eggshell or satin. Higher-sheen paints are easier to wipe down, but they can make uneven walls more visible. A good recommendation balances appearance, durability, and maintenance.
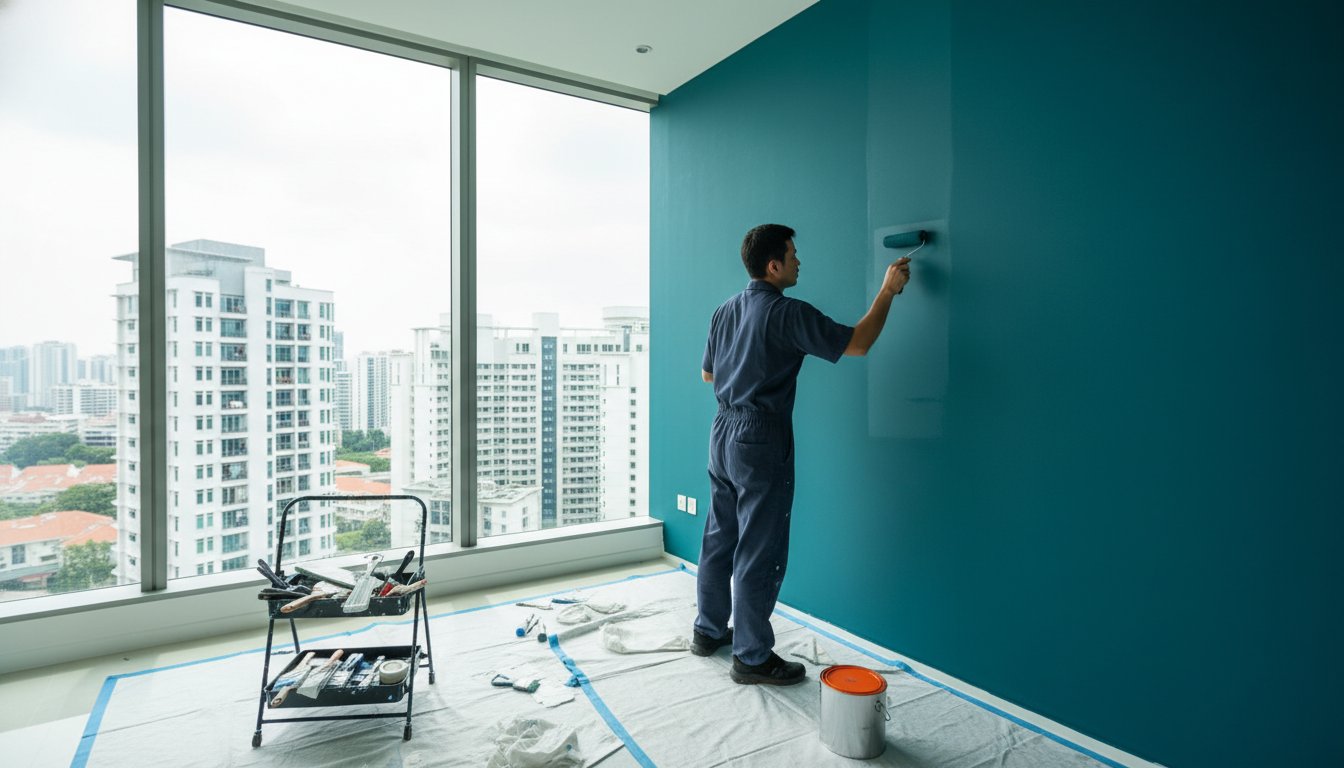
Step 3: Protecting the space before work starts
This is the step customers notice immediately because it shows whether the team treats the property with care. Furniture should be moved or covered properly. Floors, fixtures, switches, and built-ins should be protected. In occupied homes and businesses, containment matters because dust and paint splatter travel farther than most people expect.
Protection is also part of efficiency. When a room is organized correctly at the start, painters can work faster and more cleanly. It reduces accidental damage, avoids rushed touch-ups, and helps keep the project on schedule.
For clients who want convenience, full-service handling makes a real difference here. A managed job means less lifting, less guesswork, and less cleanup stress for the property owner.
Step 4: Surface preparation and repairs
If one stage determines the final quality, it is surface preparation. Paint does not hide poor surfaces well. In fact, fresh paint often makes defects stand out more.
Preparation usually includes scraping loose paint, sanding rough areas, filling cracks and holes, patching damaged plaster, and cleaning dust or grease from the surface. If there are water stains, mold-related issues, or spalling concrete, those need targeted treatment first. Wallpaper removal also belongs in this stage, followed by smoothing and sealing the wall underneath.
This is where many low-cost paint jobs cut corners. Skipping repairs saves time upfront but creates visible lines, bubbling, uneven textures, or early peeling. A smoother substrate gives a sharper finish and extends the life of the paint system.
Step 5: Priming where it counts
Primer is not always needed on every repaint, but it is often essential on repaired areas, bare plaster, stained walls, and surfaces with major color changes. Its job is to improve adhesion, create an even base, and help the topcoat perform properly.
Without the right primer, patched areas may flash through, stains may bleed back, and dark old colors may affect the final tone. Primer also helps achieve better consistency, which can reduce the number of finish coats needed.
This is another it-depends step. If the existing coating is sound and the color shift is minor, spot priming may be enough. If the wall has widespread repair work or a difficult history, a fuller priming approach is the safer choice.
Step 6: Paint application and coat building
Now the visible transformation begins, but technique still matters more than speed. Professional application means maintaining clean cut lines, consistent coverage, and even film thickness across the entire surface. Whether the paint is rolled, brushed, or sprayed depends on the substrate, access, and finish required.
Most interior walls need at least two coats for proper coverage and durability. Ceilings, trims, doors, and feature surfaces may require slightly different products or methods. Drying time between coats should be respected because rushing this stage can lead to dragging, poor bonding, or an uneven finish.
In occupied spaces, scheduling matters just as much as technique. Express painting can work well when turnaround is urgent, but only if planning, manpower, and product selection are aligned. Fast execution should never mean compromised prep or incomplete curing.
Step 7: Detailing, touch-ups, and quality checks
A finished paint job is not finished when the last wall is coated. It is finished when the details are checked in normal lighting and corrected where needed. That includes reviewing edges, corners, repaired spots, and transitions between surfaces.
Touch-ups are a normal part of quality control, not a sign that something went wrong. Small imperfections may only show after coverings are removed or as the paint settles. A careful final review ensures the overall appearance is clean, balanced, and ready for handover.
For landlords and commercial clients, this stage is particularly important because presentation affects tenant satisfaction, viewings, and customer impressions. Small misses can make an otherwise good job look incomplete.
Step 8: Cleanup and handover
Cleanup is part of the service, not an afterthought. Protective coverings should be removed carefully, furniture returned where needed, and the area left neat and usable. Customers should not have to spend the next day wiping dust from surfaces or figuring out what to do with leftover materials.
A proper handover also gives the client clarity on what was completed, what products were used, and what to expect during the final curing period. Some paints may feel dry quickly but still need more time before heavy cleaning or contact. Setting those expectations helps protect the finish.
Common reasons paint jobs fail early
Most paint failures can be traced back to a few preventable problems. Poor surface prep is the biggest one. After that come moisture issues, wrong product choice, insufficient coats, and rushed drying times.
Sometimes the cheapest quote becomes the most expensive option because hidden repair needs were ignored. If a wall has cracking, dampness, or loose substrate, the right answer is not just more paint. It is treating the cause and building the coating system properly from the start.
When it makes sense to hire professionals
DIY painting can work for very small, simple areas with sound walls and plenty of time. But whole-home repaints, occupied homes, rentals between tenants, and commercial spaces usually benefit from professional handling. The main reason is not only workmanship. It is coordination.
A professional team manages inspection, repairs, masking, paint matching, application, and cleanup in the right order. That saves time, reduces disruption, and lowers the risk of rework. For clients who value convenience and a polished finish, that managed process is often the real value.
At My Paint Job, that is the standard clients are looking for – clear recommendations, careful preparation, quality materials, and a result that feels worth coming home to.
The best paint jobs do not feel stressful while they are happening, and they do not start showing problems a few months later. When the process is handled correctly, the result is simple in the best way: clean walls, confident workmanship, and a space that looks renewed the moment you walk in.