
Fresh paint can look impressive on day one and disappointing by month three if the wall underneath was never properly prepared. That is why surface preparation for wall painting matters so much. It is the part most people do not see, but it decides whether the finish looks smooth, holds its color, and stands up to daily wear in homes, offices, and retail spaces.
At a glance, painting seems simple. Pick a color, apply two coats, and the room feels new again. In practice, the final result depends heavily on what happens before the first coat goes on. A wall with dust, hairline cracks, moisture stains, chalky residue, or old flaking paint will not give you a clean, durable finish, no matter how premium the paint is.
Why surface preparation for wall painting matters
Good preparation does three jobs at once. It helps paint adhere properly, improves how the finished wall looks, and reduces the risk of early failure such as bubbling, peeling, patchiness, or visible defects. For property owners, that means fewer touch-ups, better value for money, and a more polished result.
This is especially relevant in high-use spaces. In family homes, walls deal with fingerprints, furniture scuffs, cooking residue, and humidity. In offices and retail units, presentation matters, and poorly prepared walls can make a freshly painted space look rushed rather than professional. The difference is not always in the paint brand alone. It is often in the workmanship behind the prep.
There is also a cost angle. Skipping prep can make a quote look cheaper upfront, but repainting too soon usually costs more than doing the work correctly the first time. A dependable painting contractor will inspect the surface, point out defects honestly, and recommend only the prep work needed for a lasting finish.
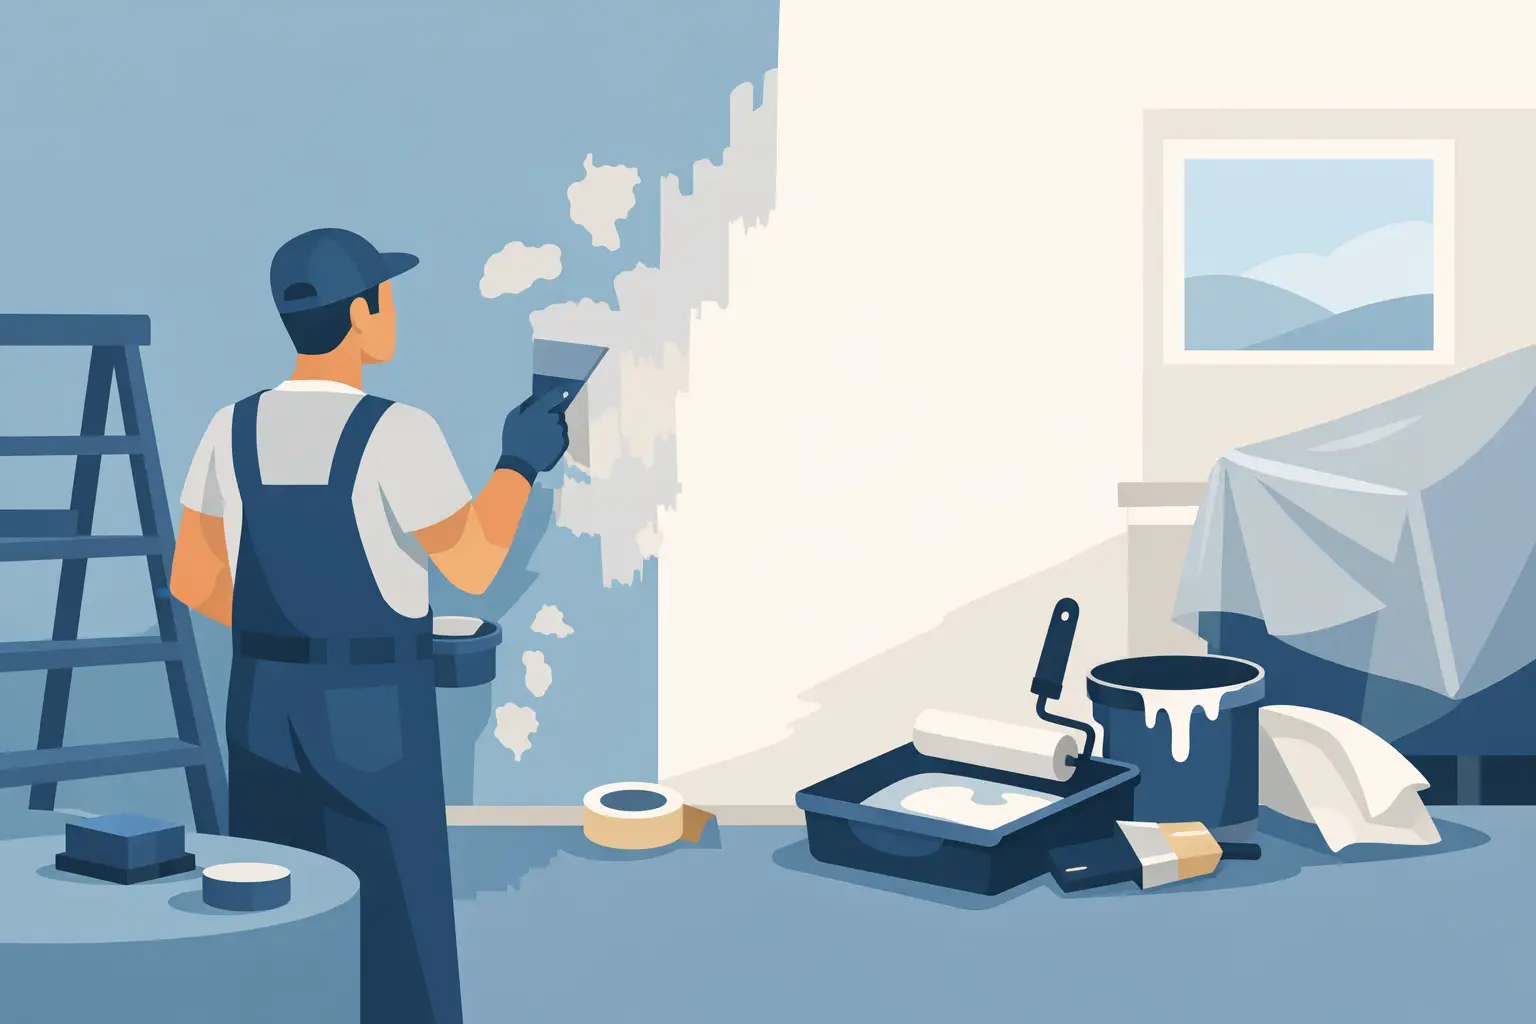
What proper wall prep usually includes
Preparation is not one fixed checklist for every project. It depends on the wall condition, the type of existing coating, the room environment, and the finish expected. A lightly marked bedroom wall needs far less correction than a moisture-damaged bathroom ceiling or a commercial unit with old patch repairs and uneven surfaces.
Inspection comes first
The first step is always assessment. Before any sanding or priming begins, the wall should be checked for peeling paint, cracks, nail holes, water stains, mold spots, grease, dust buildup, and signs of surface weakness. If the existing paint is chalking or flaking, painting over it is a short-term fix at best.
This stage also helps identify deeper issues. For example, recurring stains can point to a leak above the ceiling or from an adjacent wall. Spalling concrete, hollow plaster, or bubbling skim coat may need repair before painting. If the substrate is unstable, no paint system can fully compensate for that.
Cleaning the surface
Clean walls hold paint better. Dust, smoke residue, kitchen grease, and general grime create a barrier between the wall and the new coating. In residential spaces, this is common around cooking areas, switches, and corners near airflow. In commercial units, surfaces may carry more dirt due to foot traffic and air-conditioning use.
Cleaning may involve dry wiping, mild washing, or more targeted stain treatment depending on the condition. The key is making sure the wall is dry before the next step. Painting onto damp surfaces is one of the quickest ways to create adhesion problems.
Scraping, sanding, and leveling
Loose or peeling paint has to be removed. If it is left in place, the new coat may lift along with the old one. Sanding also helps smooth rough edges, flatten previous patch marks, and create a more even base for primer and topcoat.
This part can be more involved than many clients expect. A wall may look acceptable from a distance but show ridges, roller marks, dents, and patch outlines under natural light. Proper leveling improves the finish significantly, especially when using lighter colors or paints with a low-sheen appearance that reveal imperfections more clearly.
Crack filling and plaster repair
Hairline cracks, chipped corners, and dents should be filled before painting. Small defects can often be corrected with filler and sanding. Larger damaged areas may need plastering or skim coating to restore a flat, consistent surface.
This is where workmanship makes a visible difference. Poor patching tends to flash through the final coat, meaning the repaired area reflects light differently or sits unevenly against the surrounding wall. A well-prepared wall should not announce where the repair was done.
Priming where needed
Primer is not always needed on every repaint, but it is essential in many situations. Bare plaster, repaired sections, stained areas, porous surfaces, and major color changes often benefit from priming. Primer improves adhesion, evens out absorption, and helps topcoats build a more uniform finish.
Using primer in the right places can also improve coverage. That matters when moving from a dark wall to a light shade or when trying to prevent old marks from bleeding through. Skipping primer may save one step, but it can add extra paint coats later and still produce a weaker result.
Common wall conditions that need extra attention
Some projects require more than standard prep. Knowing the difference helps set realistic expectations on cost, timeline, and finish quality.
Moisture and water damage
If a wall has active moisture, painting should wait until the cause is resolved. Covering dampness with paint usually leads to blistering, stains, or mold returning through the new finish. This is common near bathrooms, windows, ceiling corners, and external-facing walls.
Old wallpaper adhesive
After wallpaper removal, leftover adhesive can interfere with paint adhesion and texture. The wall may need cleaning, sealing, and patch correction before it is ready to paint properly.
Chalky or powdery surfaces
Some older painted walls develop a powdery layer that rubs off on the hand. This weak surface has to be treated before repainting. Otherwise, the fresh paint bonds to the chalk instead of the wall itself.
Concrete or plaster defects
In some properties, especially older ones, the issue is not just cosmetic. Cracks, uneven skim coat, or minor concrete damage can all show through paint if they are not repaired first. For these cases, surface improvement work is part of achieving a proper painting result, not an optional add-on.
Surface preparation for wall painting in occupied spaces
For homeowners and businesses, the prep process is also about convenience. Dust control, furniture protection, and work sequencing matter just as much as the technical steps. A professional team should organize the site carefully, protect floors and furnishings, and keep disruption as low as possible.
This becomes even more important in occupied homes, active offices, and retail units with tight turnaround times. Express painting can work well when the surface condition is manageable, but speed should never mean skipping critical prep. The right balance is efficient execution without cutting corners on the foundation of the job.
Clients also benefit from clear communication at this stage. If a wall needs extra plastering, stain blocking, or localized repair, it should be explained upfront. Transparent recommendations build trust and help avoid surprises once work begins.
Why prep quality affects the final finish
Most clients judge a paint job by what they can see: clean edges, even color, smooth walls, and a neat overall appearance. All of that is tied to preparation. Even expensive paint cannot hide poor repairs, surface contamination, or weak underlying coatings.
There is also a durability issue. Well-prepared walls tend to resist peeling and wear better over time. That matters for landlords preparing units between tenants, families refreshing living spaces, and businesses that want a presentable environment without frequent repainting.
Professional painters understand that a strong finish is built in layers. Inspection, repair, cleaning, sanding, priming, and topcoating are not separate upsells. They are parts of one system. When handled correctly, the result looks better on completion day and continues to perform long after cleanup is done.
If you are planning to repaint, do not judge the job by paint color alone. Ask what condition your walls are in, what prep they actually need, and how the contractor will handle protection, repairs, and finishing. A smooth, lasting result starts long before the first coat, and that is where real workmanship shows.
Pingback: Nippon Vinilex Paint Review for Homeowners - My Paint Job Singapore
Pingback: What Causes Ceiling Paint Cracks? - My Paint Job Singapore