A paint job usually looks simple until the first drop cloth goes down and the real questions start. Did you choose the right finish for the bathroom? Are the walls clean enough to paint? Will building rules affect your schedule? A solid apartment painting checklist helps you catch the details before they turn into delays, extra costs, or a finish that does not last.
For homeowners, tenants, and landlords, the goal is rarely just fresh color. You want a cleaner look, durable coverage, and a process that does not disrupt daily life more than necessary. That is why the best checklist is not just about buying paint. It should cover timing, surface condition, room use, protection, and the final inspection.
Why an apartment painting checklist matters
Apartments come with limits that detached homes do not always have. You may be working around shared corridors, elevators, building management rules, tight room layouts, and furniture that cannot simply be moved into a garage. In rental units, there may also be move-out deadlines or handover standards to meet.
A checklist keeps the project controlled from the start. It helps you avoid common problems like choosing the wrong paint type, underestimating prep work, or forgetting repairs until after the painter arrives. It also makes quotes more accurate because the scope is clearer. When every room, surface, and condition is noted in advance, there are fewer surprises.
Apartment painting checklist before you book the job
Start with the reason for painting. If the apartment is for your own stay, your priorities may be comfort, style, and durability. If it is for a tenant or buyer, the focus may be broad appeal, speed, and clean presentation. The reason matters because it affects color choice, finish, and how much repair work makes financial sense.
Next, assess the current condition of the apartment. Look at each room in daylight if possible. Note peeling paint, stains, nail holes, water marks, cracks, mold spots, greasy kitchen walls, and any areas with uneven plaster. Paint does not hide surface issues well. In fact, a fresh coat often makes flaws more obvious. If walls are damaged, plastering or patching may be needed before painting starts.
Take measurements or prepare a room count. You do not need perfect technical drawings, but you should know how many bedrooms, bathrooms, living areas, and special surfaces are included. Also list doors, trim, ceilings, grills, gates, or built-in wood elements if they need attention. This gives contractors enough information to recommend a realistic scope.
Check access and scheduling constraints. In apartment settings, this can be as important as the painting itself. Confirm whether building management has work-hour restrictions, loading rules, or protection requirements for common areas. If you need fast turnaround, mention that early. Express service may be possible, but it works best when the job is planned properly.
Choosing colors and finishes without regret
Color is the part most people think about first, but it should be chosen with the room’s function in mind. A living room can handle a wider range of shades because lighting changes throughout the day. Bedrooms usually work best with calmer tones. Kitchens, entryways, and children’s rooms need finishes that are easier to clean.
Neutral colors remain a practical choice for apartments because they make spaces feel larger and brighter. They also help with resale and rental appeal. That said, neutral does not have to mean flat or cold. Warm whites, soft greiges, and muted earth tones often feel more welcoming than stark white.
Finish matters as much as color. Flat paint can hide small wall imperfections, but it is harder to clean. Eggshell or low-sheen finishes are often a better balance for living spaces because they are easier to maintain without looking overly reflective. Bathrooms and kitchens may need a more moisture-resistant product. If you are unsure, a professional recommendation can prevent expensive repainting later.
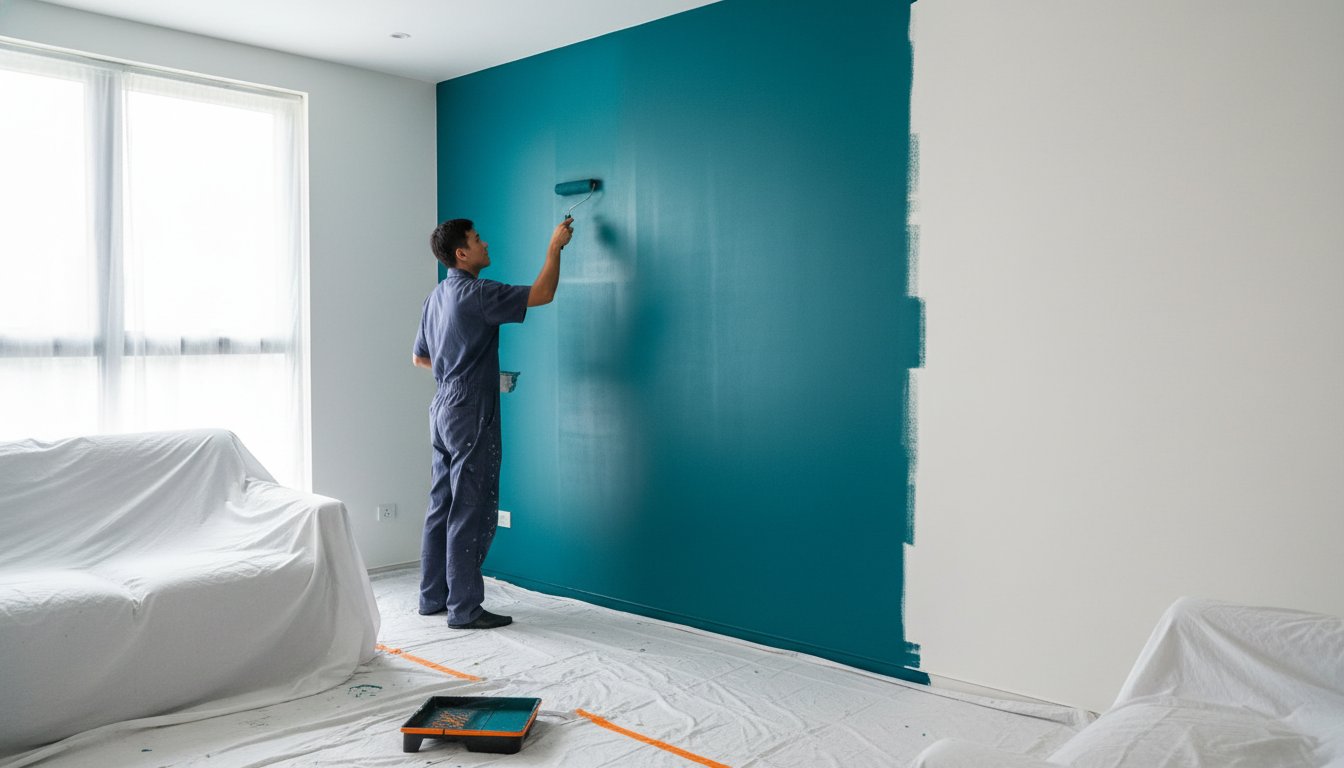
Surface prep is where quality really comes from
A clean-looking result starts long before the first coat. This is the part many people underestimate, and it is often the difference between a quick cosmetic job and a finish that holds up well over time.
Walls should be cleaned of dust, grease, and residue, especially in kitchens and near switches. Loose or flaking paint must be scraped. Holes and cracks should be filled, then sanded smooth. Water-damaged sections may need deeper repair. If there is active moisture, painting over it will not solve the problem. The source has to be addressed first.
Ceilings also deserve attention. Small stains may require stain-blocking primer, and hairline cracks can become visible after repainting if left untreated. For older apartments, it is also worth checking corners and beam lines where past patchwork may have settled unevenly.
If wallpaper is present, decide whether it should stay or be removed. Painting over wallpaper can work in some cases, but it is rarely the best long-term solution if the paper is bubbling, lifting, or damaged. Removal adds time, but it usually gives a cleaner final result.
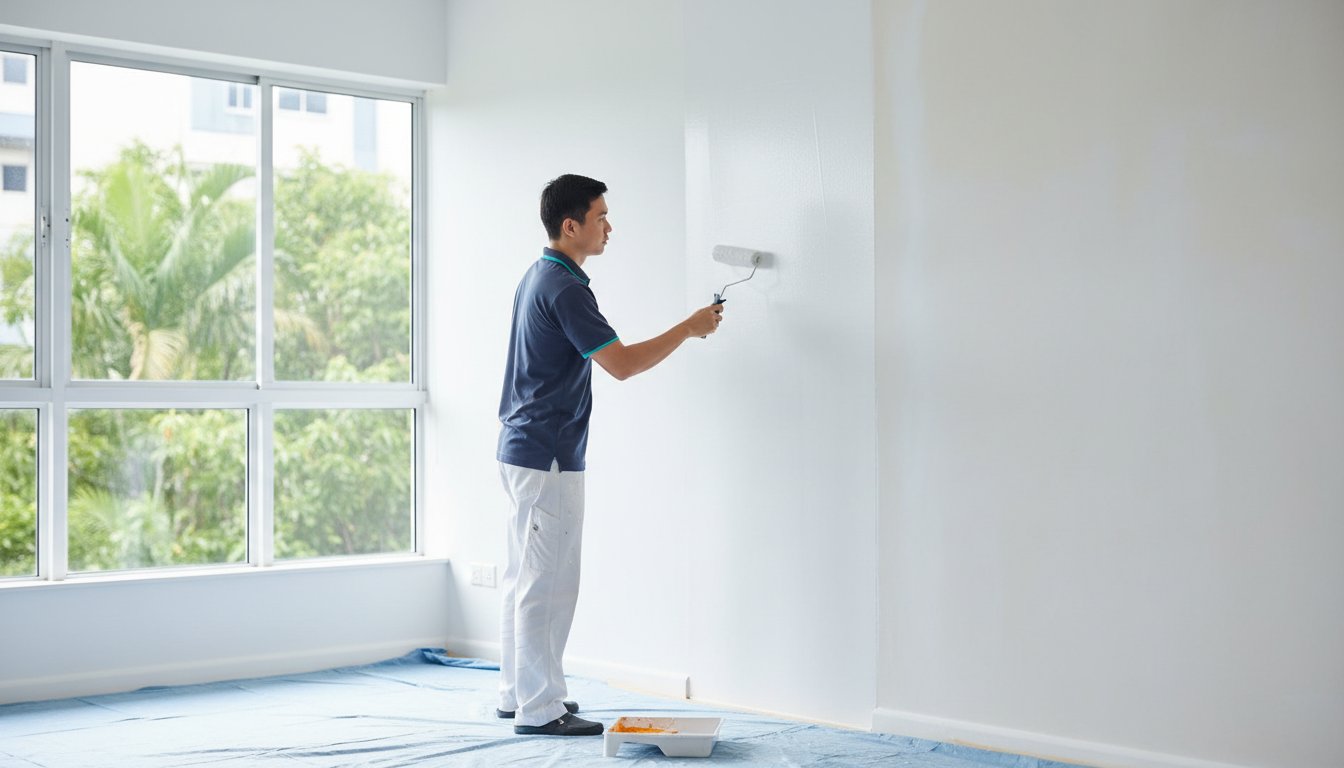
Protecting the apartment during painting
A proper checklist should include what happens to everything that is not being painted. Furniture should be moved or covered, floors protected, and fixtures masked carefully. In apartments, where space is limited, this step needs planning. If rooms are too full, work slows down and the risk of accidental marks increases.
It helps to decide in advance whether you will remove small items yourself. Artwork, electronics, curtains, and valuables are best cleared out before the team arrives. This speeds up preparation and gives painters more room to work safely and efficiently.
Good protection also matters for peace of mind. When the process is managed well, there is less stress about dust, spills, or damage to furnishings. That is one reason many property owners prefer a full-service contractor instead of trying to coordinate multiple tasks themselves.
What to confirm with your painting contractor
Before work begins, make sure the quote is clear about scope. Ask what surfaces are included, how many coats are planned, whether primer is needed, and what prep or repairs are part of the job. If there are wall defects, confirm whether patching, plastering, or spalling repair is separate.
You should also ask about paint brands, drying time, odor level, and cleanup. Not every apartment needs the same product. Homes with children, pets, or limited ventilation may benefit from low-odor or eco-friendlier options. Busy households and commercial spaces may need faster-curing systems to reduce downtime.
Timing should be discussed in realistic terms. A rushed job is not always a bad job, but it has to be organized properly. Drying conditions, number of rooms, furniture handling, and repair work all affect completion time. A dependable contractor will explain the process clearly instead of offering vague promises.
If you want a hands-off experience, choose a team that can manage the entire sequence from inspection to protection, painting, and final cleanup. That level of coordination is often where service quality becomes obvious. Companies like My Paint Job are valued not just for applying paint, but for making the project easier to live through.
A room-by-room apartment painting checklist
For the living room and bedrooms, check wall condition, lighting, and how often the surfaces are touched. For kitchens, focus on grease, moisture, and washability. For bathrooms, confirm that the paint system is suitable for humidity. For hallways and entry areas, durability matters because these zones see frequent contact.
Do not forget ceilings, doors, frames, trim, and built-ins. These details shape how finished the apartment feels. Many people focus only on walls, then realize afterward that yellowed ceilings or scuffed trim make the fresh paint look incomplete.
If the apartment includes metal grills, gates, or wood features, decide whether they should be refreshed at the same time. Bundling related work can be more efficient than arranging separate visits later.
Final inspection before you sign off
When the painting is complete, walk through the apartment slowly. Check coverage under natural and artificial light. Look for patchy spots, visible roller marks, paint on hardware, missed edges, or repairs that still show through. Minor touch-ups are normal, but they should be addressed before the project is closed.
Also check that furniture is returned properly, protective coverings are removed, and debris is cleared. Cleanup is part of a professional result. A well-painted apartment should feel refreshed, not like a job site that someone forgot to finish.
The best apartment painting checklist does more than keep tasks organized. It protects your time, your budget, and the final appearance of the space. When every detail is handled early, the project becomes much simpler to manage and much more satisfying to see. If you are planning to repaint soon, start with the condition of the walls, the way the space is used, and the kind of finish you want to live with every day.