A room can look dated long before its furniture wears out, and old wallpaper is often the reason. If you are wondering how to remove old wallpaper, the goal is not simply to get every strip off. It is to protect the wall beneath, avoid unnecessary repairs, and leave a clean surface that is ready for paint, new wallpaper, or another finish.
Wallpaper removal can be straightforward when the paper was installed over a properly primed wall. It can also reveal peeling drywall paper, old adhesive, cracks, and moisture damage. The difference comes down to the wallpaper type, the age of the installation, and what sits behind it. A patient approach will save time and help you achieve a smoother final result.
Start by Identifying the Wallpaper Type
Before reaching for a scraper, test a small section in an inconspicuous corner. Many modern wallpapers are strippable, meaning the decorative top layer pulls away dry while a paper backing remains on the wall. Peel back a corner slowly. If it comes away in broad sheets, you may only need to soften and remove the backing afterward.
Vinyl wallpaper often has a waterproof face layer. In that case, water or remover cannot penetrate until you peel off the top layer or lightly score it. Traditional paper wallpaper may absorb moisture more readily, but it can tear into small pieces and require more careful work.
If the wallpaper is painted over, heavily layered, or bonded directly to unprimed drywall, removal becomes more delicate. Pulling too hard can remove the drywall’s outer paper facing. This is one situation where professional wallpaper removal is usually the more affordable choice in the long run, since extensive wall repair can quickly add to a painting project.
Gather the Right Tools Before You Begin
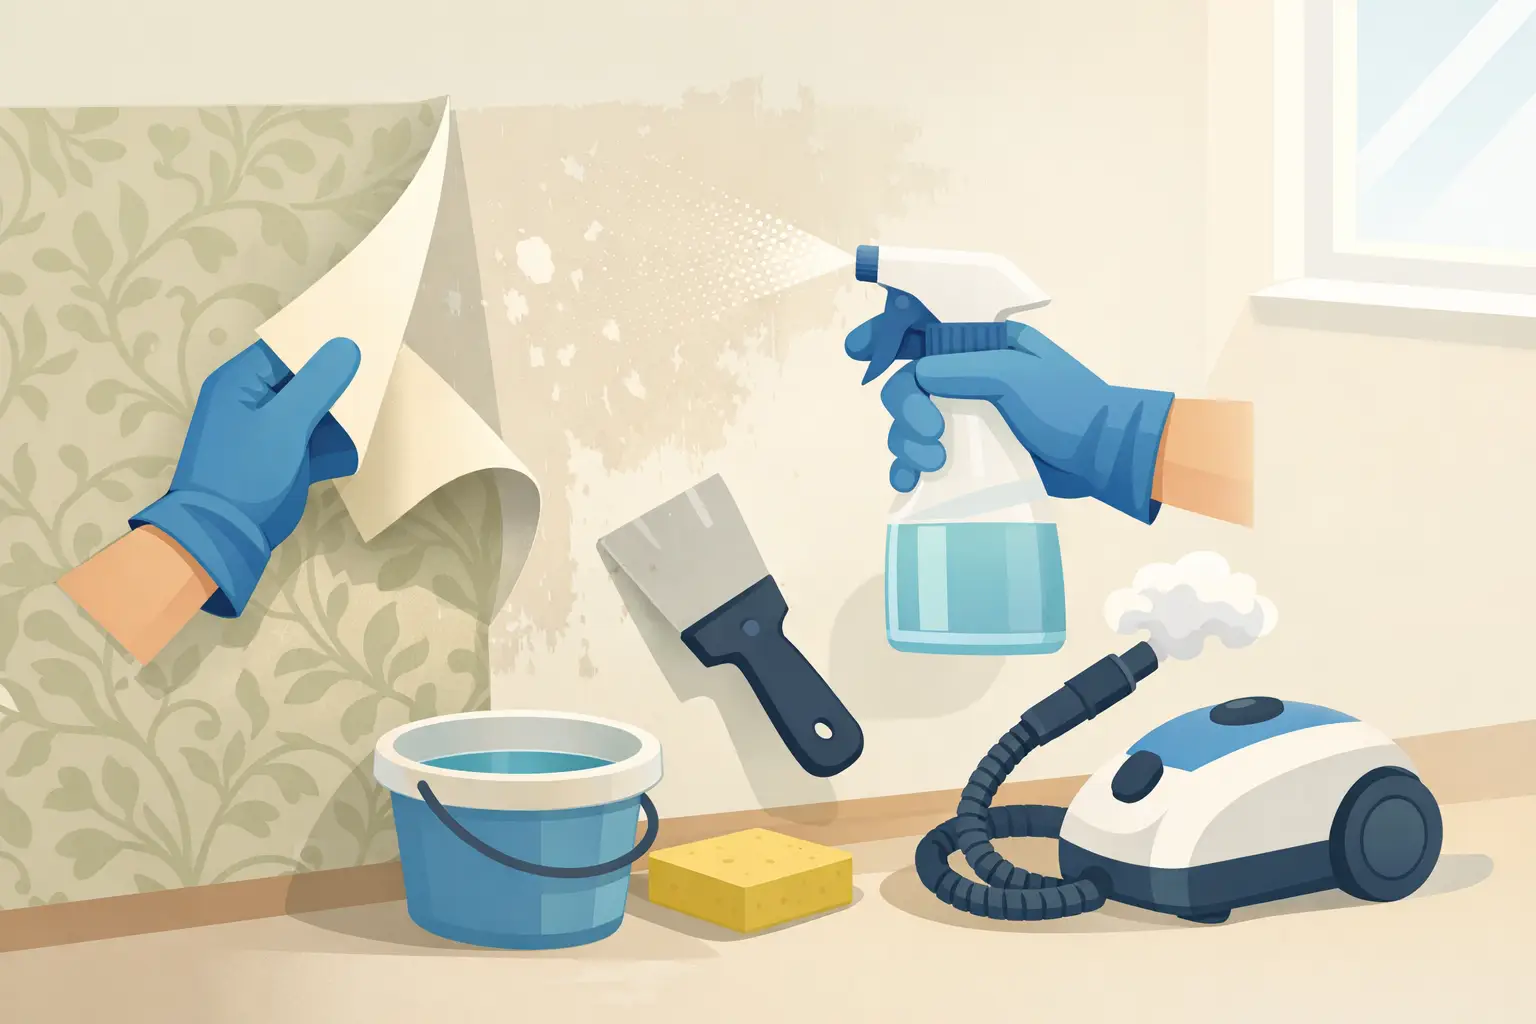
Having the correct materials ready keeps the work controlled and reduces the temptation to scrape aggressively. For most rooms, prepare these essentials:
- Drop cloths or plastic sheeting to protect floors, outlets, and nearby furniture
- A wallpaper scoring tool, spray bottle, sponge, and bucket of warm water
- Wallpaper remover solution or a mild soap mixture for stubborn adhesive
- A wide putty knife or wallpaper scraper with a dull, flexible blade
- Painter’s tape, gloves, safety glasses, clean rags, and a step ladder
Turn off power at the breaker before working near outlets or switches. Remove faceplates and cover exposed openings with painter’s tape. Water and electrical fittings do not belong together, even when the wall appears dry.
Move furniture away from the walls where possible. For larger rooms, protect remaining furniture with plastic sheeting rather than relying on old towels, which can allow adhesive solution to soak through. Good preparation also makes cleanup much easier.
How to Remove Old Wallpaper Step by Step
1. Remove a Dry Layer First
Begin at a loose seam, corner, or cutout around an outlet. Use your fingertips to lift the edge, then pull the wallpaper down and away from the wall at a shallow angle. Pulling straight outward creates more stress on the wall surface.
Work in manageable sections. If the face layer peels away cleanly, do not force the remaining backing off dry. It will come off more safely after it has been softened.
2. Score Only When Needed
For wallpaper with a vinyl surface, gently roll a scoring tool over the remaining paper. The purpose is to create tiny openings that allow moisture to reach the adhesive. Press lightly. Deep scoring can leave permanent grooves in drywall that later show through fresh paint.
You do not need to score every inch of the wall with the same intensity. Focus on the areas where water beads on the surface or where the wallpaper refuses to loosen after a test application.
3. Soften the Adhesive
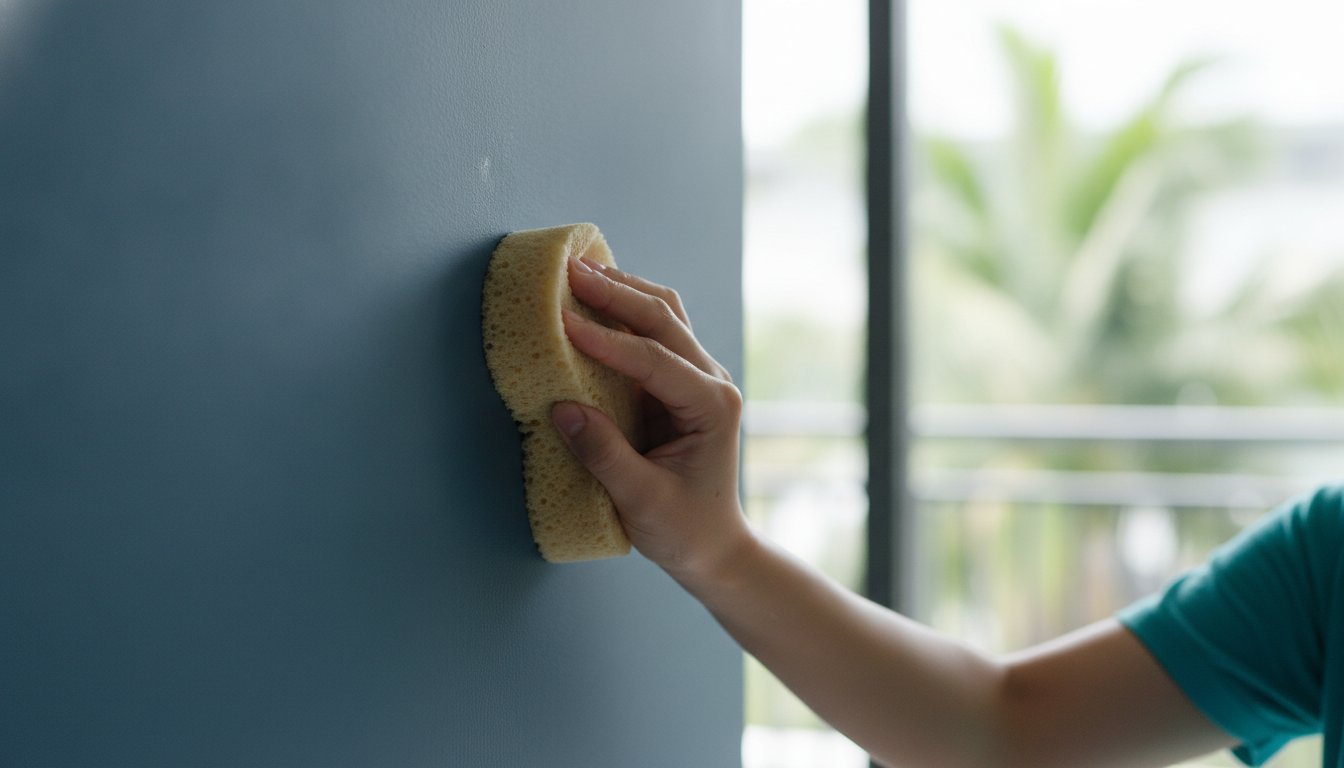
Apply warm water mixed with wallpaper remover according to the product directions. A spray bottle works well for small areas, while a sponge can cover a larger wall more quickly. Wet the wallpaper evenly but avoid flooding it, especially around seams, baseboards, and electrical openings.
Let the solution sit for several minutes before scraping. The adhesive needs time to soften. If a section dries before you reach it, apply more solution rather than trying to force it free.
Homemade mixtures can work for light adhesive, but commercial wallpaper remover is often more effective on older installations. The trade-off is simple: a stronger solution may shorten the removal time, but it still needs to be used with care and wiped away thoroughly afterward.
4. Scrape With a Low Angle
Hold a wide scraper nearly flat against the wall and push gently beneath the softened paper. Keep the blade clean as you work, since dried adhesive and paper fragments can create scratches. When the paper resists, stop, re-wet the area, and wait a little longer.
Avoid narrow utility blades for large areas. They can cut into drywall easily, creating gouges that require patching. A flexible putty knife gives better control and is less likely to damage the wall when used at a low angle.
Work from the top of the wall downward. Collect wet paper as you go instead of allowing it to stick to the floor covering. This small habit makes the room safer and keeps adhesive residue from being tracked into other spaces.
5. Wash Away Every Trace of Paste
Removing the paper is only part of the job. Old adhesive can remain nearly invisible until paint is applied, when it may cause uneven sheen, bubbling, or poor adhesion. Wash the entire wall with clean warm water and a sponge, changing the water frequently.
Run your hand over the dry wall afterward. If it feels slick, tacky, or bumpy, there is still paste present. Rewash the area and allow it to dry completely. For stubborn residue, a wallpaper-removal solution and a nonabrasive scrubbing pad can help, but do not scrub hard enough to roughen the drywall paper.
Repair and Prepare the Wall for Its Next Finish
Once the wall is dry, inspect it in natural light or with a work light held at an angle. This reveals dents, lifted paper edges, hairline cracks, and uneven patches that overhead lighting can hide.
Small nail holes and shallow scraper marks can be filled with lightweight spackle. For torn drywall facing, trim only loose fibers, seal the area with a suitable drywall sealer, then skim-coat if needed. Sand repaired areas lightly once dry, using fine-grit sandpaper and a dust mask.
Do not paint directly over a wall that still feels damp or has visible glue. Primer is especially valuable after wallpaper removal because it evens out porosity, helps new paint bond consistently, and reduces the chance that repaired areas will flash through the final coat. If you plan to install new wallpaper, use a primer designed for wallpaper applications so future removal is less difficult.
When Professional Removal Is the Better Choice
DIY removal may be practical for one small, lightly papered room. It becomes less attractive when wallpaper covers multiple rooms, high ceilings, stairwells, or a commercial space that needs to remain presentable. The work is wet, time-consuming, and often unpredictable until the first section comes off.
Professional help is particularly useful when the wall shows signs of mold, water staining, spalling, extensive bubbling, or damaged plaster. These conditions should be repaired at the source before new paint or wallpaper is applied. Covering them may improve appearance briefly, but it will not deliver a lasting finish.
For homeowners, landlords, offices, and retail spaces, a managed service also reduces disruption. My Paint Job can handle wallpaper removal, wall preparation, repairs, painting, furniture protection, and cleanup as one coordinated project. That means fewer handoffs, clearer accountability, and a finished space that is ready to use.
A properly prepared wall makes every finish look better, whether you choose a fresh neutral paint color or a new wallcovering. Take the time to remove adhesive and repair minor damage now, and the next transformation will look clean, even, and built to last.