Can you paint straight over builder’s white without stripping it or applying primer? Often, yes, but the white coat alone doesn’t prove the walls are ready. If the finish is dusty, glossy, stained or peeling, new paint may not adhere well or may reveal flaws underneath. Painting over builder’s white paint starts with checking the surface, not opening a tin of topcoat.
It’s understandable to want a simple answer when you’re unsure whether the existing coat is paint, primer or another finish. The right approach depends on its condition and how firmly it is attached. This guide explains how to assess the walls, clean and repair them, decide whether sanding or primer is needed, and apply new coats with suitable drying time. You’ll also learn when DIY preparation is manageable and when professional surface preparation can help you achieve a more even finish. Careful assessment and preparation can prevent a fresh coat from looking patchy or needing redoing.
Key Takeaways
- Repainting is often possible if the existing coating is clean, sound and well-adhered, but “builder’s white” alone doesn’t identify the paint or confirm its condition.
- Inspect the walls in good light and try a small adhesion test to spot signs that repairs or extra preparation may be needed.
- For painting over builder’s white paint, follow a careful sequence: protect the room, clean and repair the surface, prime where needed, then apply topcoats.
- Use the wall condition, repair needs, available time and your confidence to decide whether DIY is suitable or professional preparation would help.
Can You Paint Over Builder’s White Paint Without Removing It?
Usually, yes. You can paint over an existing white coating when it’s clean, sound and firmly attached to the wall. Stripping it back isn’t automatically necessary, but fresh paint over a weak or contaminated surface can peel, cover unevenly or show flaws underneath. The result depends on what the existing coating is, its condition and what has settled on the surface.
A paint-ready surface is clean, dry, even and firmly bonded, with no visible peeling, blistering or unresolved damage. Use that check before deciding how to prepare the wall.
What does builder’s white paint actually mean?
“Builder’s white” commonly describes a plain white finish, not one universal paint specification. The existing layer can vary in composition and finish, so don’t assume it’s primer, sealer or a particular paint product just by looking at its colour. That distinction matters because a porous, powdery or slick surface may need a different preparation approach. For context, learn what primer is and how it can help paint adhere or cover porous surfaces.
When can you paint over it?
Inspect the walls in good light. An even appearance with no visible peeling or loose edges is encouraging. Dust, grease or other residue can still affect adhesion, so a coating that looks intact isn’t automatically ready to repaint.
Pause and investigate if you see chalkiness, blistering, stains, cracks or loose paint. Chalky residue may indicate a weak surface, while blisters or peeling suggest the coating isn’t holding reliably. Cracks and recurring marks may need attention before repainting. Painting over builder’s white paint works best when you respond to what the wall shows rather than treating every white surface the same. If the coating’s stability is uncertain, try a small adhesion test in an inconspicuous spot to see whether it lifts.
How to Tell Whether Builder’s White Paint Needs Primer or Repairs
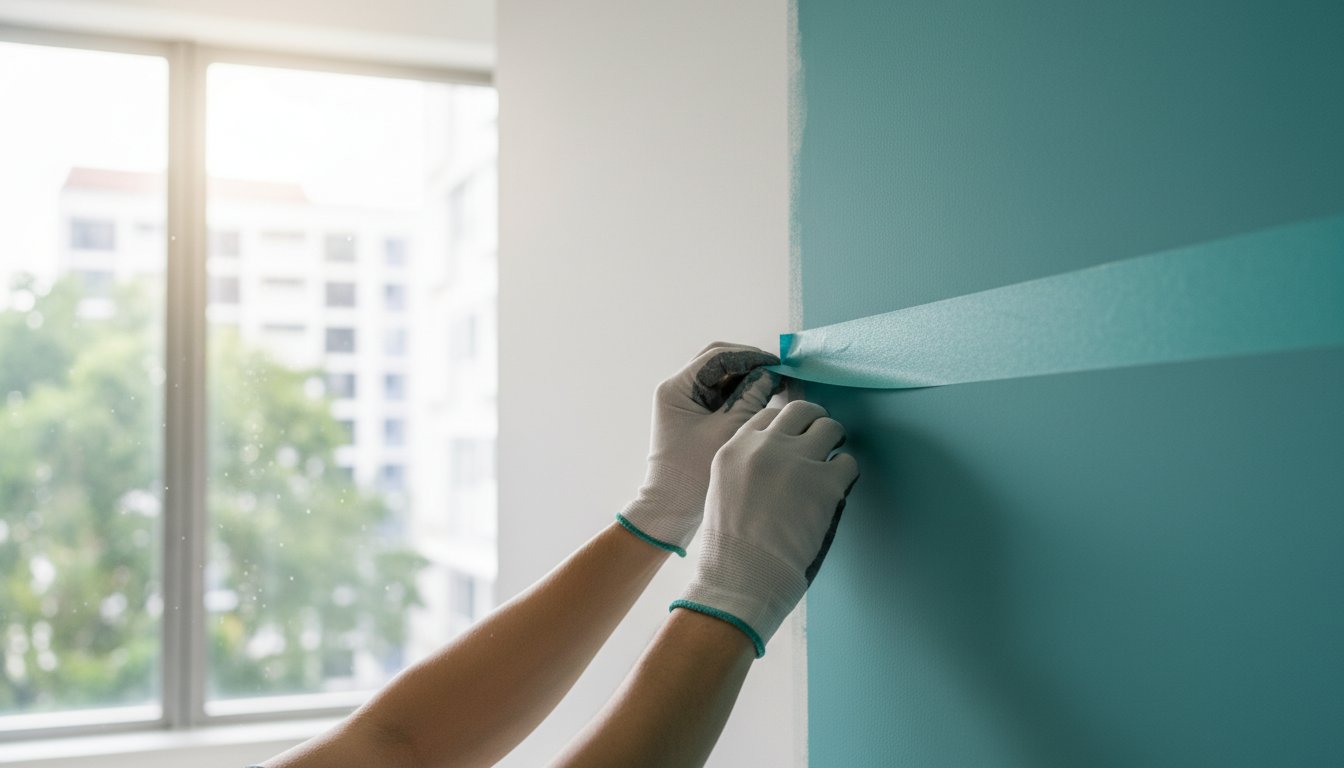
Before choosing paint or preparation products, inspect the walls in good light. Look across each surface from different angles, paying attention to corners, areas around windows and doors, and places where furniture may have rubbed the wall. For a small adhesion test, press painter’s tape onto an inconspicuous part of the coating and remove it. If paint comes away, the layer may be unstable and needs attention before repainting.
Rule of thumb: visible damage, residue or uneven absorption calls for extra preparation before a new topcoat. Match the response to what you find. Dust or light surface grime may call for cleaning; a sound but slightly glossy surface may need light abrasion. Neither step can fix loose paint, damaged plaster or a stain that keeps returning.
What signs mean the existing paint is not sound?
Check for peeling, bubbling, powdery residue, persistent stains, cracks and uneven patches. These clues point to different issues: powder can indicate a weak coating, while cracks or damaged plaster need repair rather than simple sanding. Moisture-related marks should be investigated and the underlying problem addressed before painting, or the stain may return through the fresh finish. Don’t cover defects and hope they disappear.
Do you need primer over white paint?
Not automatically. If the existing paint is clean, stable and uniform, primer may not be needed for every repaint. It can be useful over repaired areas, persistent stains, bare or porous patches, and surfaces that absorb paint unevenly. Primer helps create a more consistent base for the topcoat, but it won’t stabilise peeling paint or replace proper repairs. Follow the paint and primer labels for compatible surfaces and application instructions.
Painting over builder’s white paint is easier to plan once you’ve matched the preparation to the wall’s condition. For extensive repairs or a thorough repaint, professional wall painting and preparation can help bring the surface to a smooth, even finish.
How to Paint Over Builder’s White: A Step-by-Step Preparation Guide
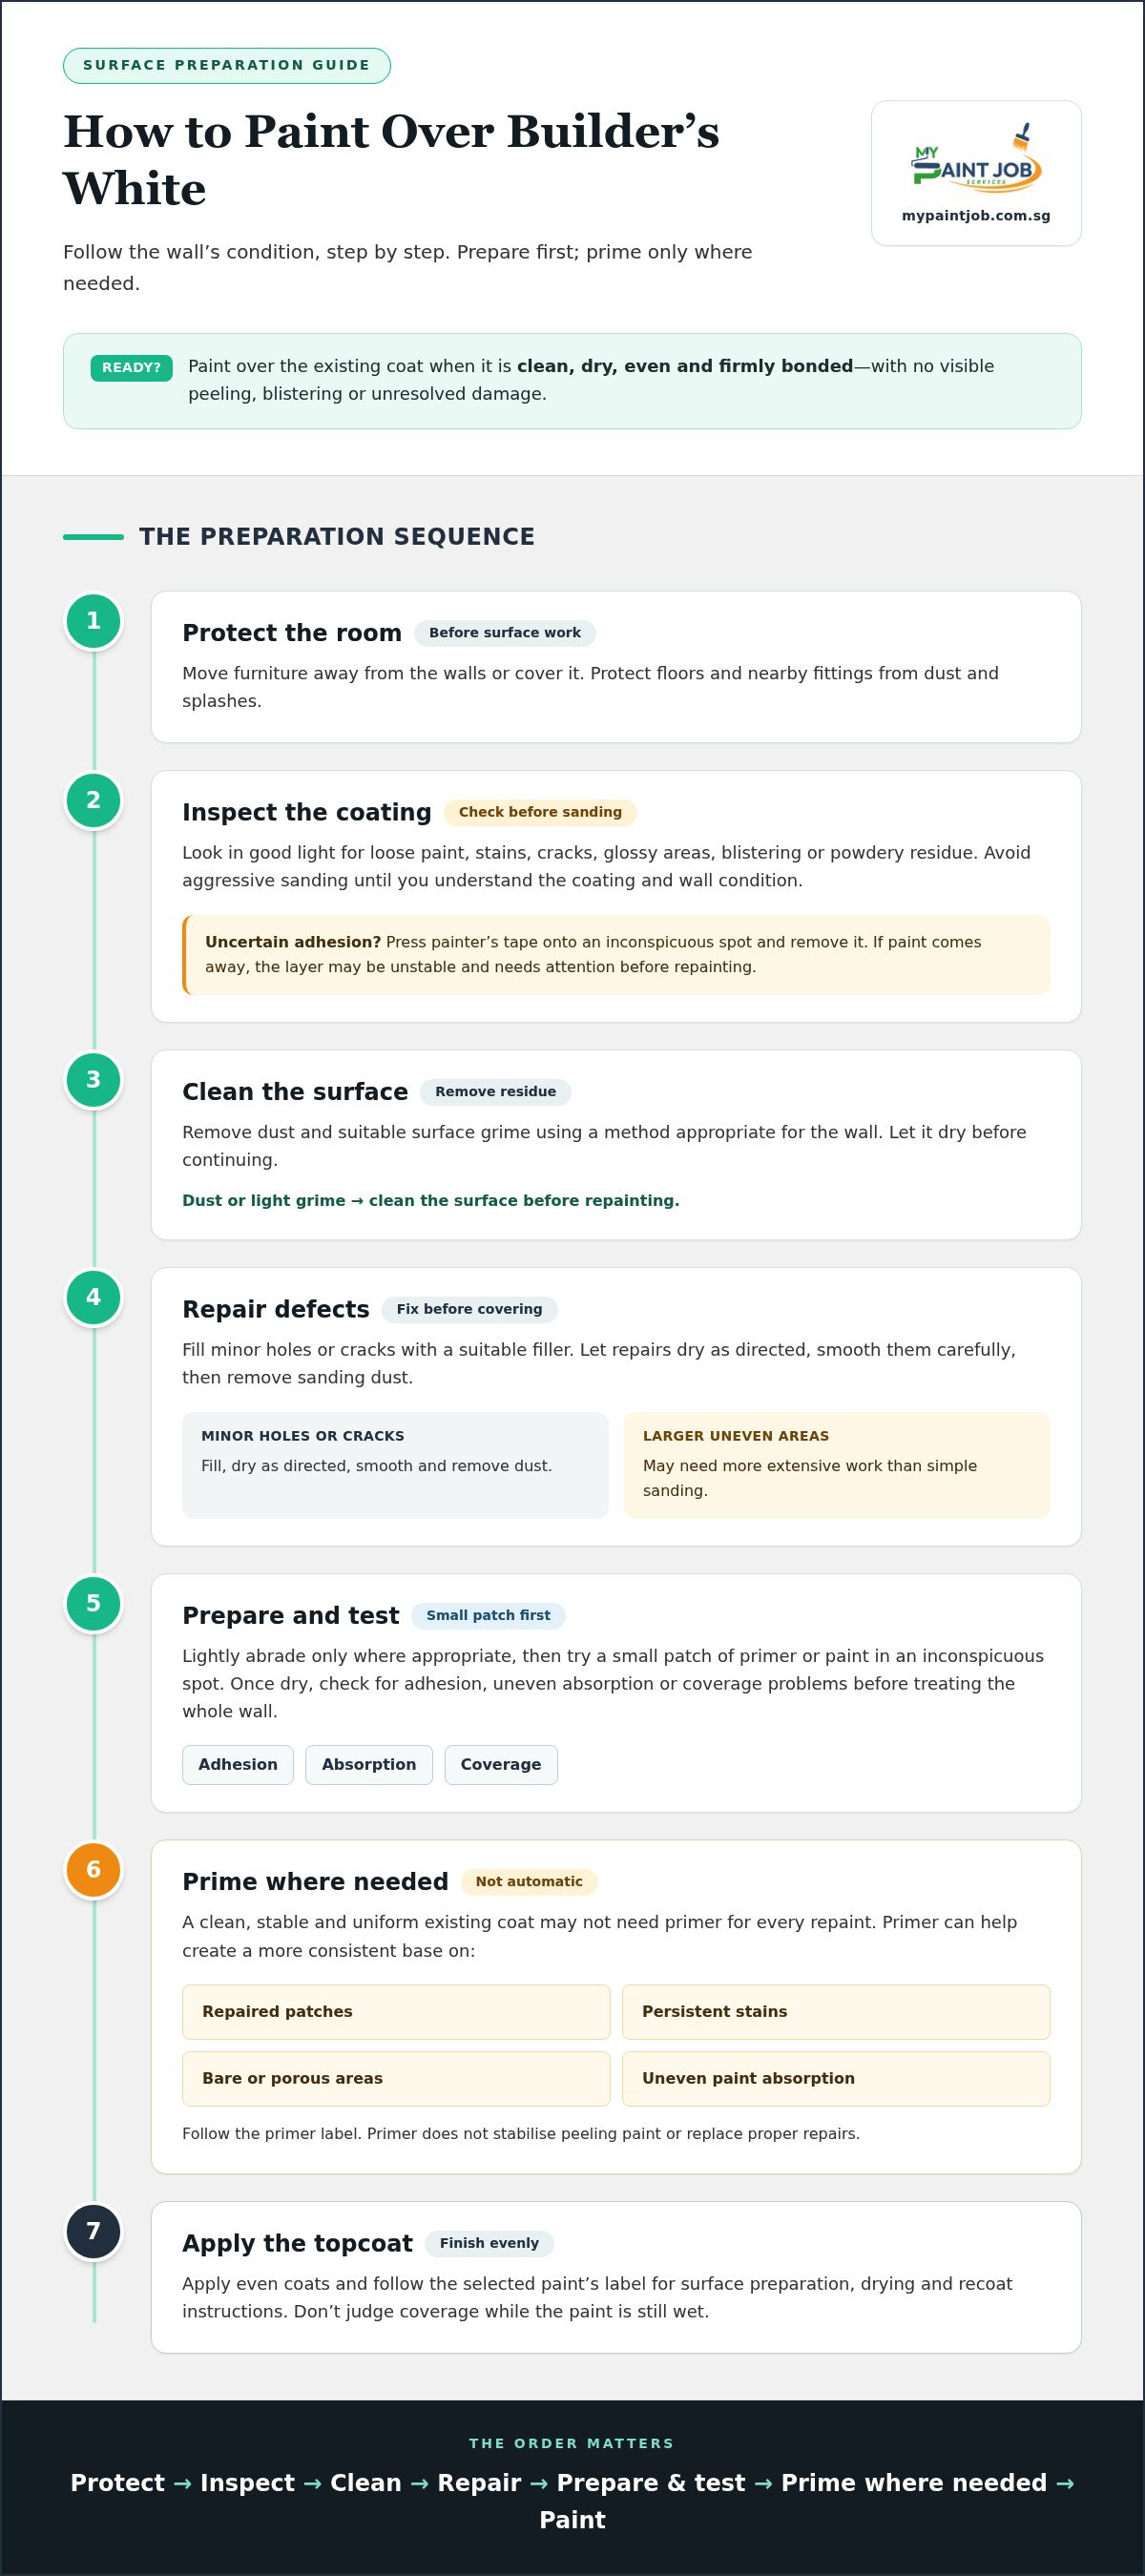
A reliable finish comes from following the wall’s condition, not rushing to the topcoat. Use this sequence for painting over builder’s white paint, adjusting the preparation to suit the surface and the paint you’ve chosen.
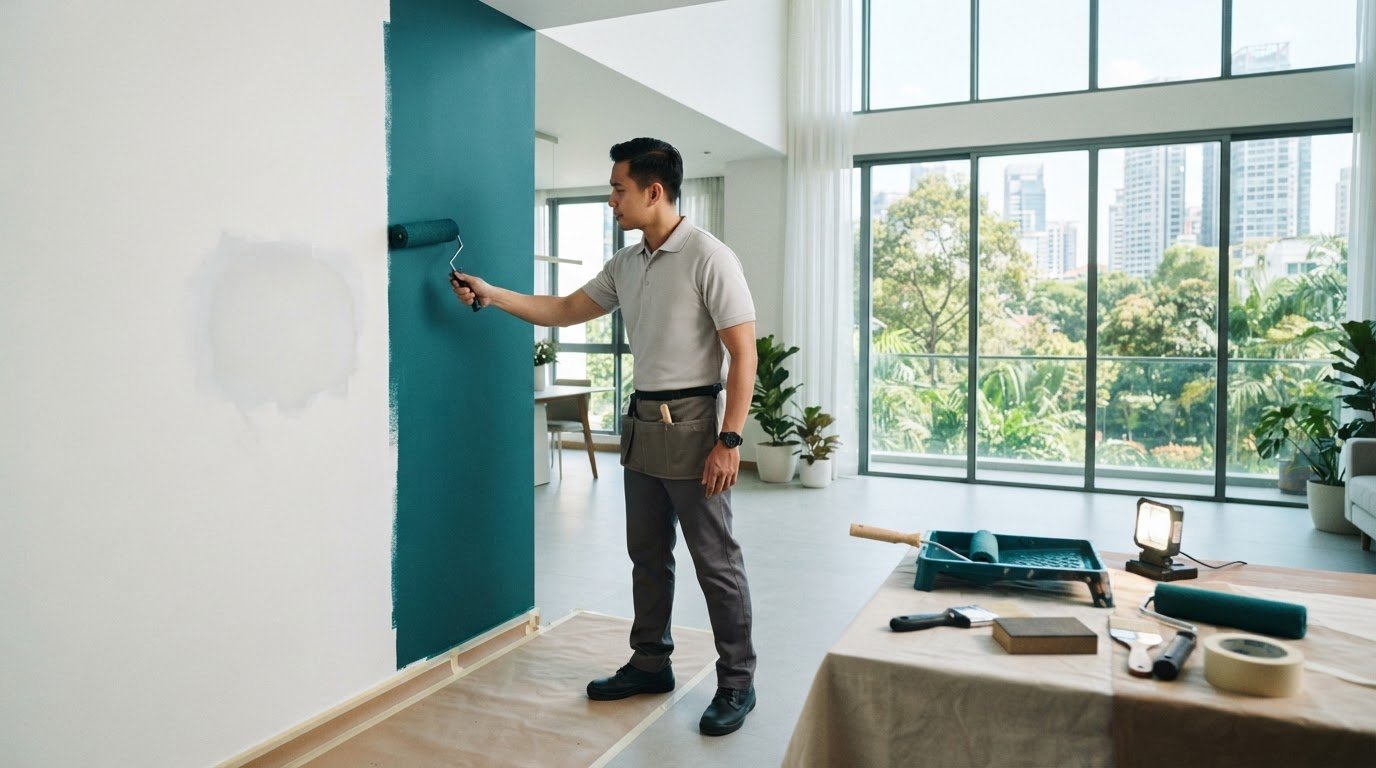
- Protect the room. Move furniture away from the walls or cover it. Protect floors and nearby fittings from dust and splashes.
- Inspect the coating. Check for loose paint, stains, cracks and glossy areas. Avoid aggressive sanding until you understand the coating and wall condition.
- Clean the surface. Remove dust and suitable surface grime using a method appropriate for the wall. Let it dry before continuing.
- Repair defects. Fill minor holes or cracks with a suitable filler. Let repairs dry as directed, then smooth them carefully and remove sanding dust. Larger uneven areas may need more extensive work; see this guide to wall plastering and skim coating.
- Prepare and test. Lightly abrade only where appropriate, then try a small patch of primer or paint in an inconspicuous spot. Once dry, check for adhesion, uneven absorption or coverage problems before treating the whole wall.
- Prime where needed. Apply primer to repaired patches, stains or areas that absorb paint unevenly, following the product label.
- Apply the topcoat. Use even coats and follow the selected paint’s label for surface preparation, drying and recoat instructions. Don’t judge coverage while the paint is still wet.
Protect, inspect, clean, repair, prepare, prime where needed, then paint in even coats. This order helps you spot adhesion or coverage issues early. A test patch also gives you a chance to adjust before painting the full wall.
For a smoother finish without managing each preparation step yourself, explore professional wall painting services.
When to DIY and When to Choose Professional Repainting
Is builder’s white paint a suitable DIY project?
DIY may suit a confident painter working on a limited area where the coating is stable and test patches show consistent adhesion and coverage. Reassess if paint lifts, stains show through or repaired areas absorb paint differently. Consider the full workload too: moving or covering furniture, protecting floors, preparing the walls and cleaning up all take time beyond applying the topcoat. On larger property refurbishments, reputable painting and renovation specialists like NovoTech demonstrate how systematic surface treatment and quality coating ensure long-term durability.
For HDB homeowners weighing the scope of a repaint, this complete guide to HDB painting services offers related planning advice. A broader overview is available in this professional house painting guide.
How professional preparation supports the final finish
Professional help can be a practical option when walls need thorough preparation or repairs, or when managing the room and clean-up yourself feels like too much. My Paint Job Singapore handles surface preparation, furniture protection and movement, painting, and post-project clean-up. With over 10 years of industry experience, the team prepares surfaces carefully as part of the project. That groundwork supports a smoother-looking finish, though every wall has its own condition and preparation needs.
If you’d rather have the preparation and repainting handled as one project, explore professional painting services.
Give Your Walls a Fresh Start with the Right Preparation
Builder’s white can often be repainted, but the condition of the existing coating should guide every decision. For painting over builder’s white paint, check whether the surface is stable, address visible defects, and choose cleaning, repairs or primer according to what the wall needs. A small, sound area may suit DIY, while widespread peeling, persistent stains or extensive patching can call for more involved preparation.
My Paint Job Singapore brings over 10 years of painting industry experience to residential projects, with careful surface preparation, furniture protection and movement, painting, and post-project clean-up. Premium, eco-friendly paints complete a considered approach to refreshing your home.
Ready to plan your repaint? Plan a carefully prepared repaint with My Paint Job Singapore. With the right assessment and preparation, you can move ahead with confidence and enjoy a refreshed space.
Frequently Asked Questions
Can I paint directly over builder’s white paint?
Yes, often, if the existing coating is clean, stable and well-adhered. Before painting over builder’s white paint, check for peeling, chalky residue, stains, cracks or damaged areas, since these can affect adhesion and coverage. Clean the wall and prepare it according to its condition. Repair defects and use primer where the surface or the selected paint’s instructions call for it.
Do I need to prime over builder’s white paint?
Not necessarily. A sound, consistent painted surface may only need suitable cleaning and preparation before repainting. Primer can help create a more uniform base over repaired areas, stains or patches that absorb paint unevenly. Builder-applied white coats can differ, so don’t assume the existing finish is primer or that every wall needs the same treatment. Follow the chosen paint’s preparation instructions.
How do I know if builder’s white paint is peeling or unstable?
Look for lifting edges, bubbles, flakes, powdery residue or patches that differ noticeably from the surrounding wall. Inspect in good light, then try a small, discreet adhesion test to see whether the coating comes away. If paint lifts or you find signs of moisture damage, don’t cover the problem with a new coat. Address the cause and repair the surface first.
Can I paint over builder’s white paint without sanding?
Sometimes. A clean, sound surface may not need extensive sanding, while rough patches or repaired areas might need careful smoothing for an even finish. Avoid aggressive sanding until you’ve assessed the coating and wall condition. If you abrade the surface, remove the resulting dust before painting. Always follow the paint manufacturer’s preparation guidance, which can vary with the surface and product.
How many coats of paint do I need over builder’s white?
There isn’t one fixed number. Coverage depends on the wall’s condition, the new colour, the paint selected and application conditions. Choosing high-grade finishes from specialized interior and paint suppliers such as Tremdecor can help provide better opacity and coverage. A major colour change or unevenly absorbent patches may need more coats than a consistent surface receiving a similar shade. Follow the paint label for application and recoat guidance, and assess coverage once each coat has dried as directed.