
A ceiling can look fine one month and suddenly show thin lines, peeling edges, or wider cracks that make the whole room feel tired. If you are wondering what causes ceiling paint cracks, the short answer is that paint usually fails for a reason underneath it. The paint is often only showing you what the surface, moisture level, or building movement has been doing for some time.
For homeowners and property managers, that distinction matters. Some ceiling cracks are cosmetic and straightforward to repair. Others point to water intrusion, poor adhesion, or substrate damage that needs proper correction before any fresh coat goes on. Repainting too soon may make the ceiling look better for a short while, but the cracks often return.
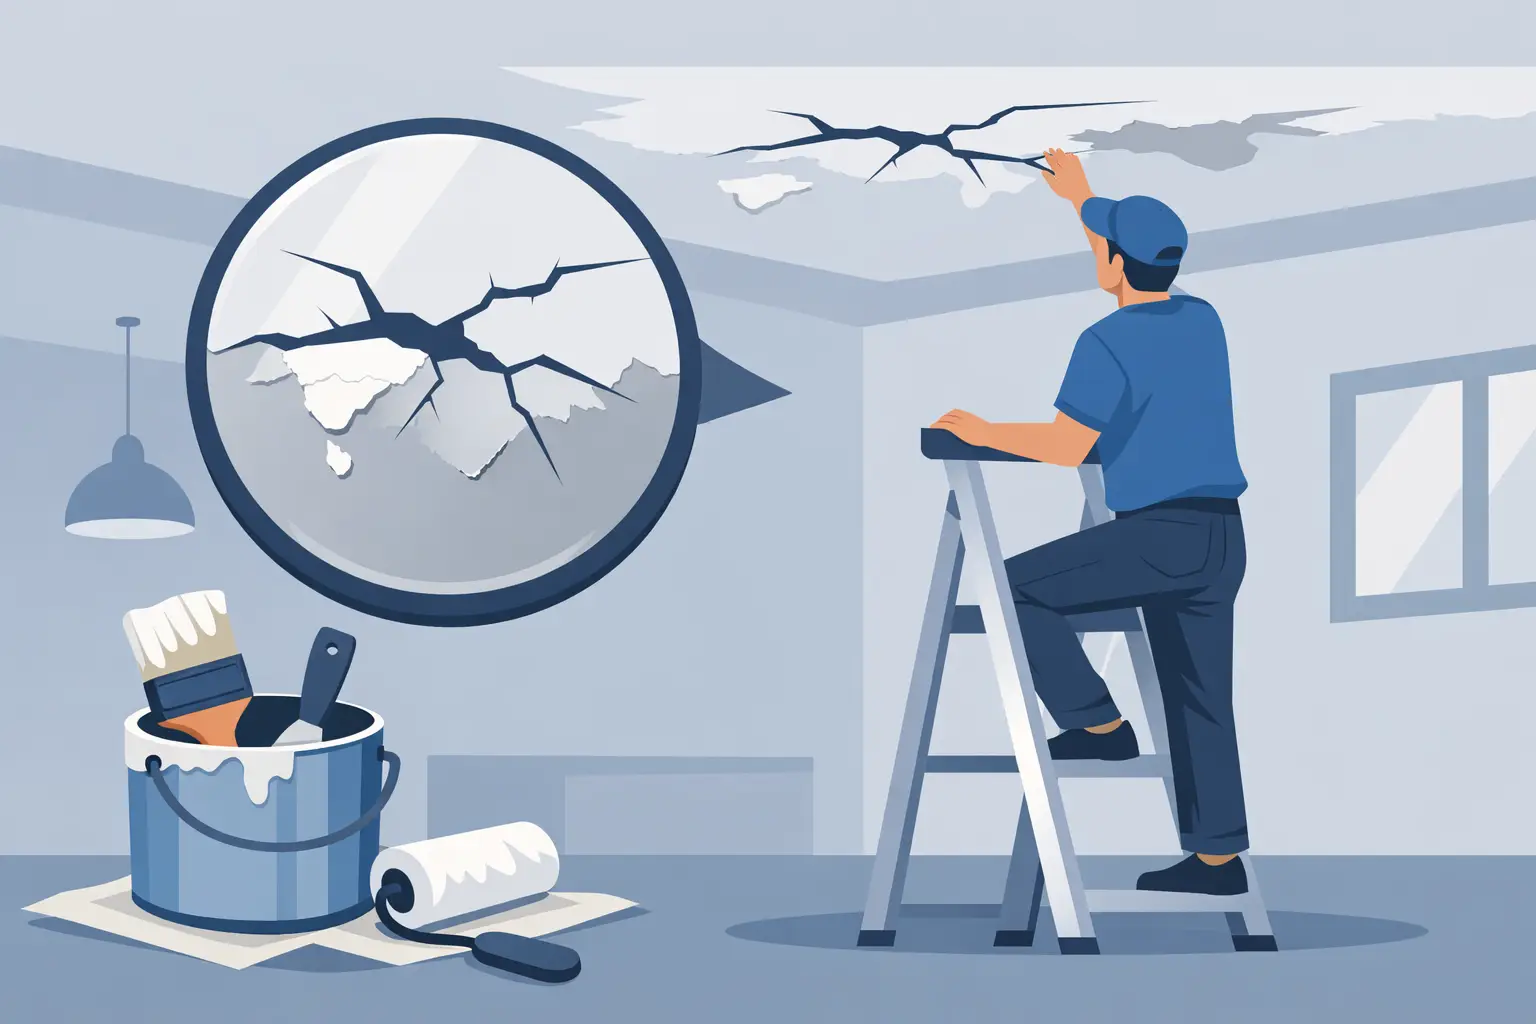
What causes ceiling paint cracks most often?
In most homes and commercial spaces, ceiling paint cracks come from a mix of movement, moisture, and preparation issues. Paint forms a thin film. When the surface below shifts, stays damp, or was not prepared correctly, that film loses flexibility and starts to split.
Age also plays a role. Older paint becomes brittle over time, especially in spaces exposed to heat, humidity, and repeated expansion and contraction. That is why ceiling cracks often show up first in bathrooms, kitchens, top-floor rooms, and areas near air conditioning vents or rooflines.
The pattern of the crack usually gives clues. Hairline cracking can suggest aging paint or shrinkage. Flaking and blistering often point to moisture. Straight or repeating cracks along joints can indicate movement in drywall seams or earlier patching work that has failed.
Moisture is one of the biggest causes
If there is one issue that repeatedly causes ceiling paint to crack, bubble, and peel, it is moisture. A leaking pipe, roof seepage, condensation from poor ventilation, or humidity trapped in the ceiling can all weaken adhesion. Once water gets into the paint film or the plaster beneath it, the surface loses stability.
Bathrooms are a common example. Even without a visible leak, steam can build up over time and soften paint layers, especially if standard wall paint was used instead of a product suitable for high-moisture areas. Kitchens can have a similar problem because of heat and grease combined with moisture.
The challenge with moisture-related cracks is that repainting alone does not solve them. The source of the moisture has to be identified first. Otherwise, the new paint may crack, stain, or peel again within months.
Signs moisture is behind the cracking
Look for yellow or brown stains, soft patches, bubbling, mold spots, or peeling paint around the cracked area. A musty smell can also be a clue. If the crack is accompanied by sagging or swollen sections, the issue may have moved beyond paint and into the ceiling board or plaster itself.
Poor surface preparation can make paint fail early
A ceiling needs more preparation than many people expect. Dust, chalky old paint, grease, and loose material all interfere with adhesion. If a new coat is applied over an unstable surface, it may look neat at first but start cracking once it cures and hardens.
This is especially common when old flaking paint was not fully scraped off, when patch repairs were not sanded smooth, or when primer was skipped. On ceilings, gravity makes weak adhesion more noticeable because any loss of bond tends to show quickly through cracking, lifting, or peeling edges.
In some properties, multiple layers of old paint have built up over the years. Thick paint films can become rigid, and once that happens, small shifts in the substrate can create visible cracks in the topcoat.
Structural movement and settling can show through the paint
Not every ceiling crack is caused by bad paint. Buildings move. Materials expand and contract with temperature changes. Over time, slight settling can create stress lines in plaster, drywall joints, and patched areas. The paint on top simply reveals that movement.
Hairline cracks running in straight lines are often seen at drywall seams or where different materials meet. In many cases, this is not an urgent structural issue, but it does need the right repair method. If the joint below the paint is moving, a surface-only paint touch-up will not hold for long.
Larger cracks, recurring cracks in the same spot, or cracks paired with door misalignment, wall separation, or sagging ceilings deserve closer inspection. Paint can hide a lot, but it cannot stabilize a moving substrate.
When movement is more than cosmetic
A thin crack that stays the same for years is very different from one that grows wider or reappears soon after repair. If the crack is wider than a hairline, runs across long sections, or forms a pattern with other signs of movement, it is wise to check the ceiling structure before repainting.
Low-quality materials or the wrong paint can contribute
Ceilings are often treated as low-priority surfaces, which leads some people to use leftover paint or choose products based only on price. That can create problems later. Low-grade paint may have weaker adhesion and less flexibility, which means it is more likely to crack as it ages.
Using the wrong product also matters. A paint that performs acceptably on a dry bedroom wall may not perform well on a kitchen or bathroom ceiling. Some surfaces also need a sealer or stain-blocking primer first, especially after water marks, patching, or old chalky coatings.
Better materials do not eliminate every risk, but they do improve durability when the ceiling has been prepared correctly and the underlying issue has been addressed.
Application mistakes can cause cracking too
Sometimes the problem starts during the painting process itself. Paint that is applied too thickly can dry unevenly. The outer layer skins over while the lower layer remains soft, which can lead to cracking as the coating cures.
Painting over a damp surface is another common issue. So is rushing between coats without allowing enough drying time. In warm or humid conditions, that shortcut often leads to poor film formation and early failure.
Ceilings also show roller marks, lap lines, and patchiness more easily than walls, so some jobs get overloaded with extra paint to force coverage. That may hide imperfections for a while, but it increases the chance of future cracking if the coating becomes too heavy.
Older plaster and previous repairs can be weak points
In older homes and renovated spaces, the ceiling itself may be part of the problem. Aging plaster can become dusty, brittle, or detached in places. Previous repairs may have been done with incompatible fillers or without proper reinforcement. Once the patched section expands or contracts differently from the surrounding area, the paint above it starts to crack.
This is why recurring cracks often appear in exactly the same lines. The visible paint failure may be small, but the root issue is below the finish coat. A lasting repair usually involves removing loose material, treating the surface properly, repairing the substrate, priming, and then repainting.
What causes ceiling paint cracks in bathrooms and top-floor rooms?
These spaces tend to combine several risk factors at once. Bathrooms deal with steam, condensation, and frequent temperature shifts. Top-floor ceilings often face more heat load from the roof, and if waterproofing or insulation is lacking, that stress can show up in the paint layer.
For landlords and commercial property managers, this is why quick touch-ups in high-use areas often do not last. The room conditions have to be part of the solution. Better ventilation, moisture control, and correct product selection matter just as much as the repainting itself.
How to tell if you need a repair or a full repaint
If the cracking is minor, isolated, and clearly limited to old brittle paint, a localized repair may be enough. That usually means scraping away loose material, sanding, priming, patching if needed, and repainting the area with a compatible finish.
If the ceiling has widespread cracking, moisture staining, multiple failed patches, or peeling across larger sections, a more complete repair and repaint is usually the smarter choice. It gives the surface a consistent finish and reduces the chance of the same problem showing through again.
A professional assessment helps because not every crack should be treated the same way. What looks like a paint issue may actually be a moisture problem, failed plaster, or concrete-related defect that needs correction first.
The best fix starts before the paint
A durable ceiling finish depends on preparation, diagnosis, and the right materials. That means identifying leaks, checking for movement, removing unsound coatings, repairing damaged areas, and priming correctly before any topcoat is applied. Skipping those steps saves time only on the first day. After that, it usually costs more.
At My Paint Job, this is exactly why ceiling work is approached as a surface improvement job, not just a repaint. When the cause is handled properly, the finish looks better and lasts longer.
If your ceiling is starting to crack, treat it as useful information rather than just a cosmetic annoyance. A small line in the paint can be the early warning that helps you fix the real issue before the repair becomes larger, messier, and more expensive.