What if the secret to a gallery-grade home has almost nothing to do with the paint you choose? Most homeowners in Singapore feel the frustration of seeing visible brush marks or uneven textures on their HDB masonry, even after a fresh coat. You’ve likely noticed those small cracks or peeling sections caused by our humid climate and wondered why your walls don’t look as flat as a showroom. Learning how to get a smooth wall finish is actually about mastering the three-stage restoration of the masonry underneath the color.
We understand that your property is your pride, and we’re here to help you achieve that elusive, flawless “Level 5” finish. This guide shares the professional secrets to transforming rough surfaces into perfectly smooth canvases that resist mold and increase your home’s aesthetic value. We’ll preview the essential steps of skim coating with approved materials, rigorous surface preparation, and the technical accuracy required for long-lasting results. Discover how to move beyond basic fixes to a professional standard that truly lasts and makes your home feel brand new.
Key Takeaways
- Define the “Level 5” standard and identify why local HDB and condo masonry often suffers from unsightly “orange peel” textures.
- Discover the professional secret of using skim coating to transform rough cement screed into a flawless, paint-ready canvas for your home.
- Learn the precise sequence of how to get a smooth wall finish by filling deep gouges and leveling the wall’s plane before the final coat.
- Understand the critical role of alkali-resisting sealers in protecting your smooth finish against Singapore’s high humidity and moisture.
- Achieve a gallery-grade result that increases your property value while ensuring your paint remains resistant to peeling and mold.
Understanding the Foundations of a Smooth Wall Finish in Singapore
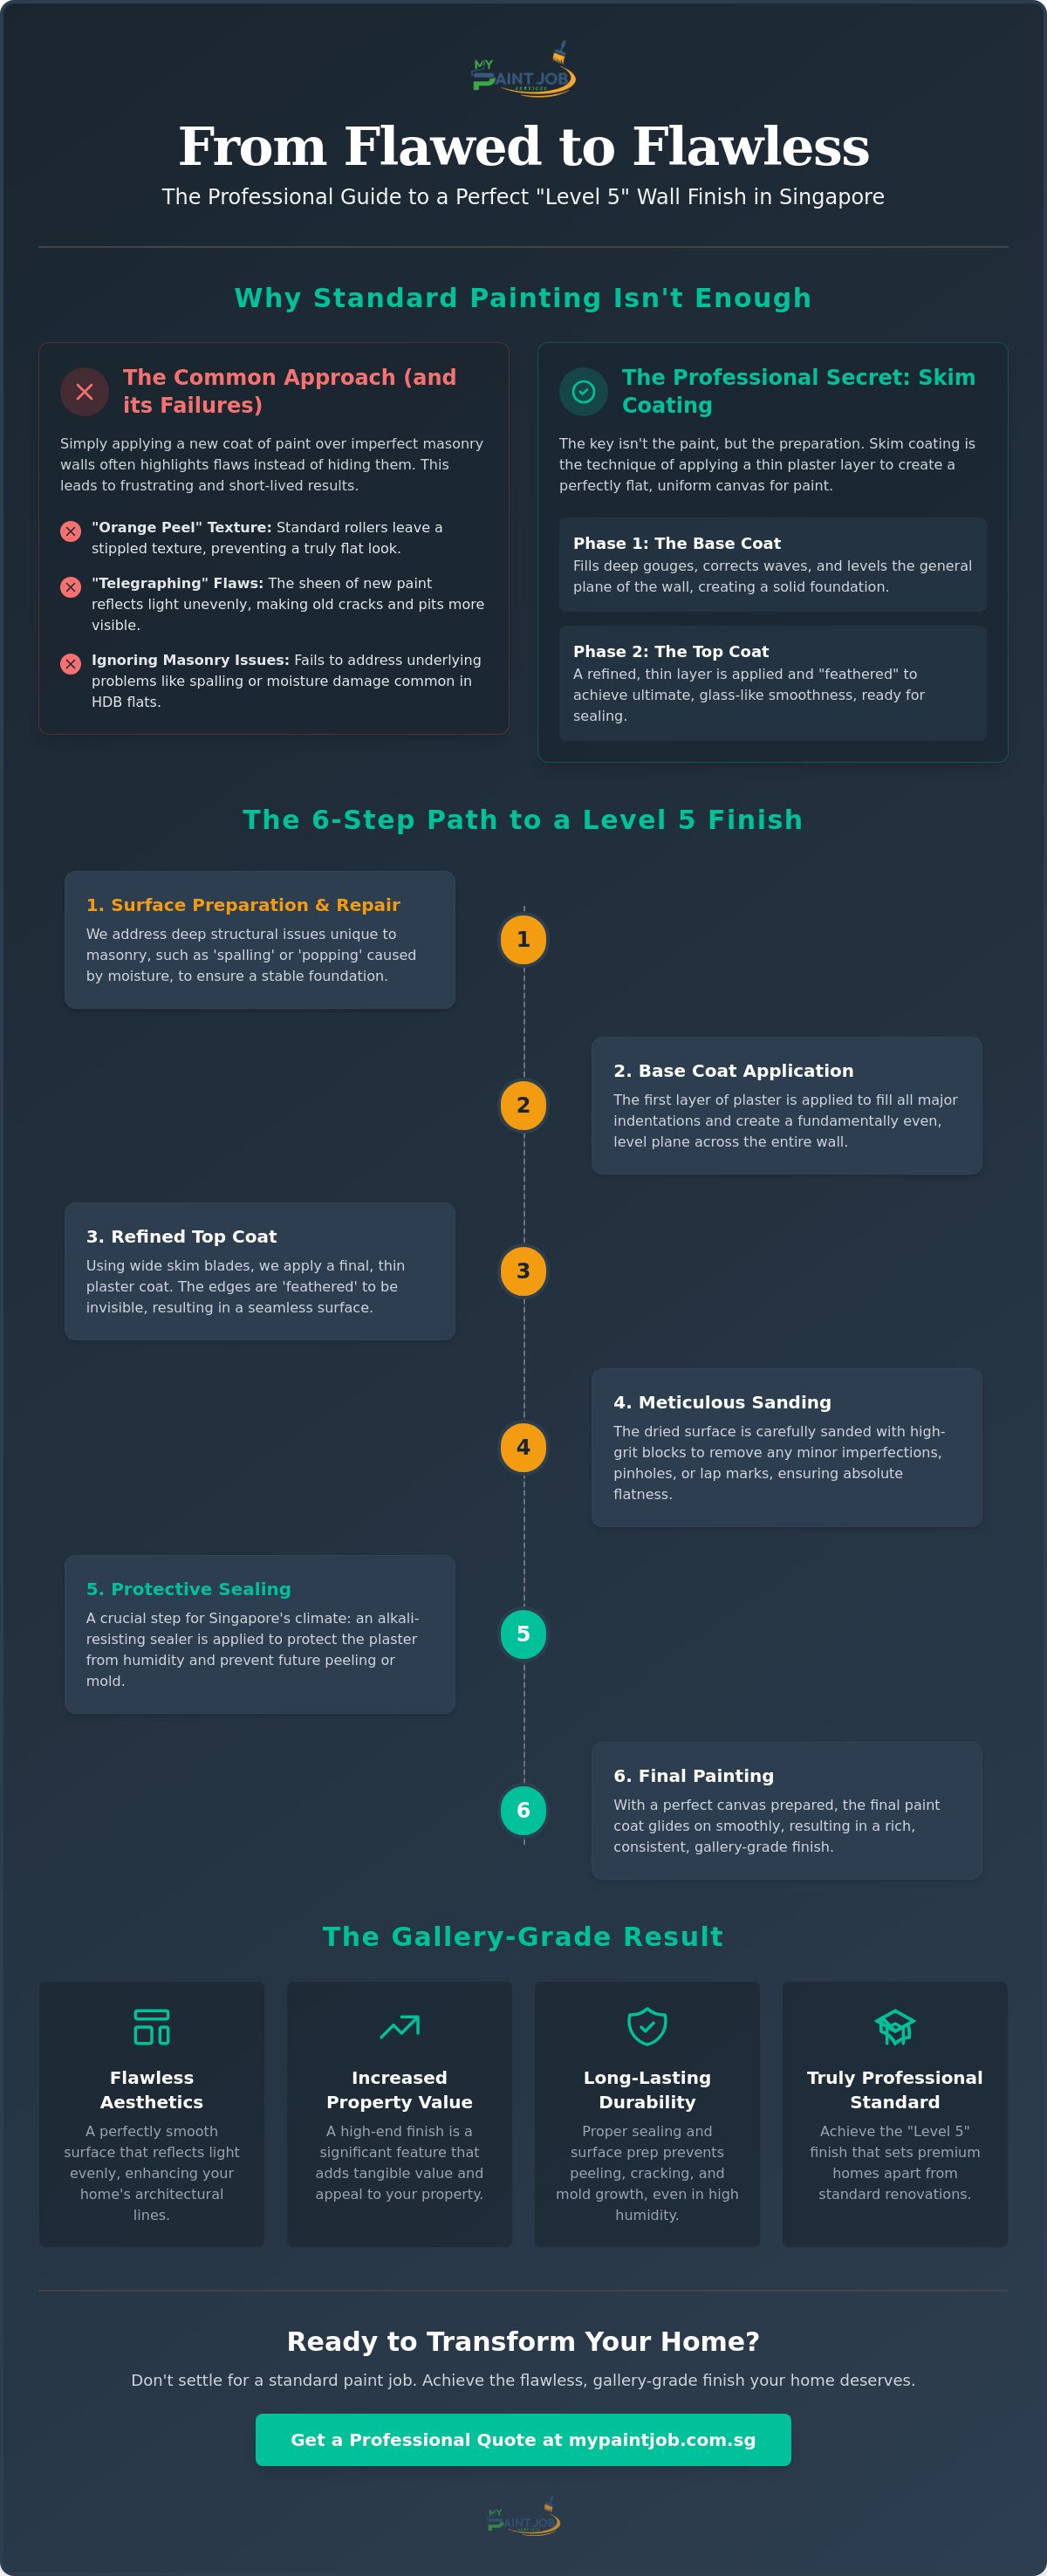
In the industry, we define the pinnacle of craftsmanship as a “Level 5” finish. This means a surface is entirely free of texture, pinholes, and imperfections, creating a glass-like plane that feels like a gallery wall. For many homeowners, the quest for how to get a smooth wall finish ends in frustration because they focus on the paint brand rather than the architecture of the surface itself. In Singapore, our walls are primarily solid masonry or concrete, which naturally develop bumps, “orange peel” textures, or visible patches over time. Achieving a premium aesthetic requires focusing on the substrate. When your walls are perfectly flat, light flows across them without creating distracting shadows, highlighting the clean architectural lines of your home rather than the flaws.
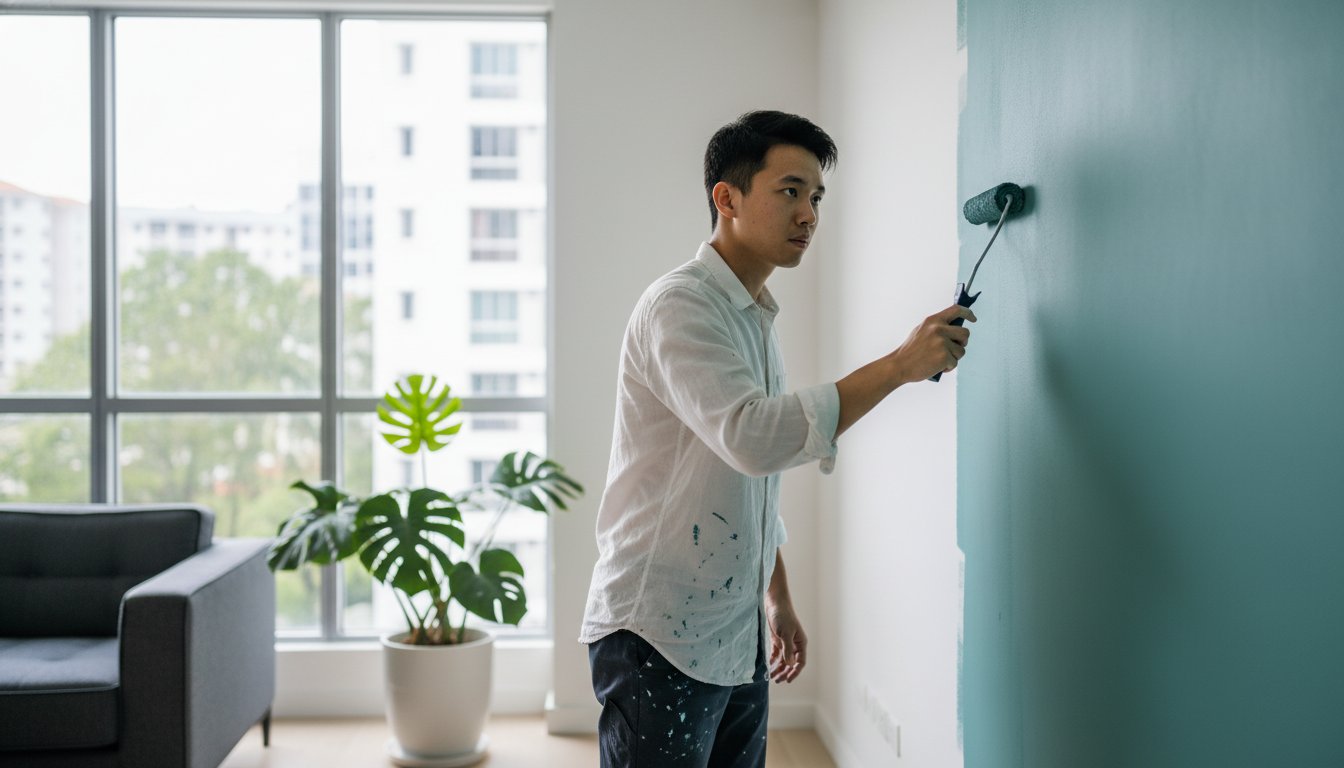
Why Standard Painting Often Fails to Deliver Smoothness
A common mistake is thinking a new coat of paint will hide a rough wall. Standard rollers actually deposit a texture known as “stipple,” which can mask minor flaws but prevents a truly flat look. If your underlying plaster is uneven, new paint will often cause “telegraphing.” This is where the sheen of the paint actually highlights old cracks and pits by reflecting light at different angles. To avoid this, you must address the surface before the first drop of paint touches the wall. Choose a professional approach that levels the wall before applying color.
The Difference Between Masonry and Drywall Prep
Most online guides focus on Western-style drywall, but Singaporean homes demand a different approach. Concrete walls are much denser and require specialized bonding agents to ensure the plaster sticks. Understanding Plaster and its chemical properties is essential when working with masonry. In older HDB flats, we often see “spalling” or “popping,” where moisture causes the internal steel to rust and push the concrete out. You can’t just paint over these structural issues. You need a specialist who understands how to treat the masonry first to ensure how to get a smooth wall finish that stands the test of time.
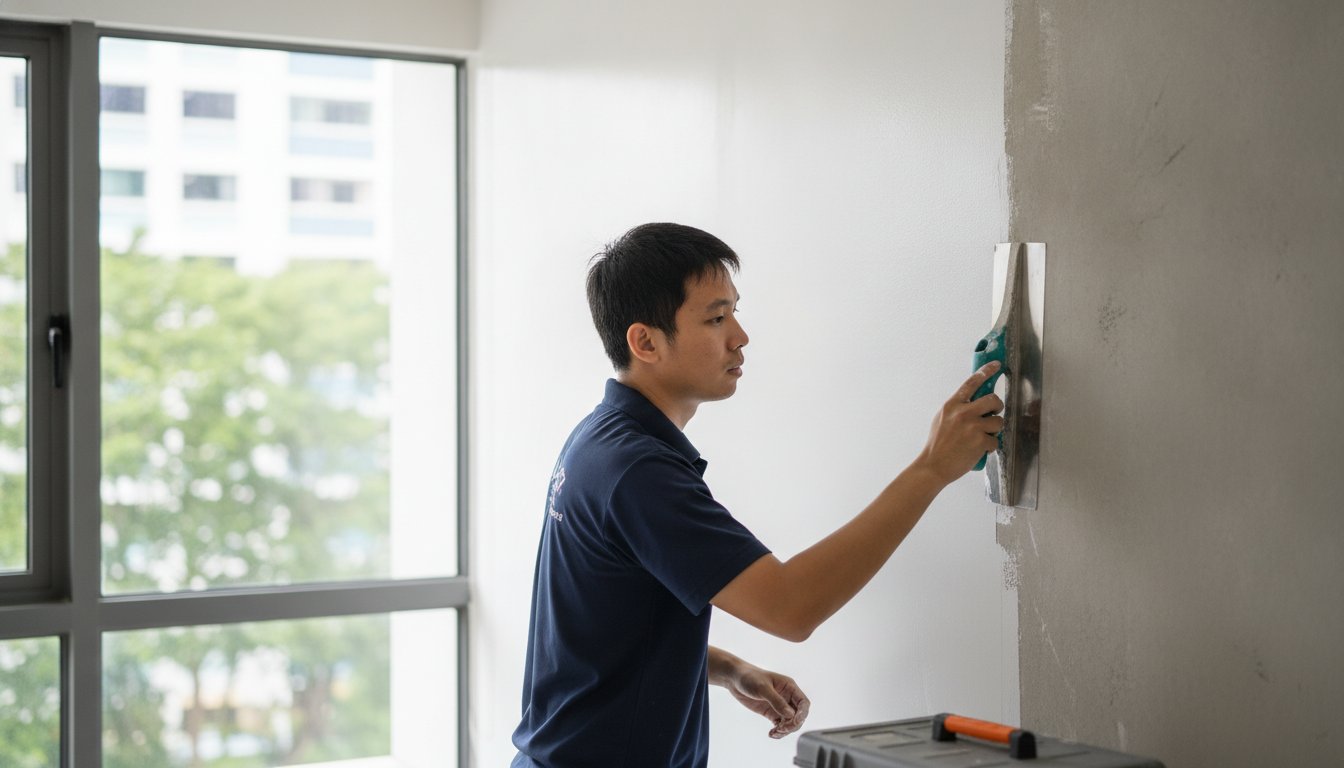
The Professional Secret: Skim Coating and Wall Plastering
Many local homeowners believe that sanding down old paint is enough to fix a bumpy wall. While sanding handles minor scuffs, it cannot correct the deep indentations or structural waves found in Singapore’s masonry. The real professional secret for how to get a smooth wall finish is skim coating. This technique involves applying a thin layer of plaster to create a flat, uniform canvas over rough cement screed. We typically approach this in two distinct phases. First, a base coat fills deep gouges and levels the general plane of the wall. Second, a refined top coat is applied to achieve ultimate smoothness. For a deeper look at these technical steps, you can explore The Ultimate Guide to Wall Plastering and Skim Coating in Singapore (2026).
Industry standards often categorize quality through the 5 Levels Of Drywall Finish, where Level 5 represents the highest tier of perfection. In a masonry context, this requires a meticulous transition from a gritty surface to a glass-like finish that is ready for premium paint.
Essential Tools for a Flawless Plaster Job
Achieving a gallery-grade surface requires more than just a standard putty knife. Professionals use a specific toolkit including hawks, high-grit sanding blocks, and wide skim blades. We prefer using a 12-inch or 14-inch blade for the final passes. These wider tools are necessary because they span more surface area, effectively preventing “lap marks” that smaller blades often leave behind. Using the right tool ensures the pressure is distributed evenly across the plaster.
When to Choose Professional Plastering Over DIY
Skim coating is an art form that demands a steady hand and years of experience. The most difficult part is “feathering” the edges. This is where the plaster is tapered so thinly that the transition becomes invisible to the eye. DIY projects often struggle with visible ridges or uneven drying. There is also the matter of mess. Large-scale wall restoration generates significant dust and debris. If you want a flawless result without the logistical headache, our specialized plastering services ensure your property remains clean while achieving that perfect finish. We take pride in handling the heavy lifting so you can simply enjoy the transformation.
Step-by-Step Guide to Achieving a Perfectly Smooth Surface
Preparation is the foundation of every successful project. Start by cleaning the walls and removing any loose debris or bubbling paint layers that often plague older HDB units. This initial step ensures the new materials bond correctly to the masonry. Once the surface is clean, you can move to the first pass. This involves filling deep gouges and leveling the general plane of the wall to erase years of wear and tear. We focus on creating a stable base before moving to the more delicate work.
The secret to how to get a smooth wall finish lies in the finish coat. Apply a final skim layer using long, sweeping vertical strokes to create a seamless surface. Unlike some DIY guides that suggest mixing joint compound to a yogurt consistency, we focus on the specific needs of concrete. It’s vital to let each layer dry fully to prevent moisture bubbles, which are common in our humid climate. Proper drying time is non-negotiable for a result that lasts.
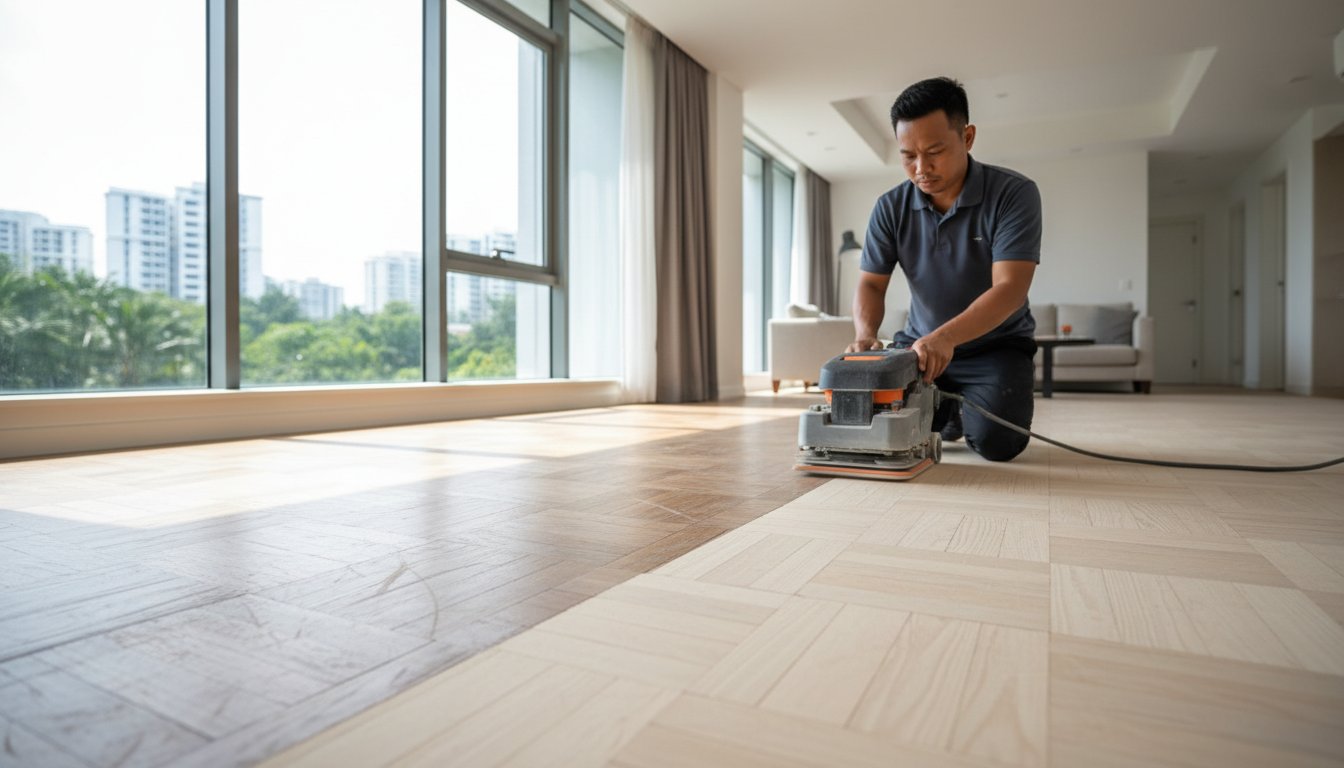
The Importance of Sanding Grits
Sanding is where the transformation becomes visible. Start with 120-grit sandpaper for bulk removal of excess plaster, then progress to 220-grit for a glass-like finish. To sand without gouging the soft plaster, use light, circular motions and let the abrasive paper do the work rather than applying heavy pressure. This patient approach prevents creating new divots while you’re trying to remove old ones.
Critical Lighting Techniques
Even a wall that looks perfect can hide imperfections. Use a handheld light held at a sharp angle against the surface to reveal ridges or shadows that are invisible under standard overhead lighting. When you spot a flaw, mark it lightly with a pencil so you can perform targeted touch-ups later. This meticulous inspection is the only way to truly understand how to get a smooth wall finish that stands up to the bright morning sun in a modern condo or landed property.
If you find the process of restoring your masonry daunting, we’re here to help. Our team provides professional plastering services tailored to the unique needs of Singaporean homes, ensuring a flawless result every time.
Sealing and Painting for a Gallery-Grade Result
Once you’ve achieved a level surface through skim coating and sanding, the final step is ensuring that beauty lasts. Fresh plaster has high suction, meaning it’ll absorb the moisture from your paint almost instantly if it isn’t treated correctly. This often results in a patchy, “starved” look that ruins your hard work. To master how to get a smooth wall finish, you must apply a high-quality alkali-resisting sealer. This essential layer acts as a barrier, locking in the plaster and preventing the alkaline salts in the masonry from reacting with your topcoat. In Singapore’s humid climate, skipping this step is the primary cause of premature paint peeling and bubbling.
Selecting the right sheen is equally important for a gallery-grade result. While gloss or semi-gloss paints are durable, their reflective nature highlights even the smallest remaining imperfections. We recommend choosing a “Flat” or “Matte” finish for your walls. These sheens diffuse light across the surface, effectively hiding minor variations and creating a velvety, professional appearance. For a comprehensive look at the best products and techniques for our local climate, refer to Professional House Painting Services in Singapore: The 2026 Homeowner’s Guide.
Choosing the Right Paint for Smooth Walls
Modern premium paints offer more than just color; they provide superior leveling properties. We often use eco-friendly, low-VOC paints that are specifically engineered to be “self-leveling.” These formulations are designed to flow slightly after application, which helps minimize roller marks and stipple. Using these advanced materials ensures that the final surface remains as flat as the plaster underneath.
Professional Maintenance for Smooth Finishes
Maintaining a smooth matte wall requires a gentle touch. When cleaning scuffs, avoid heavy scrubbing, as this can “burnish” the paint and create permanent shiny spots. Use a soft, damp microfiber cloth and a mild detergent to preserve the uniform finish. If you’re unsure about the state of your current walls or need a specialist’s eye, contact My Paint Job Singapore for a professional assessment. We’re happy to guide you through the technical steps of how to get a smooth wall finish that transforms your living space into a work of art.
Achieve Your Gallery-Standard Home Today
A flawless home starts with the surfaces beneath the paint. By mastering the sequence of skim coating, meticulous sanding, and alkali-resisting sealing, you’ve learned the technical foundation of how to get a smooth wall finish that lasts for years. These steps ensure your walls resist the humidity of Singapore while providing a sophisticated, flat backdrop for your life. You don’t have to settle for visible brush marks or uneven masonry when a professional “Level 5” finish is within reach. True craftsmanship is about the details that often go unnoticed but felt in the overall atmosphere of a room.
With over 10 years of experience in Singapore residential painting, our team is here to handle the heavy lifting for you. We specialize in HDB wall restoration and skim coating, utilizing dust-free sanding and meticulous furniture protection to keep your home clean throughout the process. Transform your home with our professional HDB painting and plastering services and enjoy the peace of mind that comes with expert craftsmanship. Your property is in safe, capable hands, and we look forward to helping you create an environment you’re proud to call home.
Frequently Asked Questions
Can I get smooth walls without skim coating?
You generally cannot achieve a professional-grade level surface without skim coating if your masonry is uneven or rough. While sanding can remove minor scuffs, it won’t level out the deep pits or waves common in local concrete walls. Skim coating remains the essential professional secret for anyone wondering how to get a smooth wall finish that truly mimics a gallery standard.
How long does it take for a skim coat to dry in Singapore?
Drying times typically range between 24 to 48 hours depending on the humidity levels and the thickness of the application. Singapore’s tropical climate can slow the evaporation process; therefore, we recommend providing ample ventilation with fans to ensure the plaster sets properly. Rushing the topcoat before the base is dry can lead to moisture bubbles and poor adhesion later.
Is it normal for a smooth wall to show small cracks over time?
Hairline cracks are a common occurrence in Singaporean homes due to natural building settlement and thermal expansion. While a high-quality finish is durable, the structural movement of concrete can still cause minor surface stress. Meticulous preparation and using the correct bonding agents help minimize these issues, ensuring your walls remain beautiful and stable for much longer periods.
What is the best paint sheen for hiding wall imperfections?
A matte or flat finish is the superior choice for concealing surface imperfections on your masonry. These sheens absorb light rather than reflecting it, which helps mask any subtle variations in the plaster. If you are learning how to get a smooth wall finish, avoid gloss or semi-gloss paints as their high reflectivity will highlight every tiny ridge or shadow on the surface.
Can I skim coat over old paint, or do I need to scrape it off?
You can skim coat over old paint as long as the existing layer is stable and well-bonded to the wall. However, you must scrape off any peeling, bubbling, or chalking sections to prevent the new plaster from failing. We always apply a specialized primer or bonding agent over the old paint first to ensure the new skim coat adheres perfectly to the masonry.