
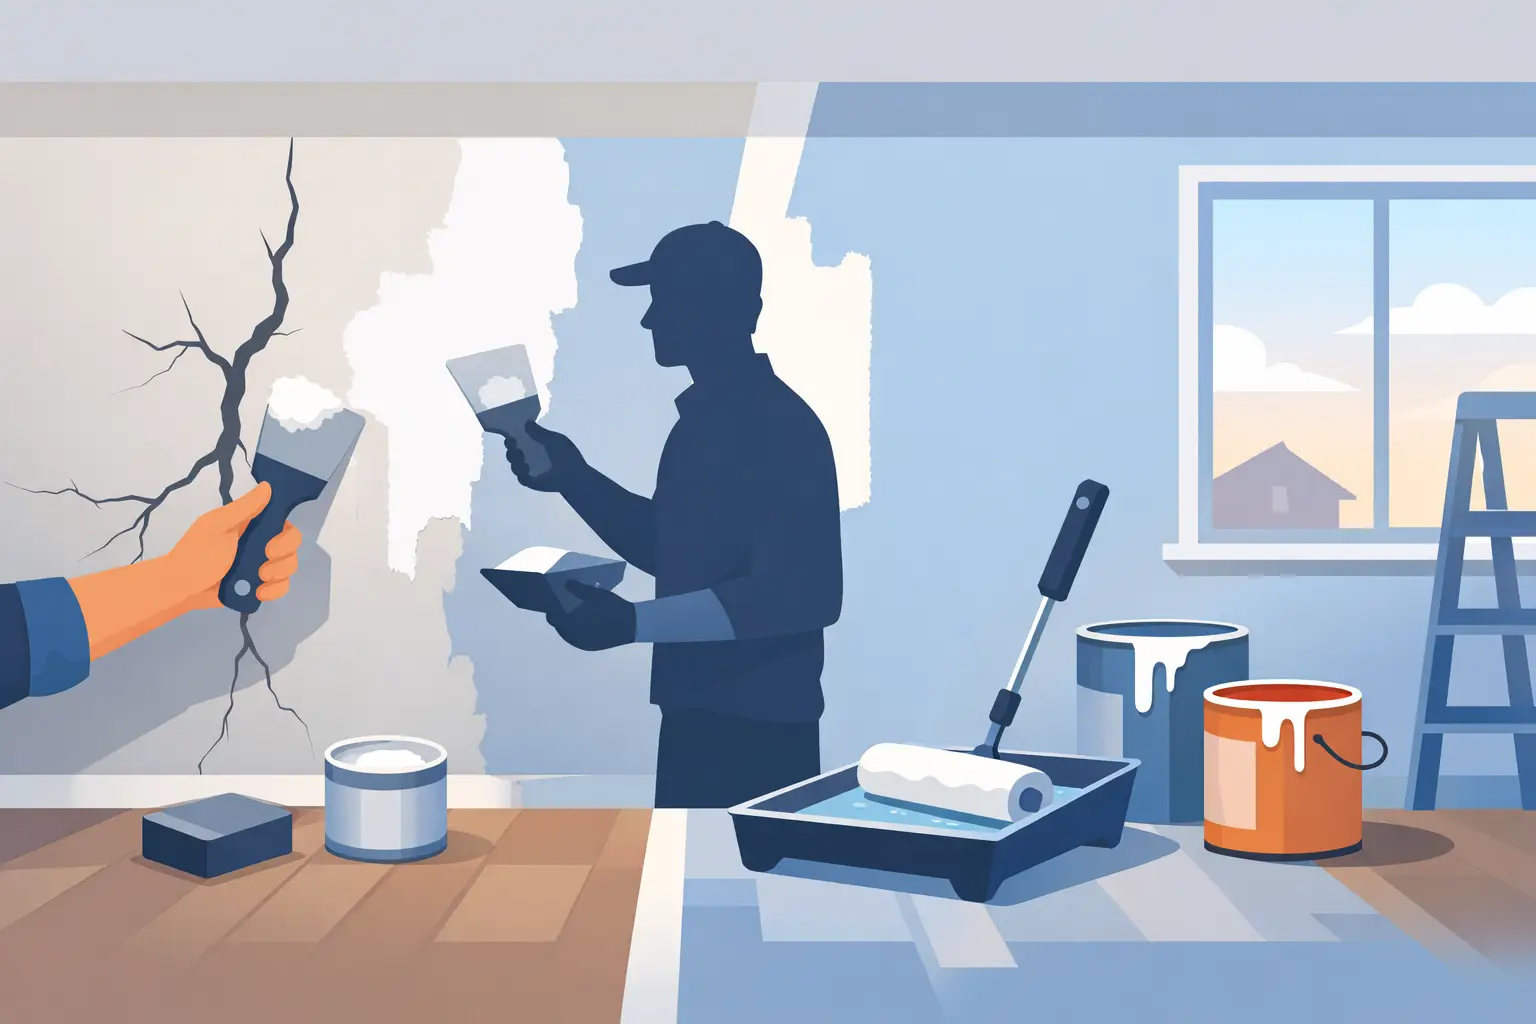
Fresh paint does not hide a bad wall. In fact, it often makes every hairline crack, patch mark, and uneven surface more obvious. That is why wall crack repair before painting matters so much. If the surface is not properly assessed, filled, stabilized, and smoothed first, even premium paint will struggle to deliver the clean finish most property owners expect.
For homeowners, landlords, and business owners, the issue is not just appearance. Cracks can point to moisture, aging plaster, movement in the wall, or previous repair work that failed. Some are minor and cosmetic. Others need more careful treatment before a single coat of paint goes on. Knowing the difference saves time, avoids repeat work, and helps the final paint job last longer.
Why wall crack repair before painting matters
Painting over a crack is a short-term cover-up. The line usually reappears after the paint dries or within a few weeks, especially in areas with humidity, temperature changes, or surface movement. The result is frustrating – you pay for a repaint, but the wall still looks unfinished.
A properly repaired wall gives paint a stable surface to bond to. It improves the look of the final finish, reduces the risk of peeling around damaged spots, and helps maintain that freshly painted appearance for longer. In residential settings, that means cleaner bedrooms, living rooms, and hallways. In commercial spaces, it means a more professional presentation for clients, staff, and visitors.
There is also a practical cost issue. If cracks are ignored, you may need touch-ups much sooner than expected. Repairing them before painting is usually the more affordable path compared with repainting again after the defects return.
What causes wall cracks in the first place?
Not all cracks come from the same source, so the right repair depends on what is happening underneath the paint or plaster. In many homes and buildings, small cracks develop as materials expand, contract, or settle over time. These are common around corners, ceilings, door frames, and joints between different surfaces.
Older walls may show cracks because the plaster has weakened or because previous patching was done too quickly. Moisture is another common factor. Bathrooms, kitchens, exterior-facing walls, and areas near windows can develop cracks when dampness gets into the substrate and affects the surface layer.
In some cases, the crack is really a symptom of a larger issue, such as loose plaster, bubbling paint, or spalling concrete nearby. That is where experience matters. A neat-looking patch is not enough if the underlying surface is unstable.
Cosmetic cracks vs. cracks that need closer attention
Hairline cracks are usually narrow and shallow. These often appear in paint films or topcoat layers and can be repaired with the right filler and surface prep. They are common in normal wear-and-tear situations and, when treated properly, are usually straightforward to fix.
Wider cracks, recurring cracks, or cracks with flaking edges need more attention. If the wall sounds hollow when tapped, feels damp, shows staining, or has sections that crumble when scraped, the repair should go beyond simple filling. The same applies if the crack runs along concrete edges or appears with rust marks or bulging areas.
For property owners, the key point is simple: if a crack keeps coming back, there is usually a reason. Painting over it will not solve it.
The right process for wall crack repair before painting
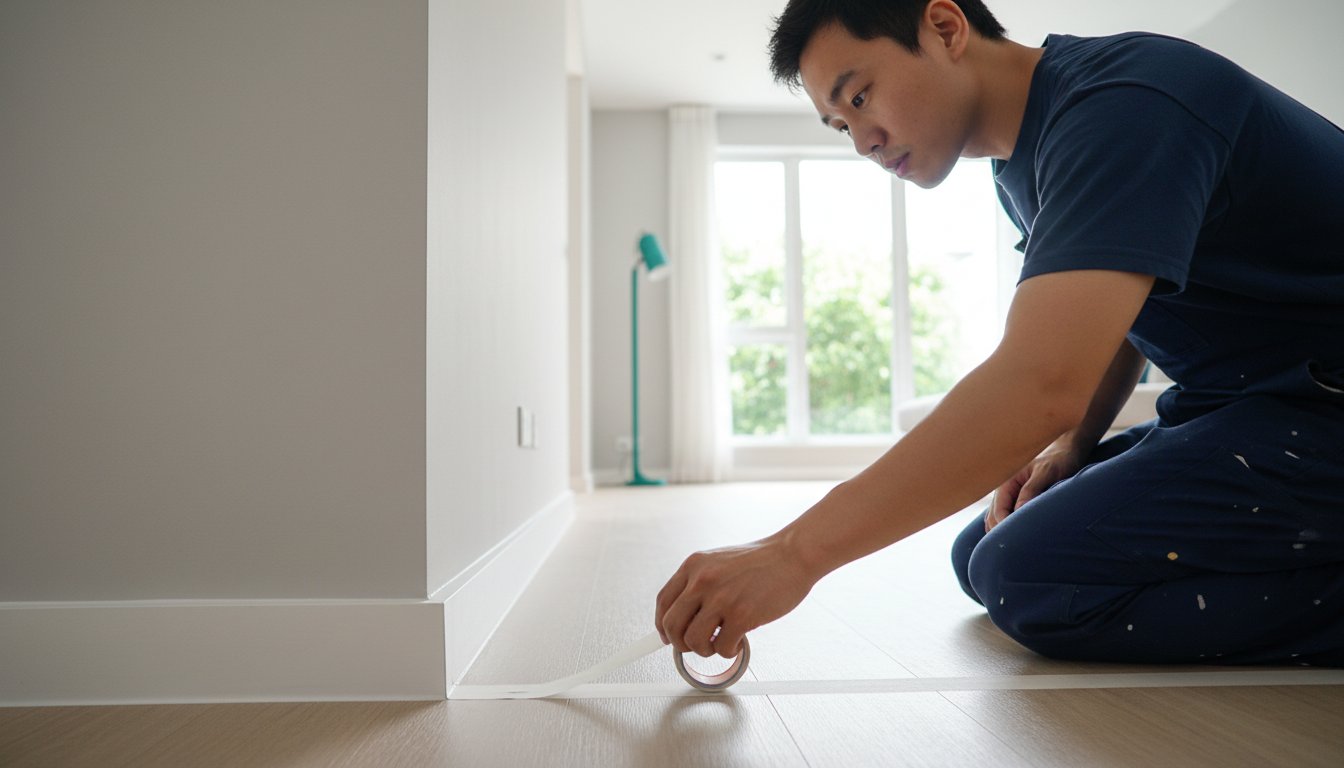
A quality result starts with inspection, not filler. The damaged area needs to be checked for depth, width, moisture, loose material, and movement. If the wall has peeling paint or weak plaster around the crack, those sections should be removed first. Repairing only the visible line while leaving unstable material around it often leads to failure.
Once the area is opened and cleaned, the appropriate filler or repair compound is applied. For minor surface cracks, a standard patching compound may be enough. For cracks with slight movement, a more flexible repair approach may be needed. If the wall has plaster damage, the surface may require skim coating or localized plastering to rebuild a smooth, even plane.
After the filler cures, sanding is essential. This is one of the most overlooked steps in DIY repairs. A wall can be technically patched but still look uneven under paint if the repaired area is not feathered properly into the surrounding surface. Light reflects differently on lumps, ridges, and rough sanding marks, especially with flat walls and lighter paint colors.
Priming comes next. Primer helps seal repaired areas so the topcoat absorbs evenly. Without primer, patched sections can flash through the paint and appear duller or shinier than the surrounding wall. On larger repairs, this difference can be obvious even from across the room.
Only after the wall is stable, smooth, dry, and primed should painting begin.
Why quick fixes often fail
The most common mistake is using the wrong material for the type of crack. Another is skipping preparation because the crack looks small. Some repairs fail simply because dust was left on the surface or the filler did not have enough time to dry before sanding and painting.
There is also the issue of matching texture. Even when the crack is filled, a poor patch can stand out because the repaired spot is too smooth or too rough compared with the rest of the wall. This becomes more noticeable in living rooms, office lobbies, corridors, and retail areas where lighting falls directly across the surface.
Time pressure can make things worse. In occupied homes and active commercial spaces, people often want the job completed fast. Speed matters, but skipping repair stages to save a few hours can compromise the final result. A dependable painting contractor knows where fast turnaround is possible and where patience is necessary.
Interior and exterior walls need different treatment
Interior wall cracks are often related to aging paint, settlement, or humidity from everyday use. These can usually be managed with targeted surface repair and proper repainting. Still, rooms like bathrooms, kitchens, and laundry areas need extra care because moisture can interfere with adhesion and long-term durability.
Exterior cracks are a different matter. Sun exposure, rain, expansion, and weathering put more stress on outdoor surfaces. Repair materials and coatings need to be suitable for these conditions, and the wall must be dry enough before painting starts. If water is getting in from outside, repairing the visible crack inside will not be enough.
This is why site-specific assessment matters. The same crack pattern can require different solutions depending on where it appears and what the wall is exposed to.
When professional repair makes more sense
Small hairline cracks in a dry, stable wall may look manageable, but many property owners underestimate how much surface preparation affects the final appearance. If you want a smooth, polished finish, especially across multiple rooms or a business space, professional repair usually pays off in consistency.
A trained team can identify whether the issue is cosmetic, plaster-related, moisture-related, or part of a broader wall problem. That leads to the right treatment from the start. It also reduces disruption because the work is organized properly – protection for furniture and floors, dust control, efficient patching, careful sanding, priming, painting, and cleanup.
For landlords preparing a unit, homeowners refreshing a condo or house, or office managers updating a workspace, the value is peace of mind. You are not just paying for paint. You are paying for the wall to look right when the job is done.
At My Paint Job, this is exactly how a reliable painting project should be handled: inspect first, repair properly, paint with precision, and leave the space clean and ready to use.
What to expect from a proper repair and paint job
A well-executed repair should not draw attention to itself. After painting, the wall should look uniform in texture, color, and sheen. You should not see a raised patch, a dull stripe over the repaired line, or a crack shadow reappearing under fresh paint.
That said, there are trade-offs in some situations. If a building has ongoing movement or unresolved moisture issues, even a careful repair may need broader corrective work to stay perfect long term. A trustworthy contractor should be honest about that. The goal is not to promise magic. It is to recommend the most practical, lasting solution for the condition of the wall.
If you are planning to repaint and have noticed cracks, the best time to deal with them is before the first drop cloth goes down. A fresh coat looks its best on a surface that has been properly repaired, not just covered up. When the prep is done right, the paint finish looks cleaner, lasts longer, and gives the space the upgrade you were hoping for.


Pingback: How to Repaint an Occupied Apartment - My Paint Job Singapore