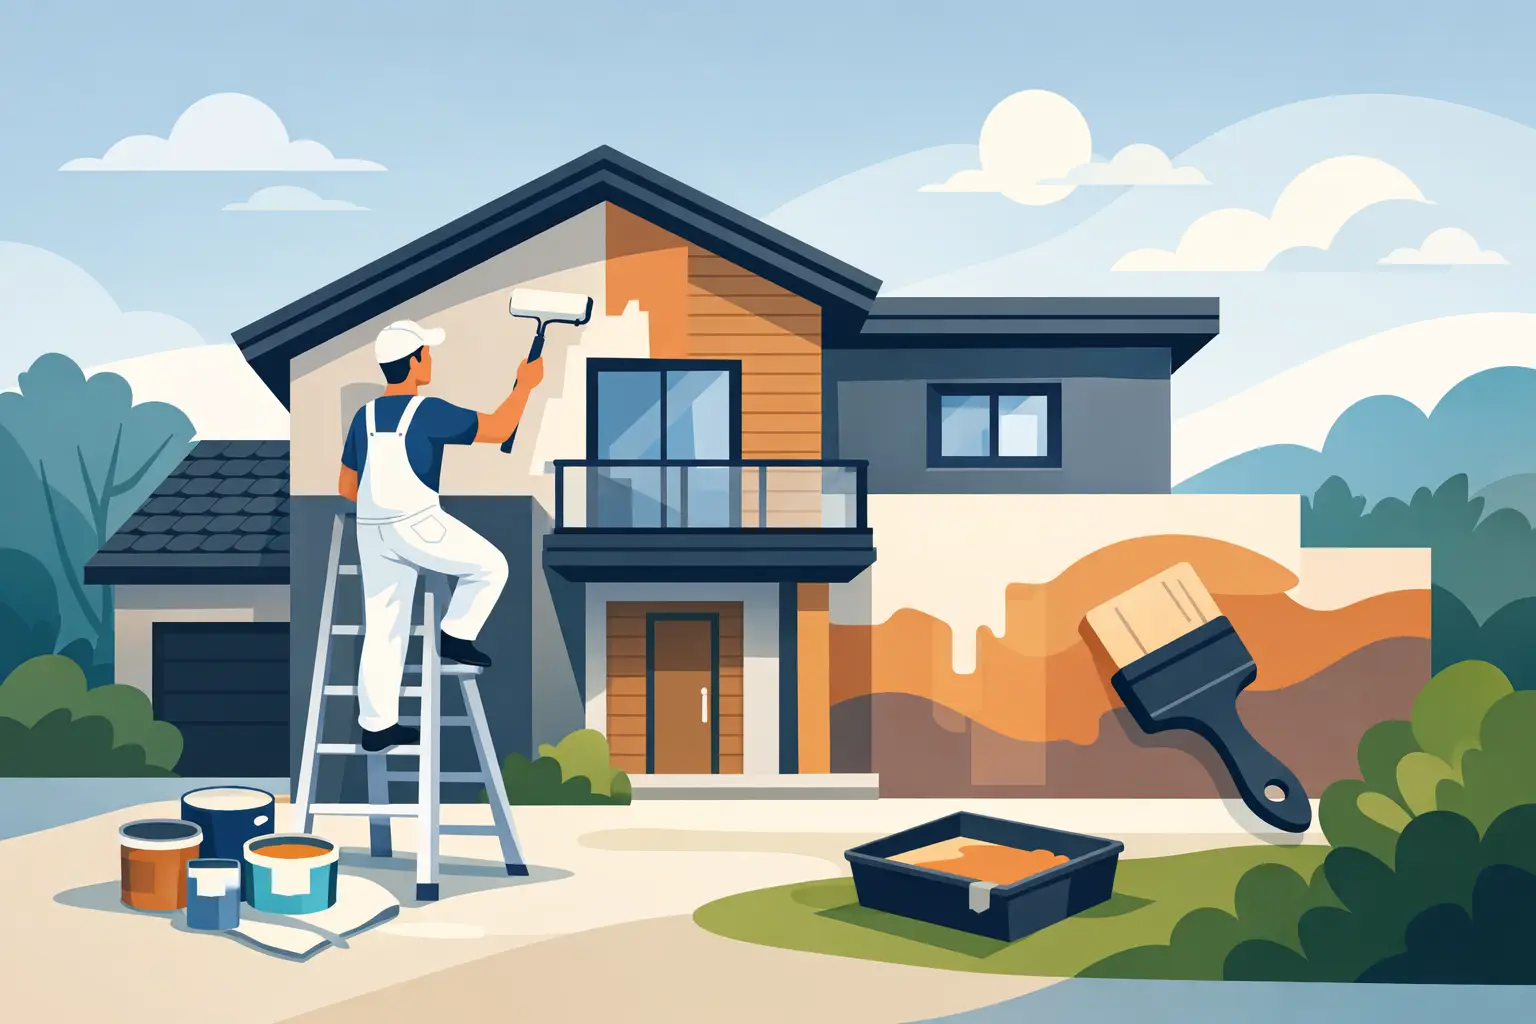
Peeling paint rarely starts as a paint problem alone. In most homes and commercial spaces, it is a surface problem, a moisture problem, or a preparation problem that finally shows up in the finish. If you are wondering how to fix peeling paint, the right answer is not to paint over it quickly. The finish will only fail again unless the root cause is handled first.
A clean, lasting result comes from careful inspection, proper surface repair, and using the right products in the right order. That matters whether you are dealing with a bedroom wall, a bathroom ceiling, a shopfront, or an office corridor. The goal is not just to make the peeling disappear for now. It is to restore the surface so the new paint bonds properly and stays that way.
Why paint starts peeling
Paint peels when it loses its grip on the surface underneath. Sometimes that happens because the wall was dusty, greasy, or glossy when it was painted. In other cases, the issue is trapped moisture from leaks, humidity, poor ventilation, or damp walls. Older surfaces can also fail because layers of weak paint were never removed before repainting.
In residential properties, bathrooms, kitchens, laundry areas, and exterior walls are common trouble spots. In commercial spaces, peeling often appears near entranceways, washrooms, pantry areas, and high-traffic walls that were patched or cleaned frequently. If plaster is loose or concrete is starting to break down, peeling paint may only be the visible part of a larger surface issue.
That is why a proper inspection comes first. If the wall feels soft, chalky, damp, or hollow, repainting alone will not solve it.
How to fix peeling paint without wasting time
The process is straightforward, but each step matters. Skipping surface preparation is the main reason peeling comes back.
1. Find the cause before touching the wall
Start by checking where the peeling is happening and what may be causing it. If the area is close to a window, ceiling edge, plumbing line, or exterior wall, look for signs of water entry. Stains, bubbling, mold spots, and recurring damp patches usually point to moisture.
If there is no water issue, think about the paint history. Was the wall painted recently? Was a glossy or dirty surface painted without primer? Was low-quality paint used in a humid area? Those clues help determine whether the failure is localized or likely to spread.
If moisture is active, fix that first. A new coat of paint over a damp surface will fail quickly, no matter how premium the product is.
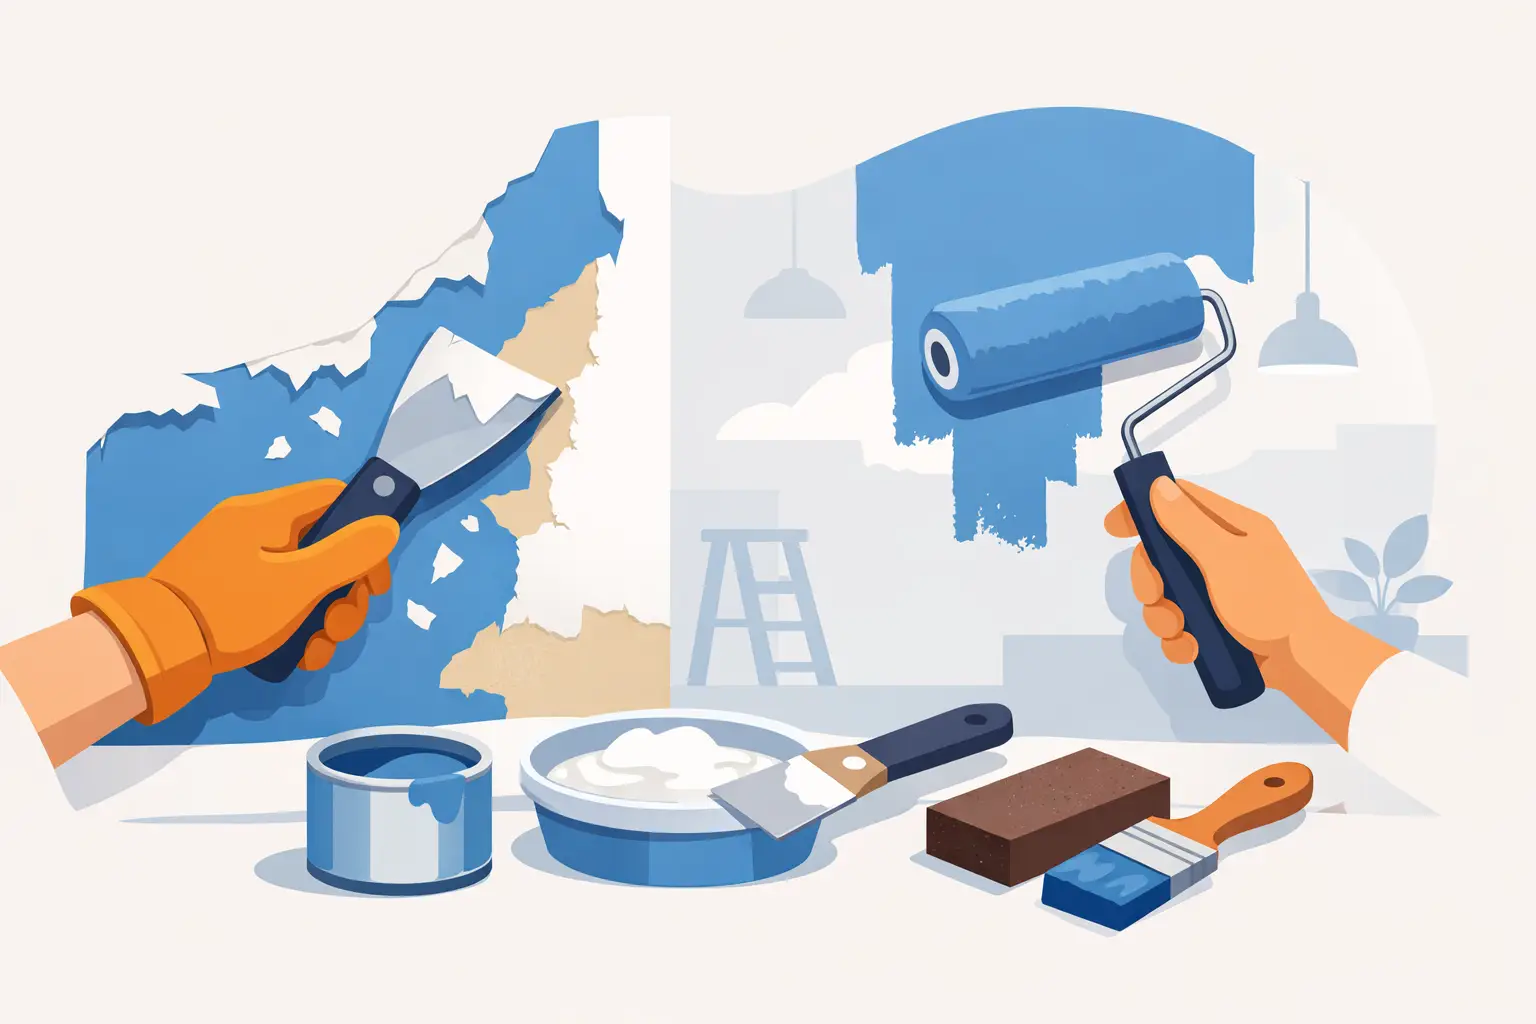
2. Remove all loose and weak paint
Once the surface is dry and stable, scrape away every loose edge. This is the part many people underestimate. If peeling paint lifts easily in one section, the surrounding paint may also be weak even if it still looks attached.
Use a paint scraper or putty knife and work until only firm, well-bonded paint remains. Do not stop at the obvious flakes. Test nearby edges gently. Any paint that sounds hollow, cracks easily, or lifts with little pressure should come off too.
A small peeling patch can turn into a wider repair area after proper scraping. That is normal. It is better to uncover the true extent of the problem now than to have the new finish fail around the edges later.
3. Sand the surface smooth
After scraping, sand the area to feather the edges where old paint meets the exposed surface. This helps the repaired section blend in and gives the primer a better surface to hold onto.
If the wall has uneven filler, rough patches, or old brush marks, sanding also improves the final appearance. For interior walls, the goal is a smooth and even transition, not just removal of visible flakes.
Dust control matters here. Wipe or vacuum away all sanding dust before moving on. Paint applied over fine dust often has weak adhesion from the start.
Repair the wall before repainting
Once the loose paint is removed, you may find hairline cracks, pinholes, shallow dents, or damaged plaster underneath. These need to be repaired before any primer or topcoat goes on.
Patching and skimming
Use the right filler for the surface. Minor wall imperfections can be patched with interior wall filler, while larger damaged sections may need a more substantial skim coat. If the substrate is crumbling or uneven, basic patching may not be enough. In those cases, plaster repair creates a more solid foundation.
Let the repaired area dry fully, then sand it smooth. A rushed repair often shows through the final paint as ridges, shadow lines, or dull patches. On feature walls and walls with strong lighting, these defects become even more obvious.
When concrete damage is involved
If peeling appears on exterior columns, ceilings, beams, or older walls with cracking concrete, there may be spalling underneath. That is not a cosmetic issue. It points to substrate failure and needs proper repair before painting. Covering it up may make the area look better briefly, but the problem will continue underneath the finish.
Prime first, then repaint
This is where many DIY repairs go wrong. Paint is not a substitute for primer. A repaired or exposed surface is usually porous and uneven in absorption, so a primer helps create a stable base.
Choosing the right primer
Use a sealer or bonding primer suited to the surface and the environment. For water-damaged areas, stain-blocking performance may matter. For glossy or previously problematic walls, adhesion is the main concern. For fresh plaster or patched surfaces, a primer helps even out porosity so the finish coat dries consistently.
The best primer depends on the cause of the peeling. There is no one-size-fits-all answer. Bathrooms, kitchens, and exterior walls usually need more moisture resistance than a dry bedroom wall.
Apply finish coats properly
After priming, apply the topcoat in the recommended number of coats. Do not try to hide a repair with one heavy coat. Thin, even coats cure better and usually look cleaner.
Also give each layer enough drying time. Recoating too quickly can trap moisture or soften the layer below, especially in humid conditions. That affects both appearance and durability.
When fixing peeling paint is not a DIY job
A small patch on a dry interior wall may be manageable. But larger failures usually need a more disciplined approach. If paint is peeling across multiple sections, returning after every rainy period, or happening alongside cracks and dampness, there is likely more going on than surface wear.
This is especially true in Singapore-style property conditions where humidity, exterior exposure, and aging plaster can work against the finish. Homes and businesses often need more than repainting. They need proper preparation, wall repair, moisture assessment, and product matching.
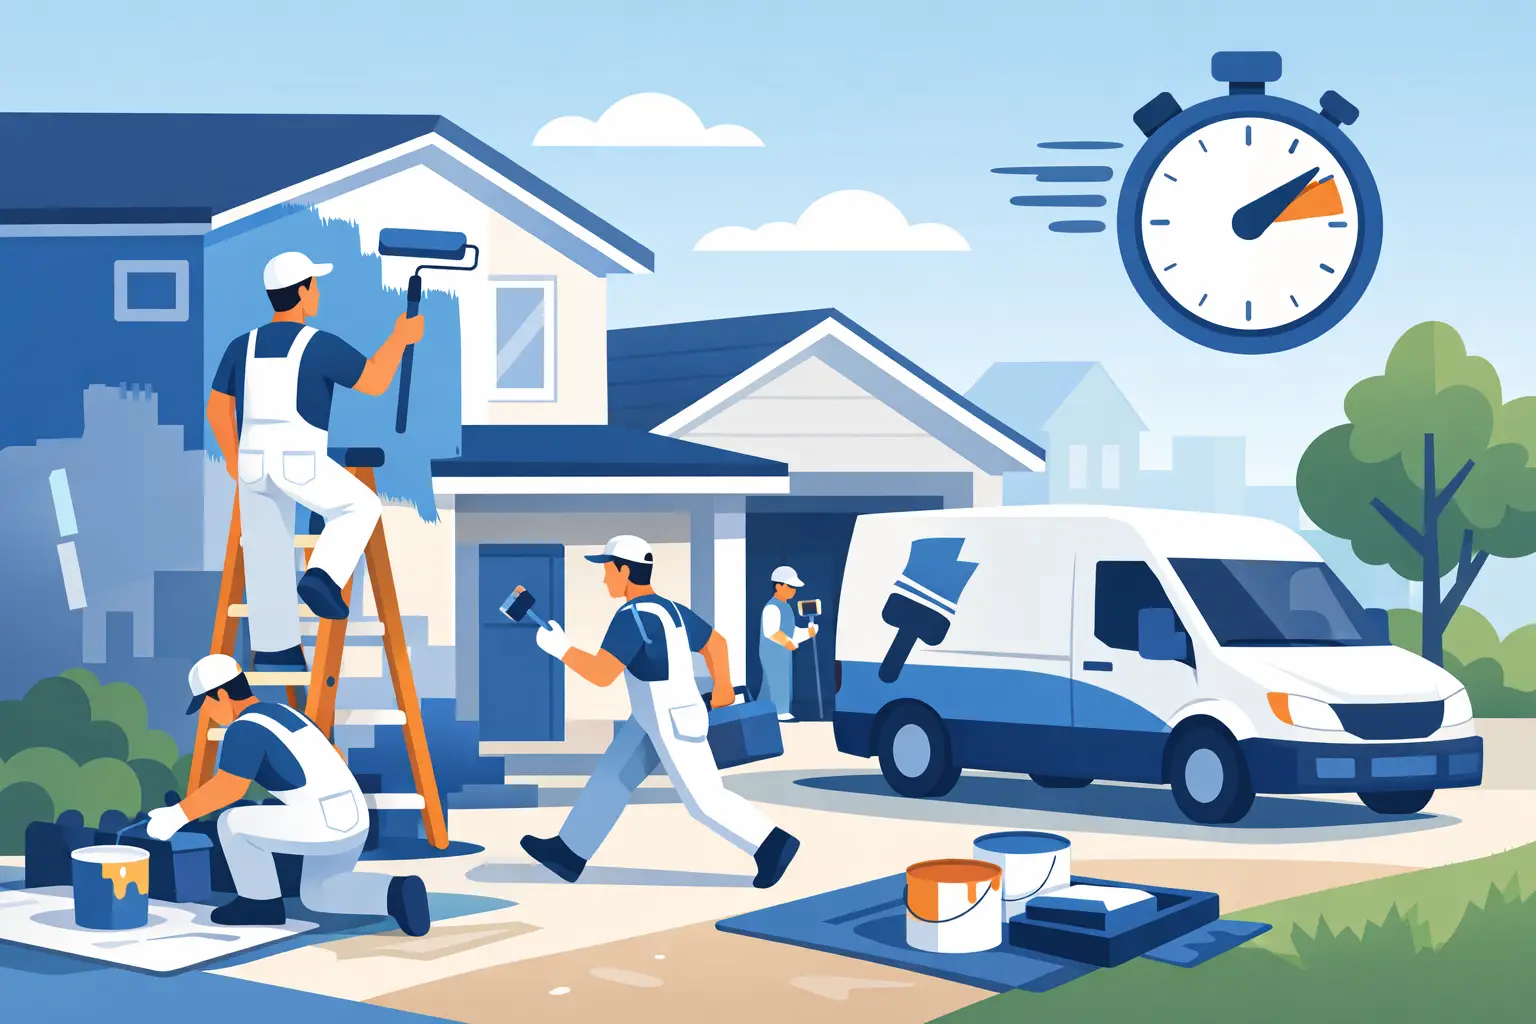
For landlords preparing a unit, office managers trying to minimize disruption, or homeowners who want the job done cleanly and correctly, professional handling saves time and rework. A dependable painting team can assess the surface, protect furniture and flooring, complete repairs, and repaint with a finish that looks even and lasts longer. That kind of end-to-end process is often the difference between a quick touch-up and a real fix.
How to keep paint from peeling again
Long-lasting paint starts with surface care and the right environment. Keep indoor spaces ventilated, especially in bathrooms and kitchens. Address leaks early, even small ones. Clean walls properly before repainting, and avoid applying new paint over chalky, glossy, or damaged surfaces without prep.
It also helps to use paints suited to the room. High-moisture areas need coatings designed for washability and humidity resistance. Exterior walls need products that can handle heat, rain, and changing conditions. Lower-cost paint may seem like savings upfront, but if adhesion or coverage is weak, the repaint cycle comes back faster.
A professional paint job should do more than improve color. It should strengthen the finish through proper prep, suitable materials, and careful application. That is the standard My Paint Job focuses on because good results are not just about how the wall looks on day one. They are about how well the finish holds up after the furniture is back in place, the business reopens, and daily life continues.
If your wall is peeling, treat it as a signal rather than a surface flaw. The right repair now gives you a cleaner finish, fewer callbacks, and one less thing to worry about later.